Blacksmithing has received a lot of attention in recent years. Largely due to the show Forged in Fire. It’s helped bring this largely niche hobby and profession to the limelight and may even be the reason you’re here.
I will state that bladesmithing (what you see in Forged in Fire) and traditional blacksmithing don’t share a lot in common. They both work with metal of course, but the approach to the trade is distinctly different. Here I’ll talk about blacksmithing.
Also, I’m not a blacksmith with 20 years of experience and a rich family history. I only began doing any sort of blacksmithing in 2021 and it wasn’t until 2022 that I really dug in and started learning more and more about it.
Prior to that it was something I did at a friend’s house every few months for a few hours. He was teaching me what he had learned after taking a course in blacksmithing. In 2021 my wife and I bought a house with lots of land. That’s when I setup a forging area and really started having fun.
I do have an article on ways to improve as a beginner blacksmith. I’m not that far ahead of anyone reading this who is thinking about starting up. It also means I have a very good understanding of what you need to get started because that’s where I’m at as well.
There’s a lot to cover but I’ve broken it out into digestible chunks and so feel free to skip around. Below you’ll find the tools you need so you can get started blacksmithing – dig in!
I’m going to walk you through all the basic items you need to start blacksmithing and explain the options available with my recommendations.
What Do You Need to Start Blacksmithing?
Honestly, there’s only a few things you need to have to begin smithing and creating your first project: forge, anvil, tongs, and a hammer. That’s it!
The beauty of blacksmithing, and something I love about it, is you will create many of the tools you need and you’ll create them with just those 4 items listed above. You can even create some of those items as well!
While I love woodworking, it’s not a hobby conducive to creating your own tools. Sure, you can make your own jigs, build a workbench, maybe even fabricate some bench tools, however, you’re left buying things like a table saw, router, planer, etc. It gets very expensive very quickly.
However, with smithing you can create pretty much any of the tools you need. The tools you’ll need are hand tools made of metal and that’s exactly what you’re doing with blacksmithing – playing with metal.
This element of smithing is what keeps it a cheap hobby or profession relatively speaking. There are plenty of things you can buy, don’t get me wrong, but you don’t need to. With time, patience, and practice you’ll be making your own tools and saving a lot of money.
Buying a Blacksmithing Hammer
Let’s start with the easiest and cheapest to buy component to smithing – the hammer!
Let me tell you, you can find some amazing smithing hammers out there that are crazy expensive. The truth is you don’t need one of those to get started.
The first hammer you get should be a cross peen hammer. The reason becomes more evident as you start smithing. In short the cross peen of the hammer lets you draw out metal quickly if you need to move a lot of metal.
The hammer itself doesn’t need to be fancy at all.
Hammer Weight
A big consideration in the hammer is the weight. You can find hammers that are 1lb, 2lbs, 3lbs, more, and everything in between. You have to bear in mind you’re going to swing the hammer a lot in a repetitive way. While it might seem like a great idea to get the heaviest hammer you can find, I can tell you that’s not what you want to do.
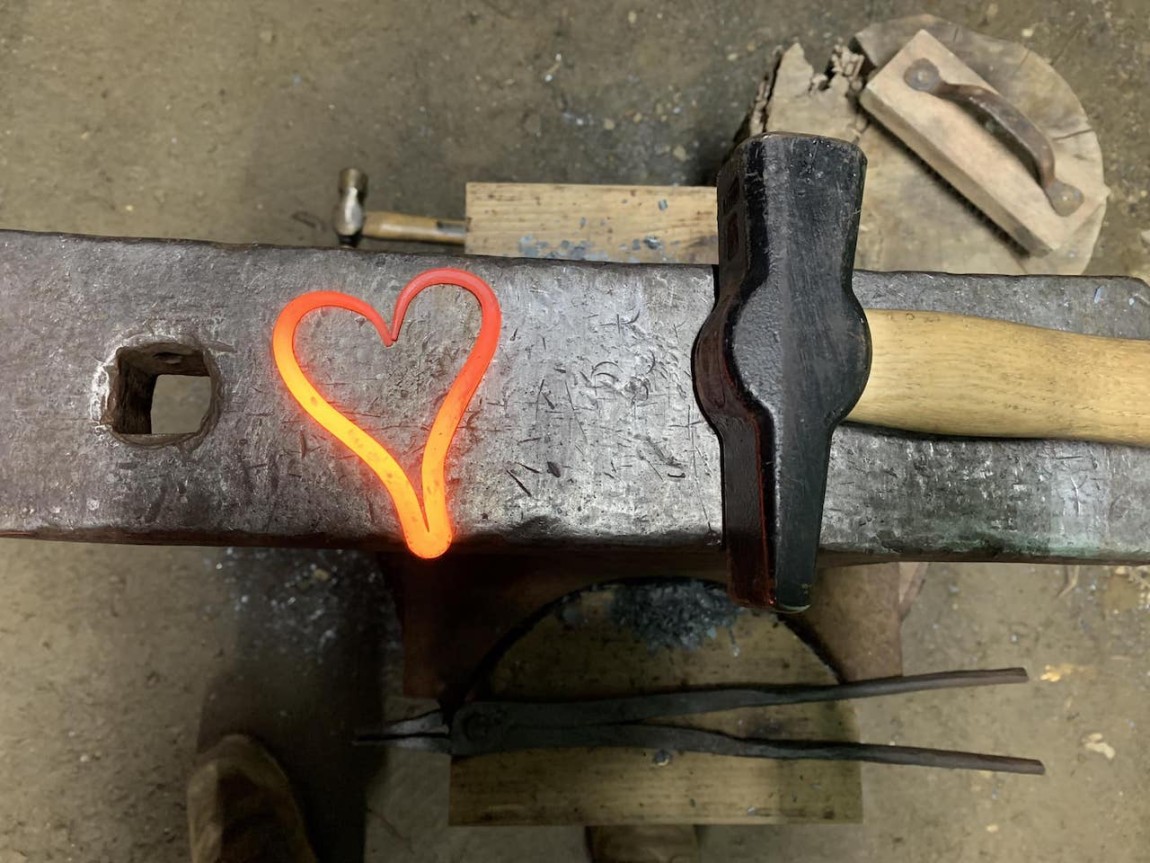
First, metal that’s at 2,000 degrees Fahrenheit (the temp you’ll be forging at) doesn’t need as much force to shape as you may think. It’s actually really pliable, very much like clay, at that temperature. So there’s no need for a 3lb hammer for everyday work.
A lot of smiths, myself included will use a 2 – 2.5lb hammer for most work; some even go lighter. I use a 2lb hammer and find it’s a good weight to do the work I need without tiring my arm after 15 minutes.
There’s an absolute use for heavier hammers though. Heck, some smiths use a 3lb hammer as their standard hammer. Those folks have been doing this for years and years though.
Anyway, heavier hammers are great for larger pieces of steel. If you need to taper a 3/4″ bar down to 1/4″, then a 3lb hammer will get you there faster. For short work a heavy hammer is great to have but even in that example you can do it with a 2lb hammer; it just takes a bit longer.
Cross Peen Hammer
You can pick up a 2lb cross peen hammer from Amazon at an affordable price. You do want to get a wooden handled hammer. You’re dealing with very hot metal and sometimes your handle will touch the metal. Wood will get a scorch mark if that happens where something that’s rubber coated will burn and create toxic fumes – no good.
Here’s my 2lb Picard hammer. This is my everyday hammer.
If you want a heavier hammer, like a 3lb one, then those are easily found on Amazon as well.
Ball Peen Hammer
A ball peen hammer is something you’ll find a lot of use for as well. Not nearly as often as a cross peen hammer but it’s still a good idea to get yourself one at some point. Again, I’d stick in the 2lb range for this but that’s up to you.
Lastly, you can find these hammers at nearly any local hardware store or big box stores like Home Depot or Lowes. My hammer is an $8 one from Harbor Freight.
You want to stay away from anything that has a handle that’s not wood. A fiberglass handle may be great for woodworking but not so much around really hot metal. You will touch hot metal to your hammer handle at some point and it’s best it leaves a little burn mark than melt it.
A Note on Buying a Hammer
Any hammer you buy of the shelf, literally or figuratively, will need to be dressed. Manufactured hammers have hard edges. Meaning, they edges are crisp and sharp. This is no good when blacksmithing because those sharp edges can leave marks in your work. Dressing a hammer is simply taking a file, or an angle grinder with a flap disc if you’ve got more experience, and softening those edges; rounding them over.
Buying a Forge
The nice thing with the influx of people into blacksmithing is the demand for things like forges has increased, more manufacturers have stepped up, and in turn made buying an affordable forge easy.
There are two types of forges: propane and coal. Actually, you can find other types like a wood fired forge, coal forge, coke forge, and an induction forge but we won’t cover those.
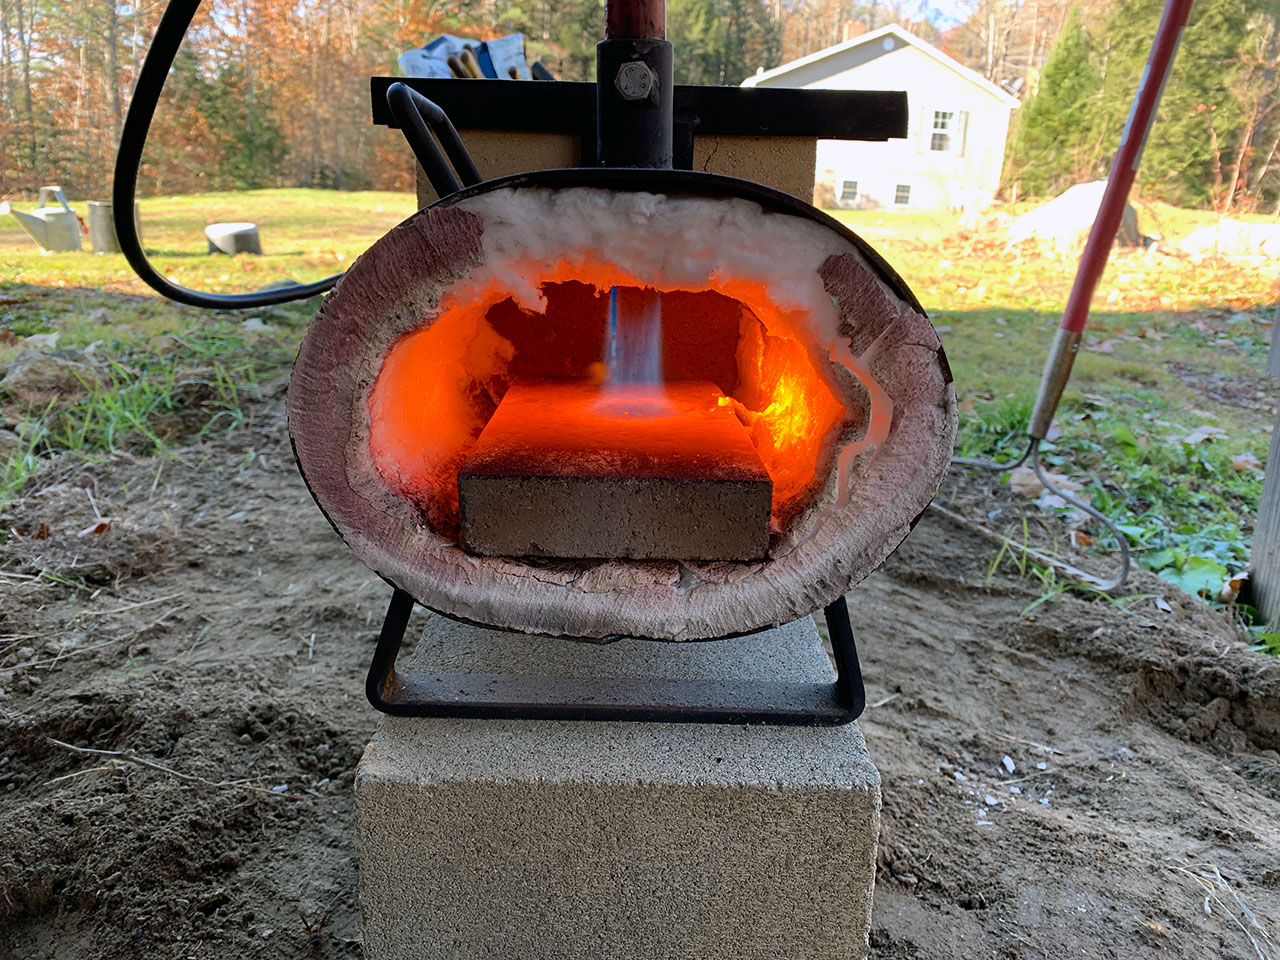
Propane is the cheapest forge to buy and it runs on readily available propane. The pros to propane is the cheap cost, the ease of use, and the ease of getting fuel for it. The only real con (in my opinion) with propane is it doesn’t get as hot as a coal forge. However, it still gets hot enough for forge welding so there’s nothing you can’t do with it.
Coal forges require a setup to use. You need a coal forge pot and power for the blower, unless you get a hand crank one that is. You will need to ventilate the forge as well. Finding good coal has become increasingly harder as well.
A coal forge is substantially more expensive than a propane forge. It may also require more space depending on the size of the forge.
Now the big advantage of coal is it gets a lot hotter than propane. You can also more easily work with large pieces of metal. However, I’m not a big fan of them because you need to buy coal, you need to constantly maintain the forge itself while smithing, and it’s just dirty and polluted.
Propane Forges
As I said, you can get a propane forge for very cheap. The big one that’s all over Amazon is a Mr. Volcano Hero propane forge. I will admit that I have tried their forge but I wasn’t impressed. I had some issues with the gas hoses. However, I’ve watched a lot of reviews of them and they’re positive for the price-point. I may just have had some bad luck.
The Mr. Volcano is not going to be the best propane forge you ever buy but you cannot argue with the price and if you’re trying to get into smithing for cheap, then this is a great choice.
Another really affordable gas forge option is from Vervor. I have not used their forge but this has also been a well reviewed product. I know the setup is easier than the Mr. Volcano forge.
For a propane forge I really recommend there’s Hell’s Forge. I used this forge for a few years. This is a much more expensive forge than Mr. Volcano or Vervor but it’s also a higher quality one and will likely last a lifetime. There’s not a lot to say other than it was a great forge for me.
The only reason I’m not using that forge now is that I upgraded to the double burner forge from Hell’s Forge. It’s the same forge but with two burners and more space; something I eventually found myself needing.
Honestly, there’s a lot of options out there and it’s hard to go wrong. The propane forges all operate the same. The biggest difference you’ll find is how many burners they have – larger forges have more burners.
Propane forges are very much a “you get what you pay for” type of situation and there’s nothing wrong with getting a Mr. Volcano to get into blacksmithing. Use it, learn the trade, and get a better understanding of what you need from a forge. Then look at forges again and find what you need.
Coal Forges
I honestly can’t make any recommendations here. I took a beginner blacksmithing class and we forged for 1 day on propane and 3 days on coal. So my experience with coal forges is 24 hours of working with one. I couldn’t tell you who made that coal forge nor recommend one to you.
I did do some research on Amazon for some and you can find them there (shocking, right?). You can find some smaller more portable ones as well as the larger table style coal forges. All of them are generally much pricier than propane forges.
While coal forges are not my personal preference, there are a lot of people who love them. I would suggest, if at all possible, using one to see if you like it. It’s a drastically different experience than a propane forge and some people enjoy that difference.
Buying an Anvil
Remember I said that the show Forged in Fire drew a lot of attention to blacksmithing? The price of anvils has gone up dramatically which is the downside to so much attention to the trade. There was a time where you could buy an anvil at $1 per-pound. Now you’re going to pay $6 – $8 per-pound for a new anvil. You’ll likely pay $4 – $6 for a good used one. When you’re talking about getting a 100lb or a 150lb anvil you can see how expensive it has become.
There’s hope though! With a little luck and ingenuity you can create your own anvil.
Building Your Own Blacksmithing Anvil
I made my first anvil out of a railroad track. A friend got some pieces of track from somewhere (I don’t ask questions) and gave me a piece. I built a base for it from some old wooden posts I had. Then I added some simple feet made of 2×4.
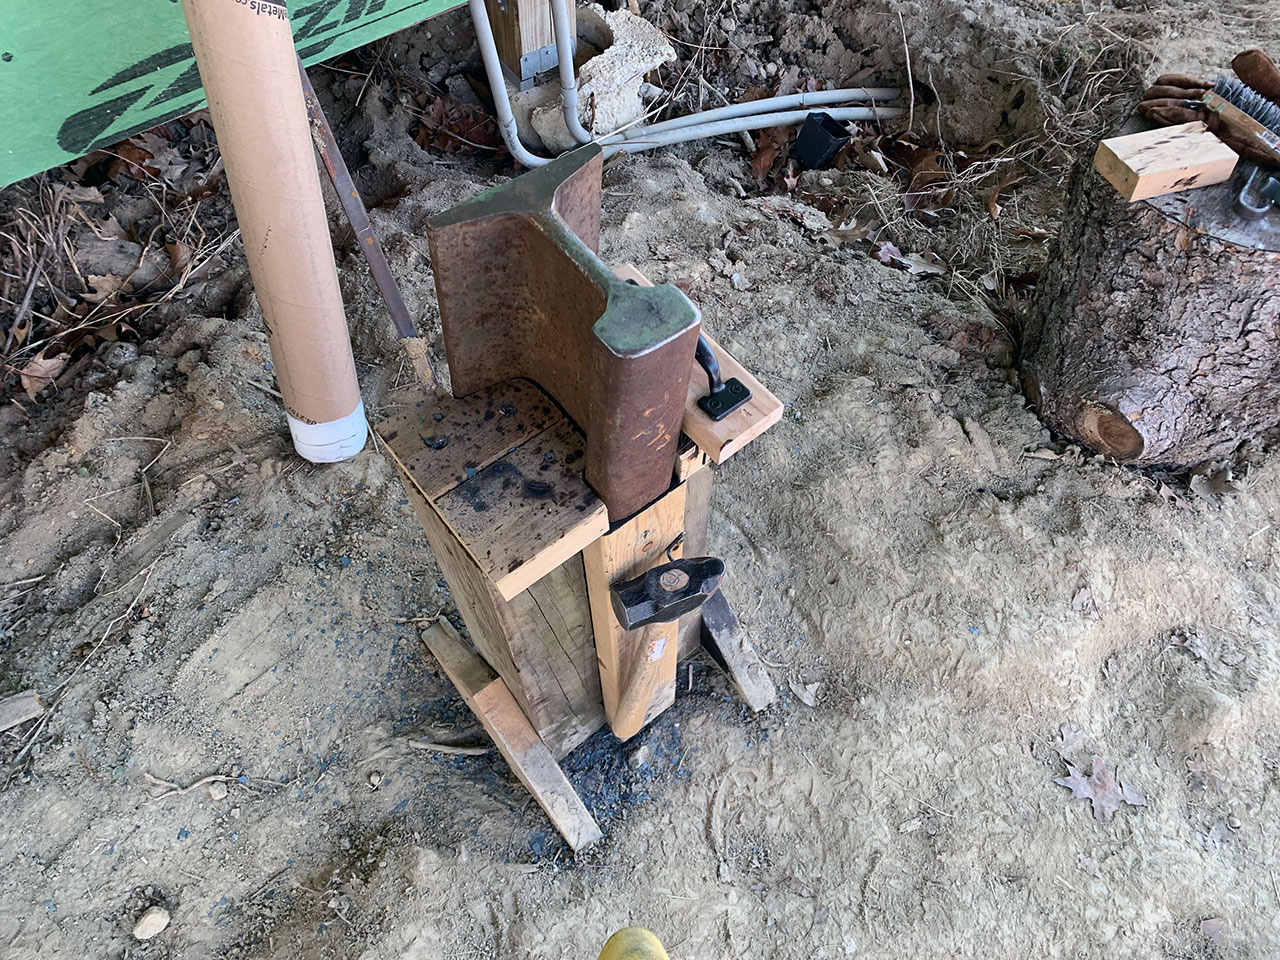
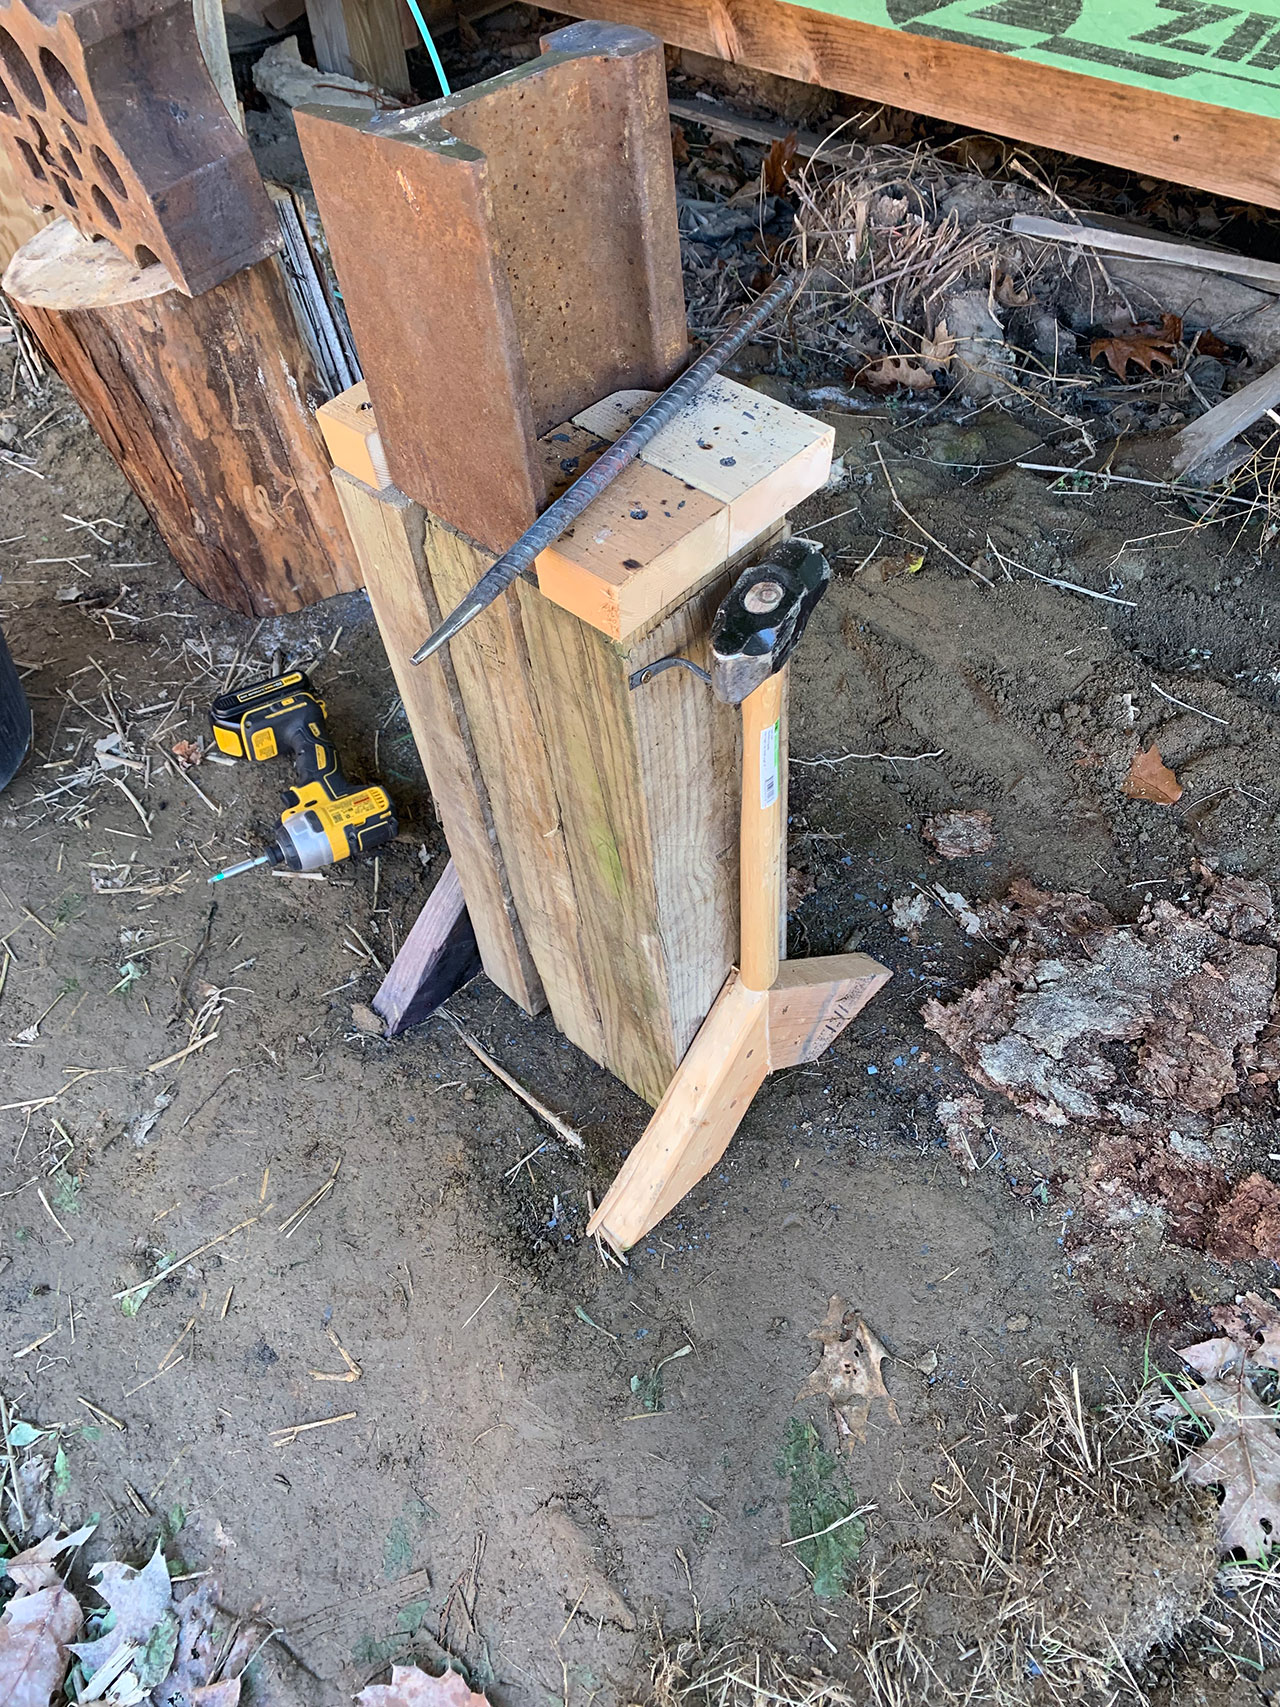
Note that it’s on the end and not placed as you might expect. The reason is density. The railroad track is more dense on its end and gives you a more solid surface.
If the track where laid down as it’s used for a train, then it would have less density and be bouncy as you strike it.
Not everyone can find a piece of railroad track though and that’s fine. If you can find a relatively thick piece of steel like 1″ – 2″ or thicker, then you can do the same sort of thing by mounting it onto a wooden base to create more density and give stability.
Buying a Traditional Anvil
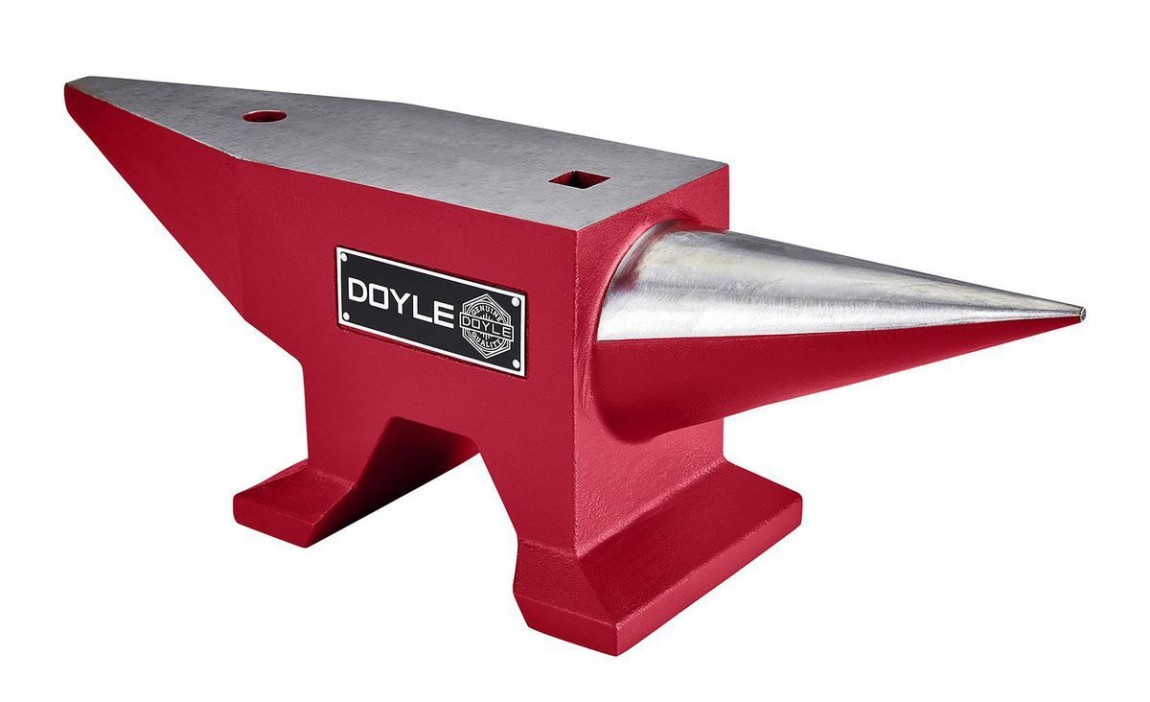
There are a few good options for beginner anvils if you want something more traditional. This is the option I’d recommend. The reason being that working on a railroad track and working on an anvil with a hardy hole, pritchel hole, and horn is a much different experience. Most any tutorial you find will be on an anvil with those features and it will make learning to forge that much easier.
My first recommendation is 65lb cast steel anvil from Harbor Freight. This is a new product from Harbor Freight and it’s an upgrade from their previous anvil offerings. Being made of cast steel compared to cast iron makes it a much more durable anvil and a higher quality anvil. I will be buying one of these for travel when I do demonstrations.
This anvil has been reviewed on YouTube by various blacksmiths of experience and they all agree it’s an amazing beginner anvil.
My next recommendation is the 44lb anvil from Vervor. This one is also cast steel which is great. The big downside to this particular one is the pritchel hole is on the horn for some odd reason which makes it very hard to use. This one is also lighter than the Harbor Freight anvil.
Still, for the money this is a great buy and another highly recommend beginner anvil from lots of blacksmiths.
If you’re determined to get yourself a professional anvil, then dig in and wait. It’s not easy to find a used anvil at the right price, in good condition, and somewhere near you. I spent 8 months before I found my 145lb Trenton anvil. I had to drive 1.5 hours to go get it too. It was worth it but that just shows how tough the market is.
Now, anvils are sold by the weight and style. Here’s a link to a page that covers anvils pretty well, but basically you want a forging anvil. Those have a few styles such as London or American. Any style anvil will get the job done and a preference on the pattern is something you’ll develop as you get using a few.
Anvil Weight/Size
The anvil weight is a buying factor as well. Basically, heavier anvils are larger and allow you to work larger pieces of metal. Pretty typical weights for anvils are between 100lbs – 150lbs. There are smaller ones as well like the previously mentioned ones at 44lbs and 65lbs. They do the trick just fine as well, especially when you’re starting out.
The other big difference with weight is portability. You really don’t want to lug around a 150lb anvil if you don’t have a permanent setup for forging where a 65lb one is more manageable; especially if you need to travel with it. Something to think about.
Buying Tongs for Blacksmithing
Tongs are something you can make once you’ve got some experience. However, to get that experience you’ll probably want to buy your first set of tongs.
You can also do something in between and buy tong blanks. The blanks are cut out but you need to shape them and put them together. This is what I did but I also had a friend to help guide me since I had no idea what each tong was supposed to look like or do.
There are a lot of different types of tongs and until you’ve worked with metal it’s hard to know what you’ll need.
If you would like to go this route, which will save you a ton of money, then check out this video from Black Bear Forge where he puts together a few tong blanks from Ken’s Custom Iron (another place you can buy tong blanks).
Ken’s is a great place to buy blacksmithing items because he’s also a blacksmith so everything he sells is a quality product.
If you’d rather ease into blacksmithing, then I would recommend buying a “complete” set of blacksmithing tongs. I quoted complete because as any smith will tell you that you are never done getting tongs – though you’ll end up making them eventually so it’s not a big deal.
This set on Amazon covers most of your needs for starting in blacksmithing. It’s not the cheapest thing you’re going to buy as you begin your adventure into blacksmithing, but it’s something you absolutely need.
That set will get you 6 tongs as well as a hook jig, which you’ll find useful later on.
Where to Buy Metal?
I almost forgot about the metal. You can’t forge anything without metal!
Let me tell you that looking for metal can be overwhelming. There’s so many types of metal that it will spin your head. I won’t tell you that I know a lot about metal but I’ll share what I do know.
Steel, what you’ll be working with, has carbon density. The more carbon the stronger the metal is but it also makes it more brittle. The steel you’ll work with the most is a mild carbon steel, which is the type of metal you can find easily.
You can buy mild steel at a local hardware store often (square, round bars, and angle iron), as well as stores like Home Depot and Lowe’s. It’s expensive though when compared to buying it online or a local steel yard.
I get all the metal I use for forging products from a local steel yard. They always stock the sizes I need, it’s close by, and the price is great compared to buying at a hardware store or a big box store like Home Depot.
If you’d like to learn more about mild steel, then check out that article.
There’s some steel that I buy online at OnlineMetals.com. The price is super cheap compared to walking into a store. They have a large selection of carbon steels.
You can find tool steel as well, which is a higher carbon steel. That’s great for making, well…tools!
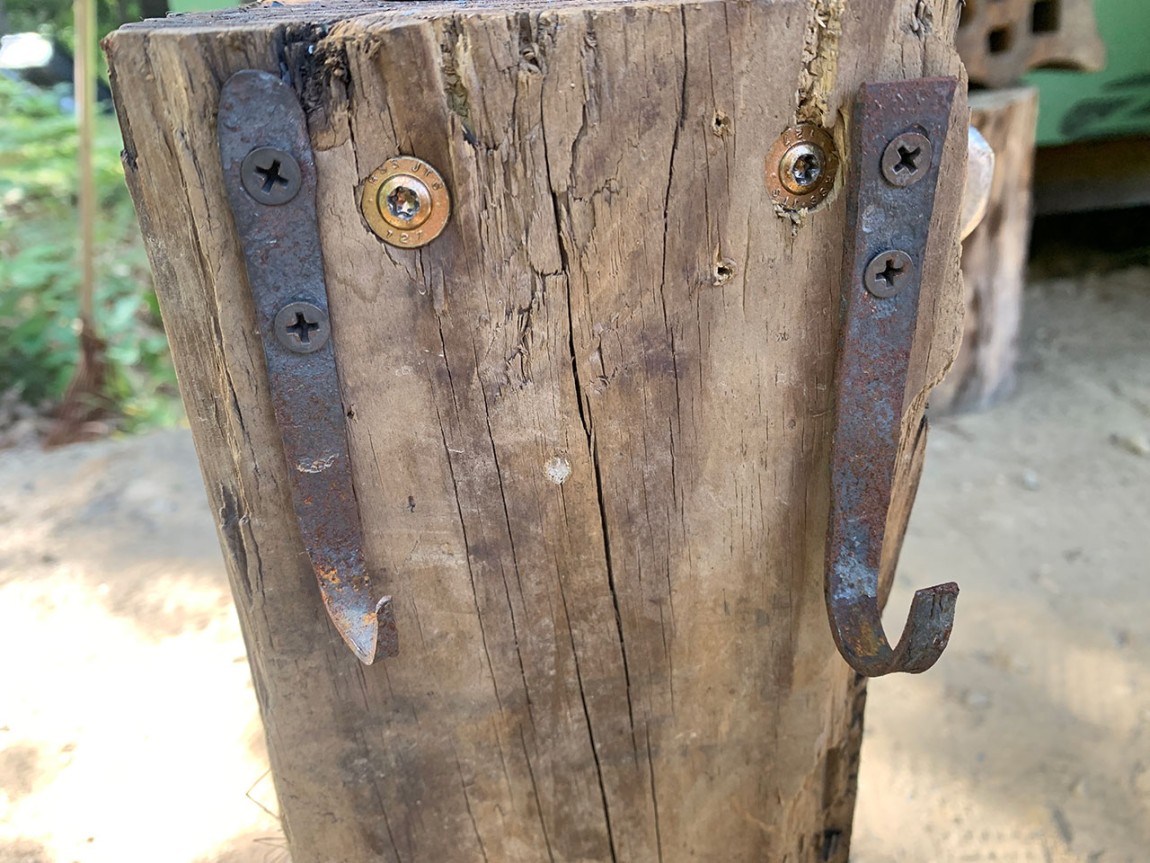
A really easy to acquire higher carbon steel would be rebar. You’ll find this in most hardware stores since it’s used in construction a lot. With rebar you can make punches, chisels, and drifts – all tools you’ll eventually need to have. The rebar tools won’t last you forever but they’ll get you started.
You could use tool steel (even more carbon) and it will last longer and hold up better but it comes at the cost of a higher price-point and you can’t quench it in water like you can with milder steel. That’s a whole other thing for later but just a heads up.
In general, finding a local steel yard is easier than you think and the most affordable option. If that’s not an option, then again check out OnlineMetals.com. They have good prices and reasonable shipping considering weight.
Lastly, if all else fails, then hit up your local hardware store or big box store like Home Depot or Lowe’s. It’s the most expensive option but it may be your only choice.
Blacksmithing Resources
I have a learned a lot about blacksmithing by watching videos from Black Bear Forge on YouTube. John is a self-taught blacksmith who creates very approachable videos on blacksmithing. He does an incredible job explaining what he’s doing and also shows you how to handle the mistakes that will inevitably happen.
Christ Centered Ironworks also creates some great videos that are well worth checking out. I’ve also learned a fair bit by watching them.
Lastly, definitely check out Alec Steele. He’s a young blacksmith who creates some amazing stuff. His videos are top-notch and you’ll learn a lot by watching him.
Conclusion
There’s a lot more that can be said of getting into blacksmithing. However, I want to keep this to the point with enough information to help you out and not be overwhelming. I will try to cover some of this more in-depth later in separate articles to really dig into the tools of the trade.
For now though, I hope you’ve found some useful information here and I’d love to answer any questions you have!
Lastly, a tip on finding any of these tools is to look around locally. You would be surprised what you can find at a yard/garage/tag sale. Check out things like Facebook’s Marketplace, Craig’s List, and eBay.
I have found quite a few hammers and chisels at a store called Restore, which is the storefront for Habitat for Humanity here in the US.
Quality steel tools and anvils are usually around if you look hard enough.
If you’re already into blacksmithing as a beginner and you’re looking for ways to improve, then I’ve got an article with easy ways to become a better blacksmith.