I want to talk about the adjustable standing desk I built. Now, I say built and that’s a bit of an overstatement. I didn’t build the mechanics for the desk, those I bought, but I did build the top for the desk to save money and that’s what I wanted to chat about today. Also, the benefits of having an adjustable standing desk because it’s honestly changed everything for me.
You’ll learn how to build a simple tabletop for an adjustable standing desk.
A Bit of a Backstory
I’m a programmer and have been for 20 years. I sit at a desk for 8 hours a day 5 days a week. Before that I did tech support for 3 years. Oh, I also love to game and paint miniatures, two hobbies that keep me sitting. I’ve spent 23 years behind a desk and that’s a damn lot of sitting.
Sure, I tried to get up and stretch but the reality is it was never often enough. You get in the middle of something and you find you haven’t moved from your chair in 3-4 hours.
This summer I started having issues with one of my arms and a leg. After doctors visits and a visit to a physical therapist it didn’t seem medical by nature or anything they could help with. I knew it was time to finally get myself a standing desk.
I read an article, which I can’t find now, on the research of standing desks. To summarize, standing too often isn’t good for your health and neither is sitting. This makes an adjustable standing desk the perfect solution for those of us stuck behind them all day.
I wasn’t able to physically have an adjustable standing desk when my wife and I had our condo. My space wouldn’t accommodate one. In 2021 we bought a house and my office is plenty large so I finally pulled the trigger.
VIVO Adjustable Standing Desk Frame
The prices of an adjustable desk are a bit pricey. Then again, for something you spend so much time using it’s really not that bad. I wanted to save some money though. So I bought just the frame so I could make the top.
I ended up going with this frame from VIVO. I picked this particular one for a few reasons.
This frame can handle a larger tabletop which I needed for my setup with 3 monitors. A lot of adjustable desks are geared for smaller setups.
There’s a single motor with this frame instead of two. Having two motors for the adjustment makes it quicker and often more quiet, but it also comes at the risk of those motors getting out of sync and binding. That’s never an issue with a single motor.

I will say the movement of the desk is quiet despite being a single motor. It’s a low hum when it’s moving and you really don’t notice it.
Also, it moves from the heights I have set in 9 seconds. I’m sure a double motor is faster but it’s not like 9 seconds is a lifetime to wait either.
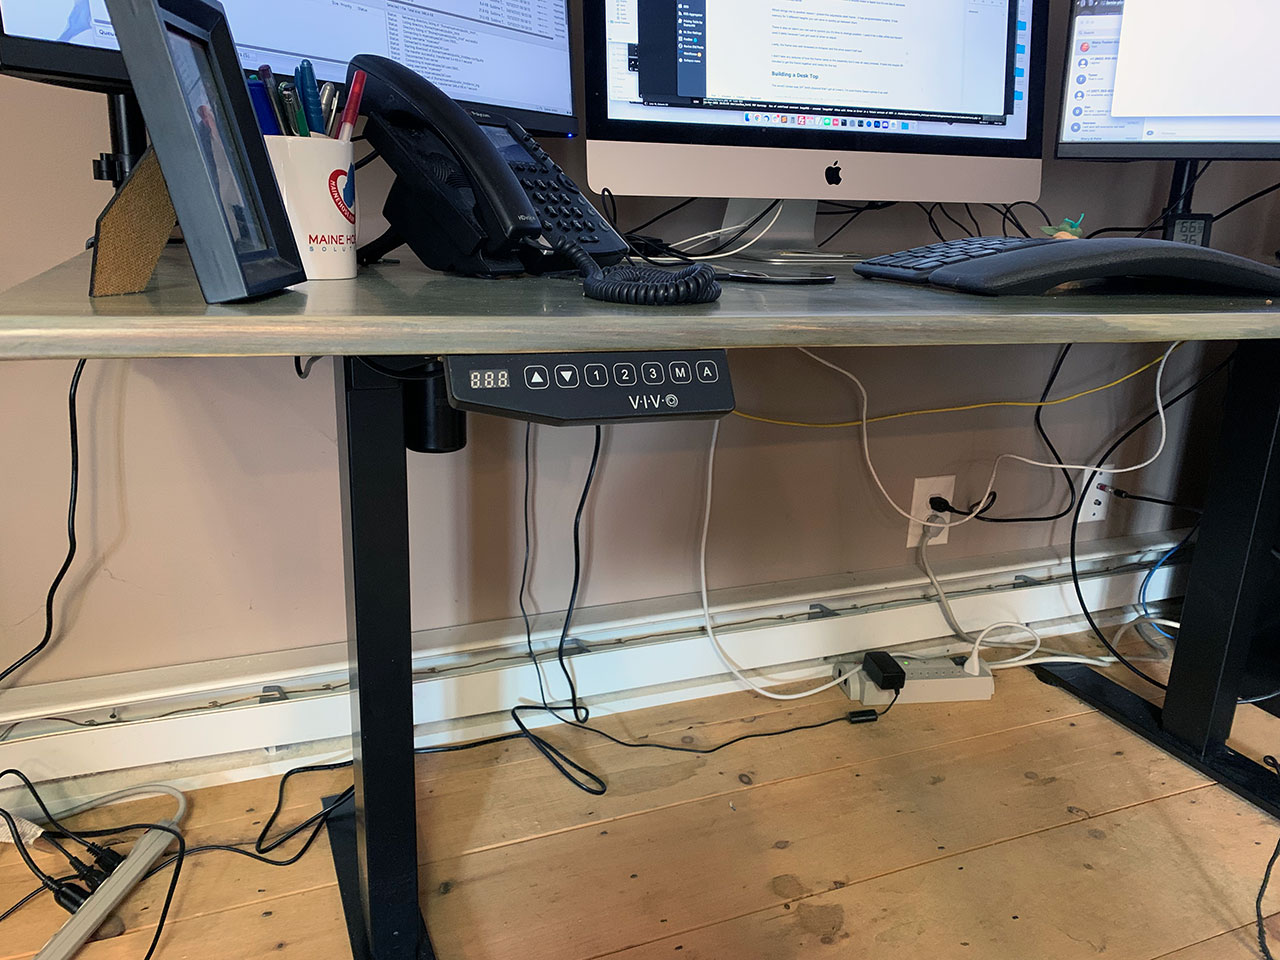
Which brings me to another reason I picked this adjustable desk frame – it has programmable heights. It has memory for 3 different heights you can save to quickly go between them.
There is also an alarm you can set to remind you it’s time to change position. I used it for a little while but haven’t used it lately because I just got used to when to adjust.
Lastly, the frame was well reviewed on Amazon and the price wasn’t half bad.
I didn’t take any pictures of how the frame came or the assembly but it was an easy process. It took me maybe 30 minutes to get the frame together and ready for the top.
Building & Finishing a Desk Top
The wood I chose was 3/4″ birch plywood that I got at Lowe’s. I’m sure Home Depot carries it as well.
I wanted a finish grade plywood for strength and ease of finishing (stain and sealer).
I cut the plywood down to just under 6′ long and 3′ deep.
The grain of the veneer layer wasn’t something I really cared for and I also wanted to do something a bit different. I’ve done a normal stain on so many things so it was time to have some fun.
Deciding on a weathered type of look I did some research. It seemed the trendy way to create a weather look is by layering stand. There’s a few approaches to this, but the one I kept finding was to use a dark brown stain to start, then a blue stain, and optionally doing a whitewash over it – or some combination of those and not always all three.

Staining
After standing the plywood I set about to apply the first layer of stain. I went with Espresso from Minwax.
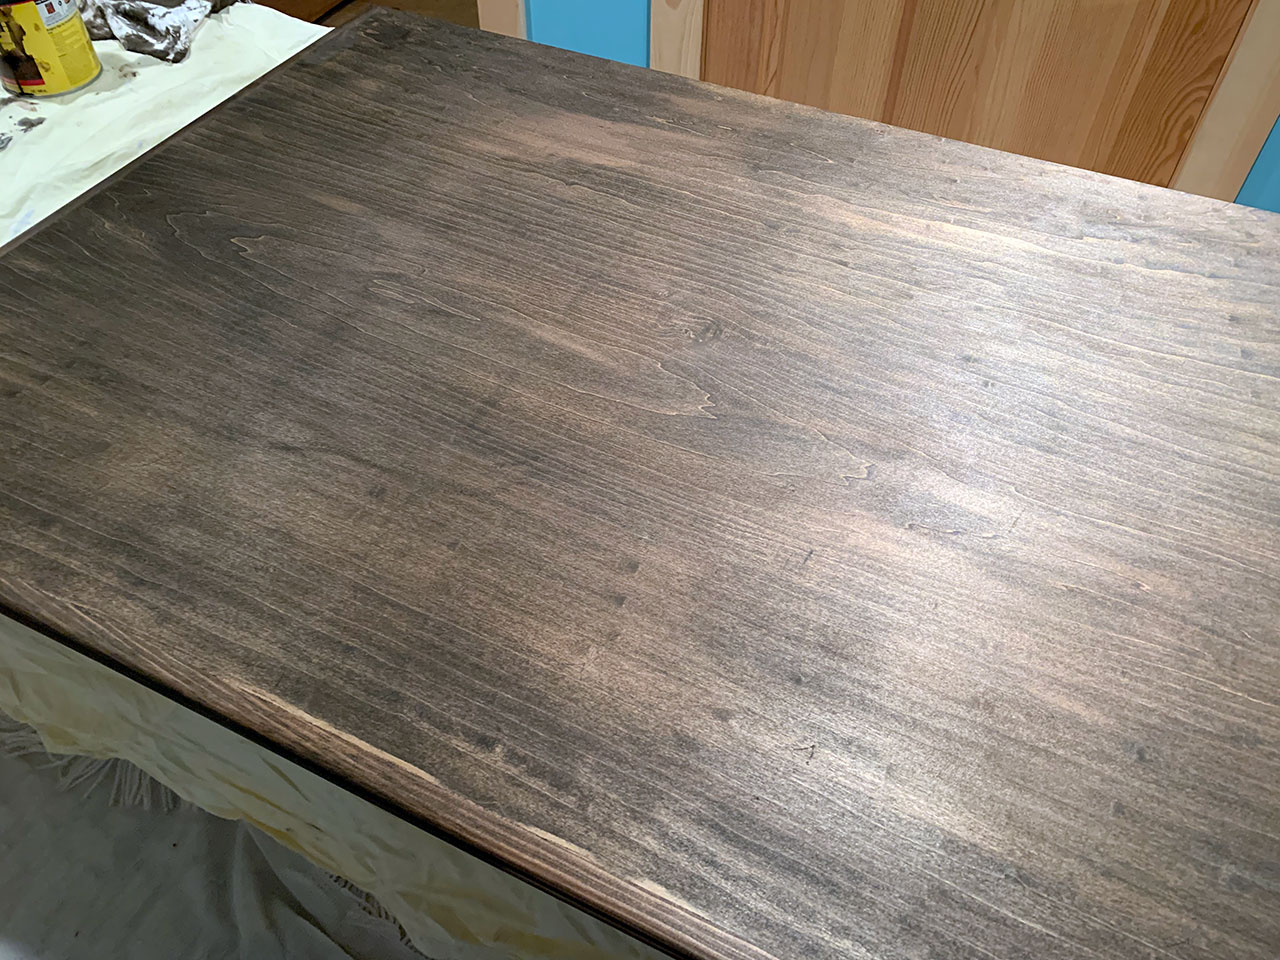
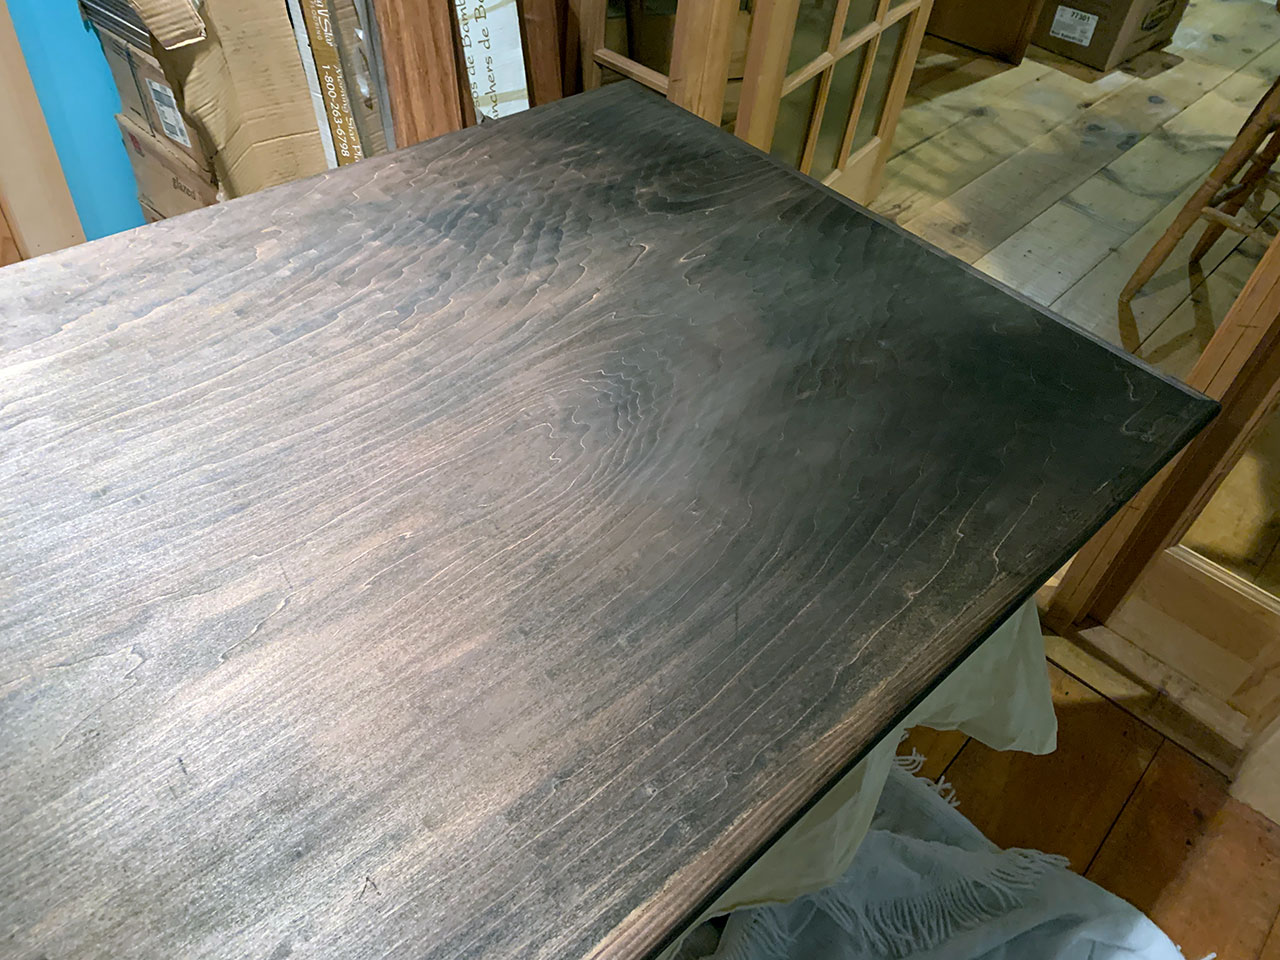
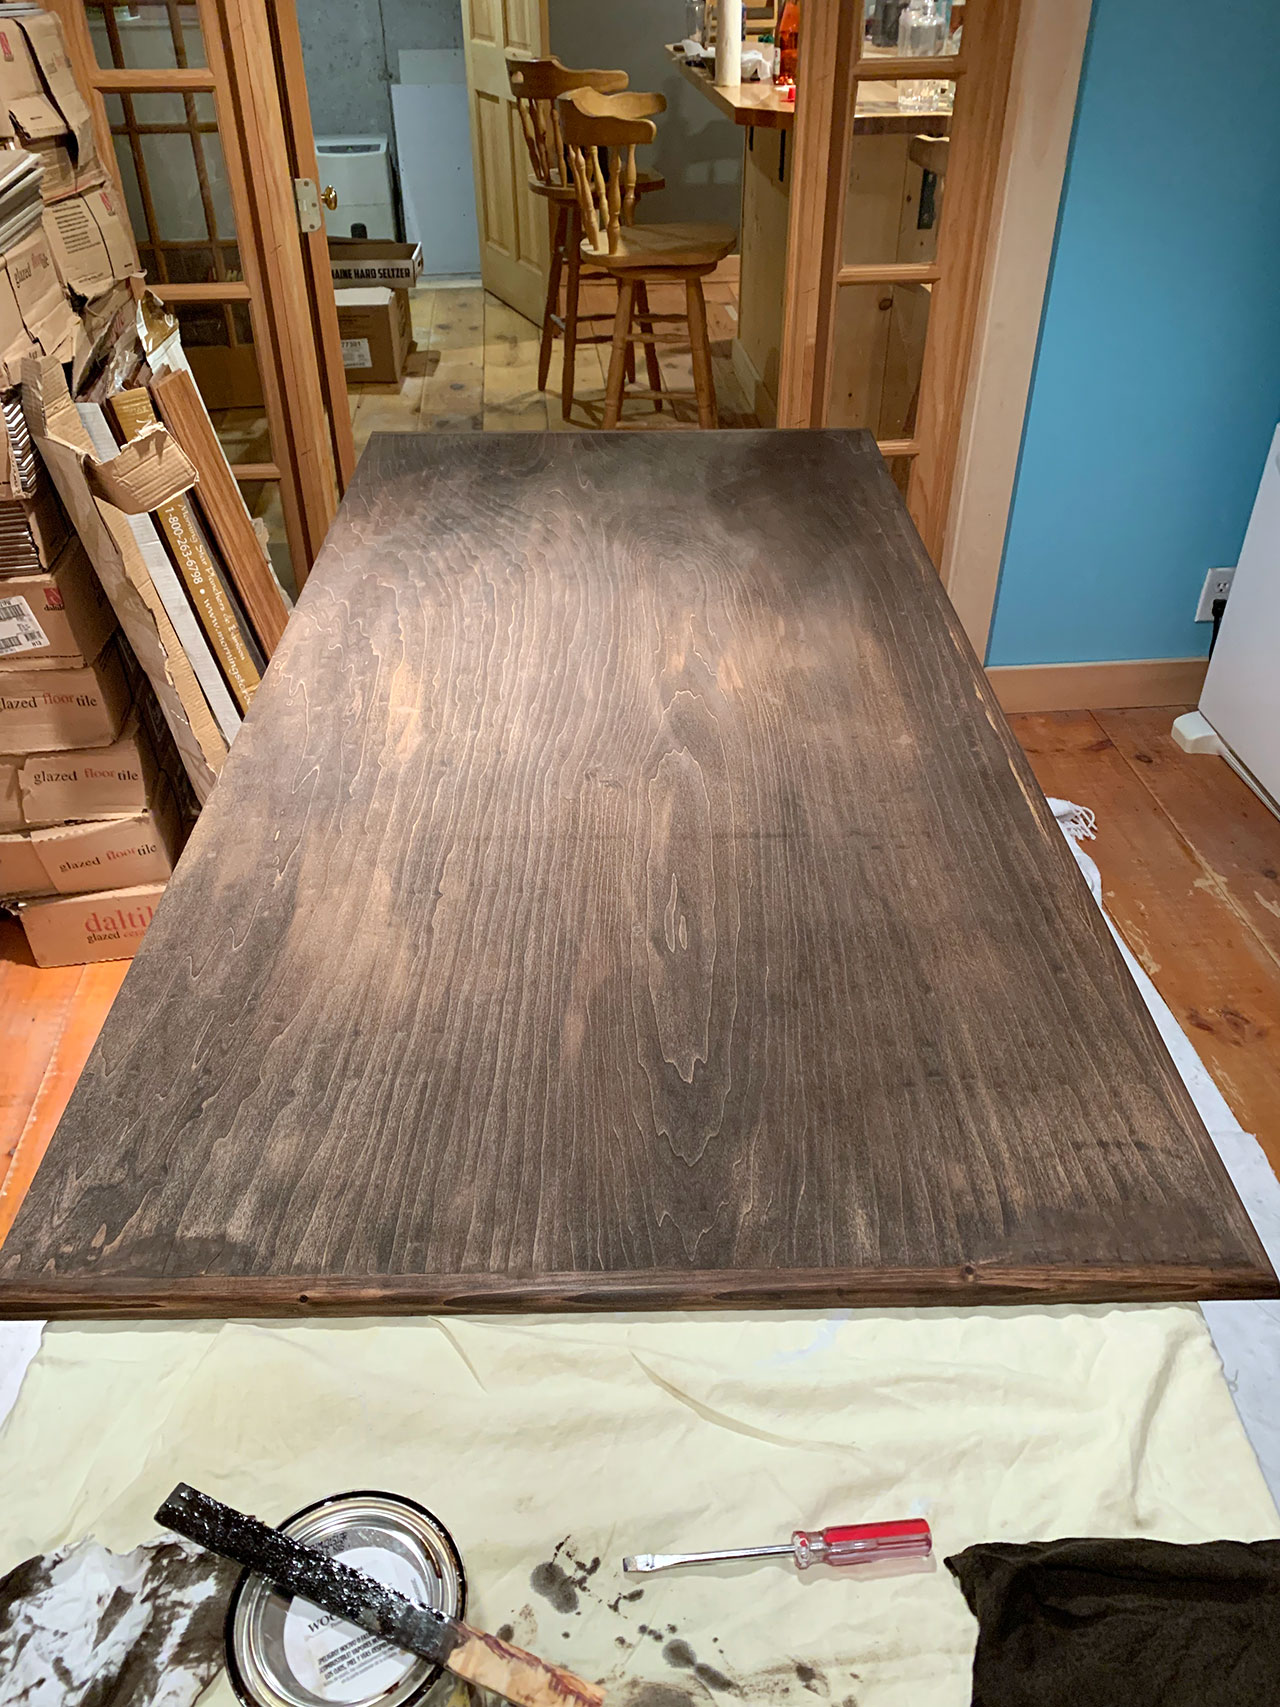
I then did a light sanding to create some spots that were bare and to generally lighten up the dark brown in area.
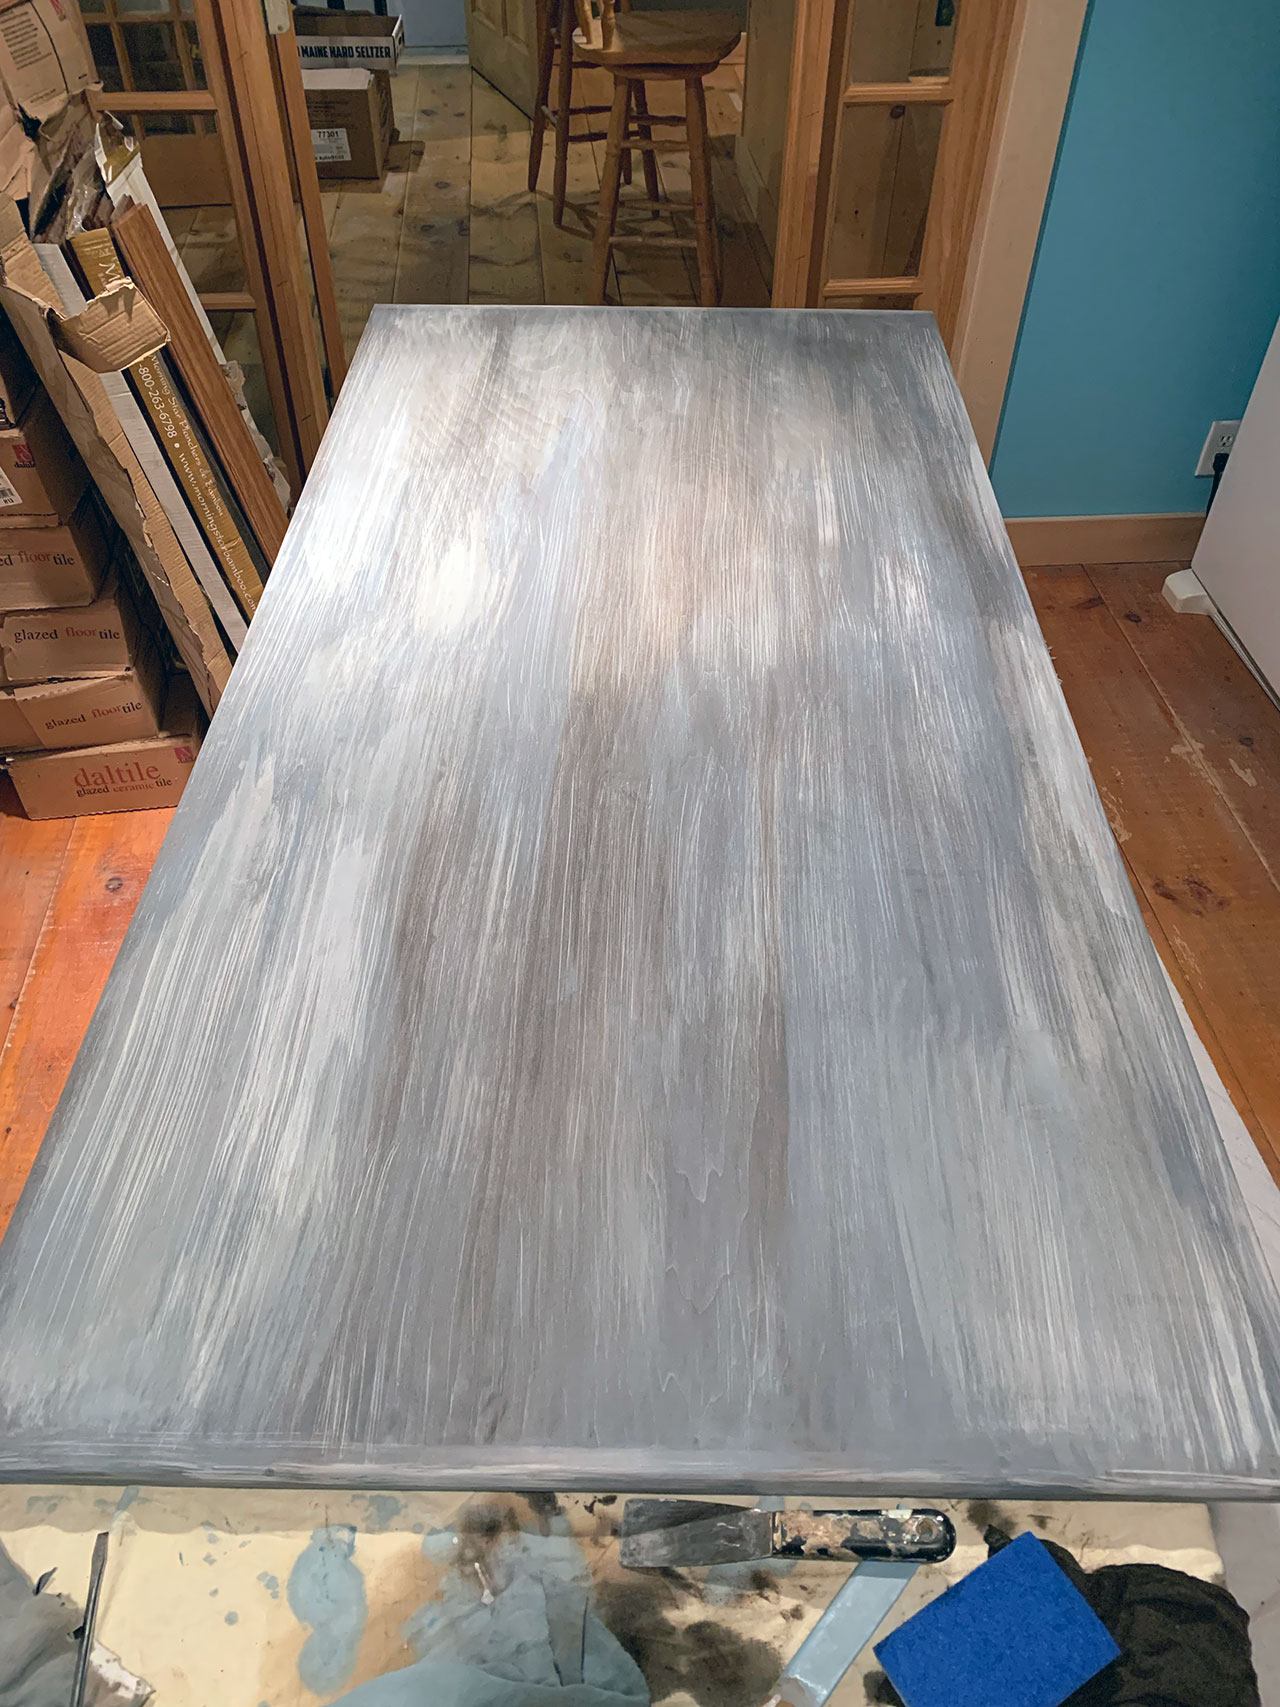
Following that was the blue stain – Vintage Blue from Minwax. I did a full layer over everything and later did a second layer in certain areas to create an unevenness.
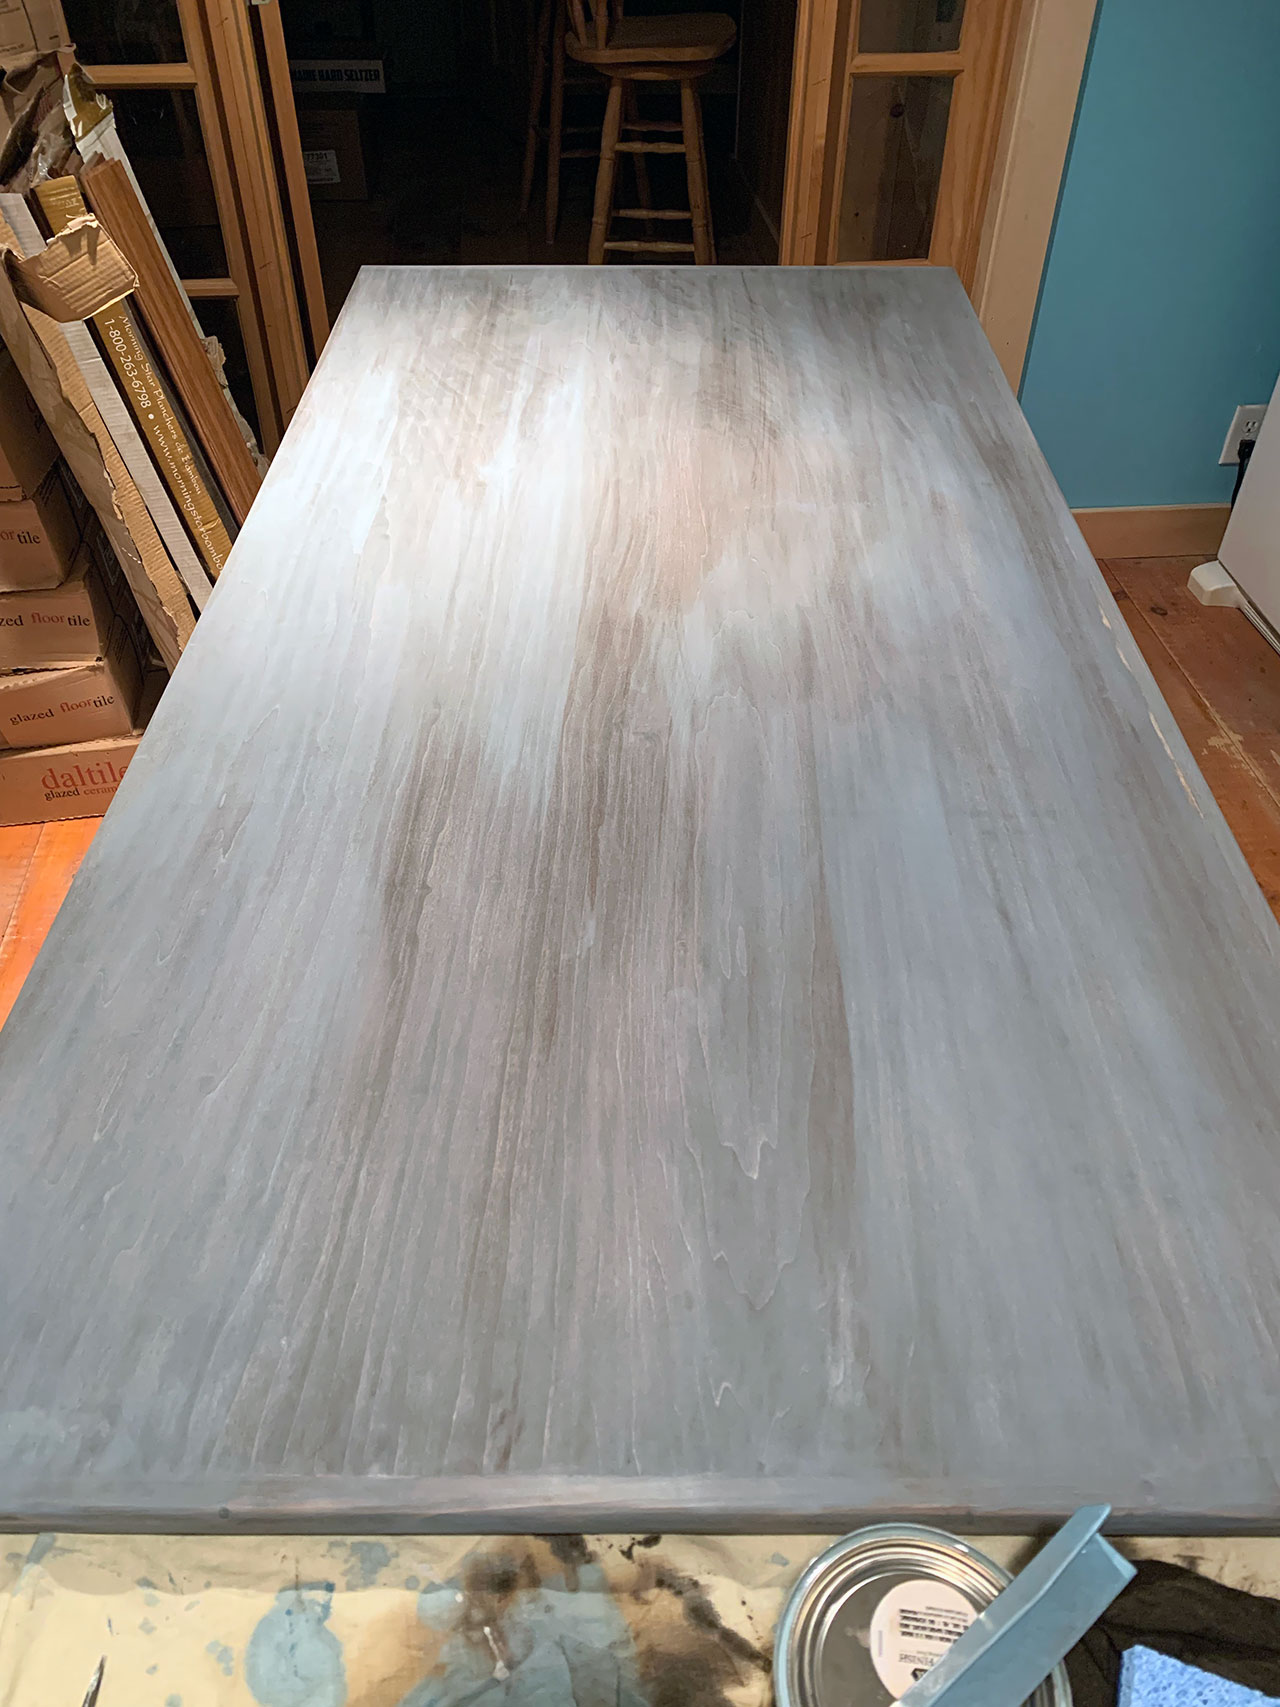
The last step was a selective whitewash. It’s just thinned (50/50) out white ceiling paint.
Polyurethane
The final step was to apply a polyurethane.
I tried something different here and got myself a warm satin poly which I’d never tried and I loved the result. It did as the can said – gave it a warm tone. It took the edge off the blue and gave the white a sepia look which I felt really lent to the worn look I was after.
I can’t say this is a finish I’d use for most things I do, however, in this particular instance it was exactly what I was after.

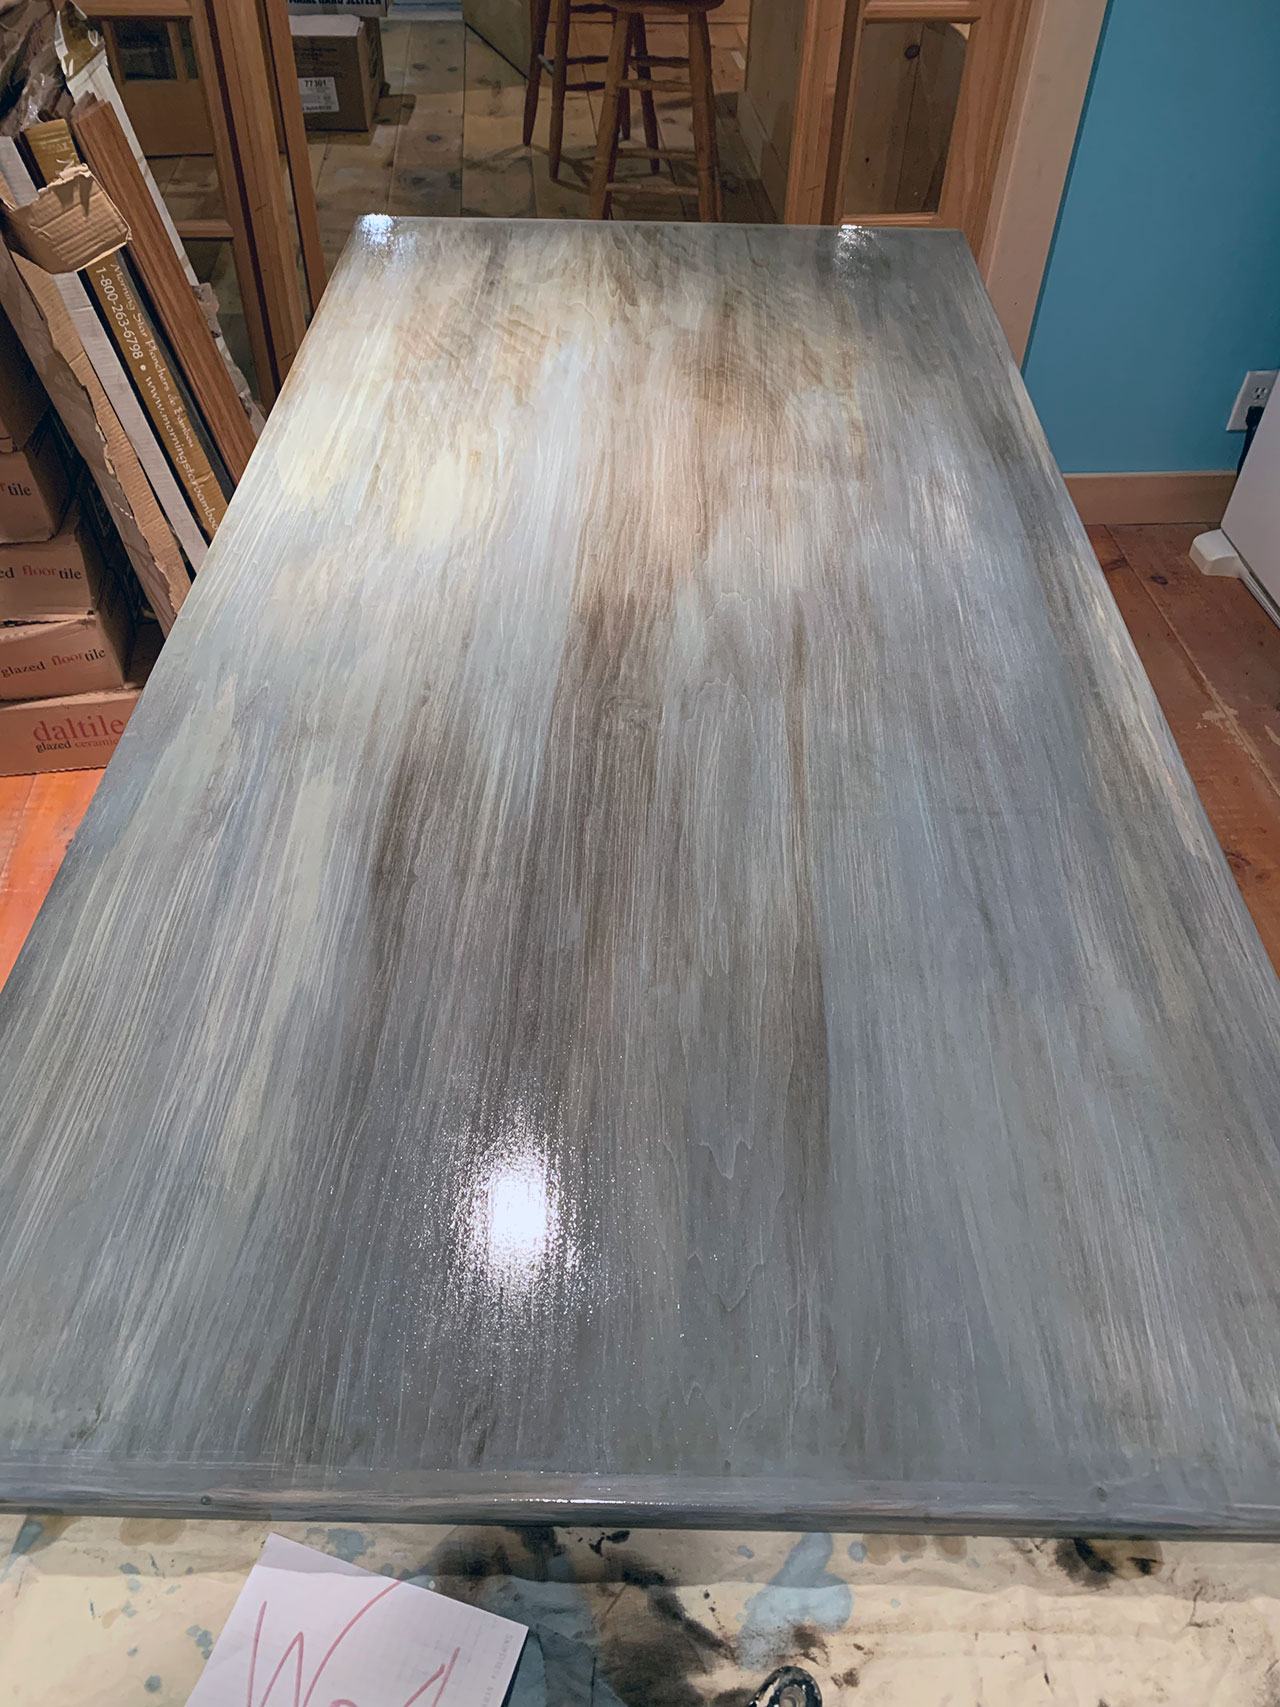
You can see how the tone of the stains shifts a lot depending on light which is something I like. Sometimes it’s very blue and other times it’s brown.
The Finished Product
From there it was a simple matter of attaching the top to the adjustable desk frame and attaching the control board and motor.
Here’s some pictures of the final setup. They aren’t great as the lighting where my desk is isn’t great. However, it lets you see the desk in it’s environment.
Oh, ignore all the wires. I haven’t wrangled those together yet to clean up the look.
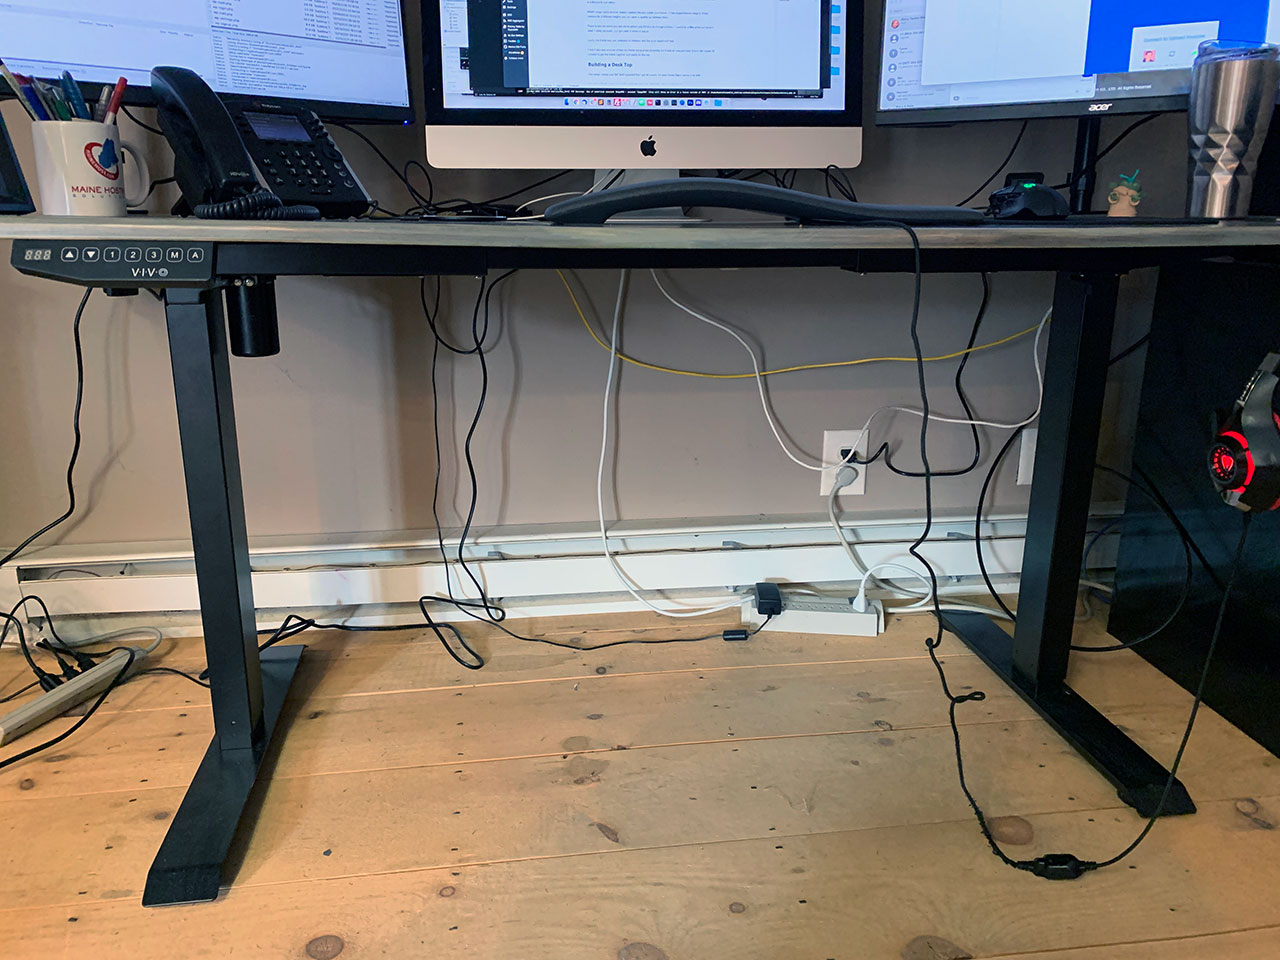
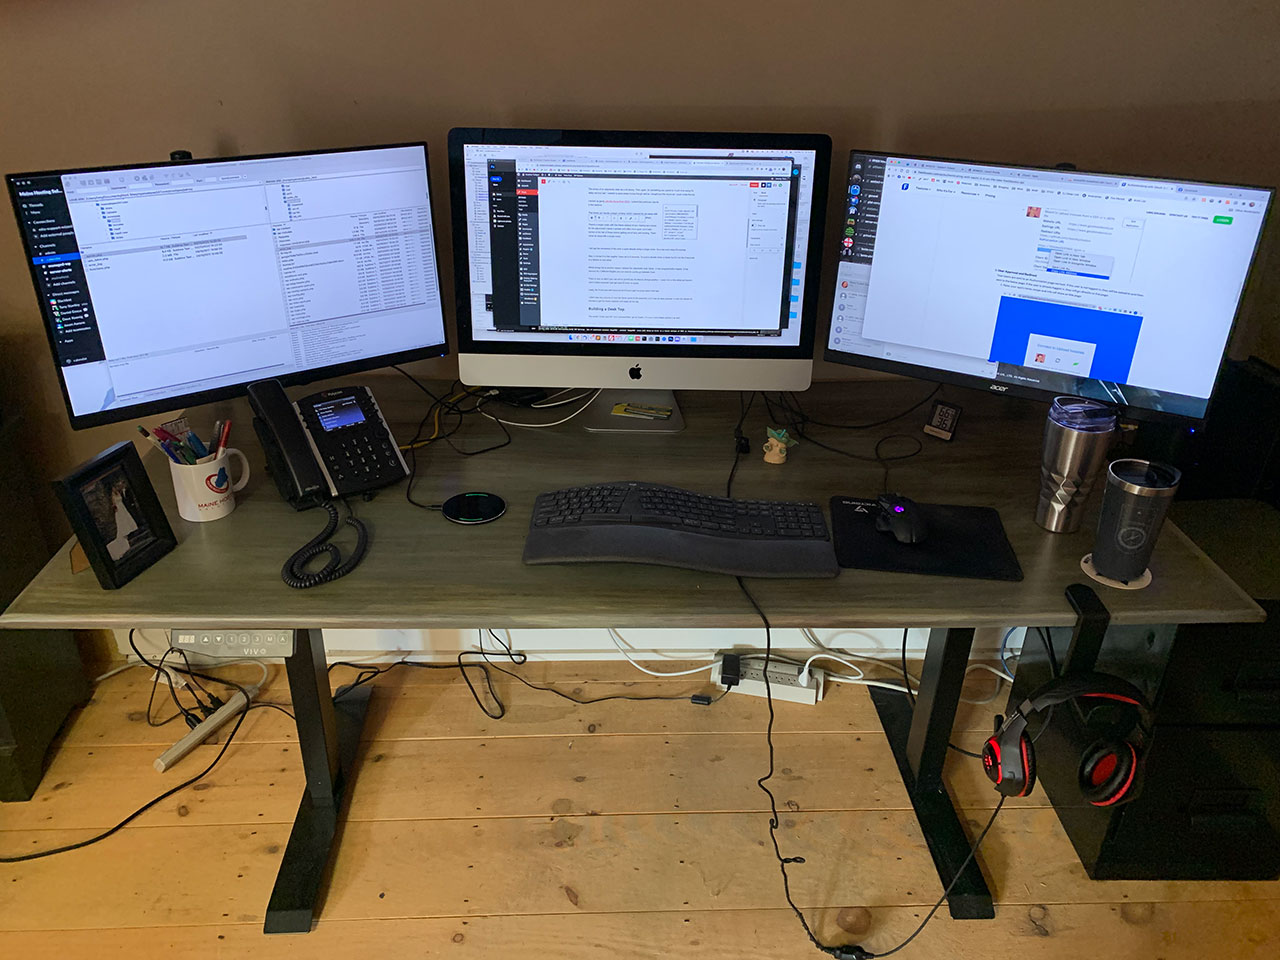
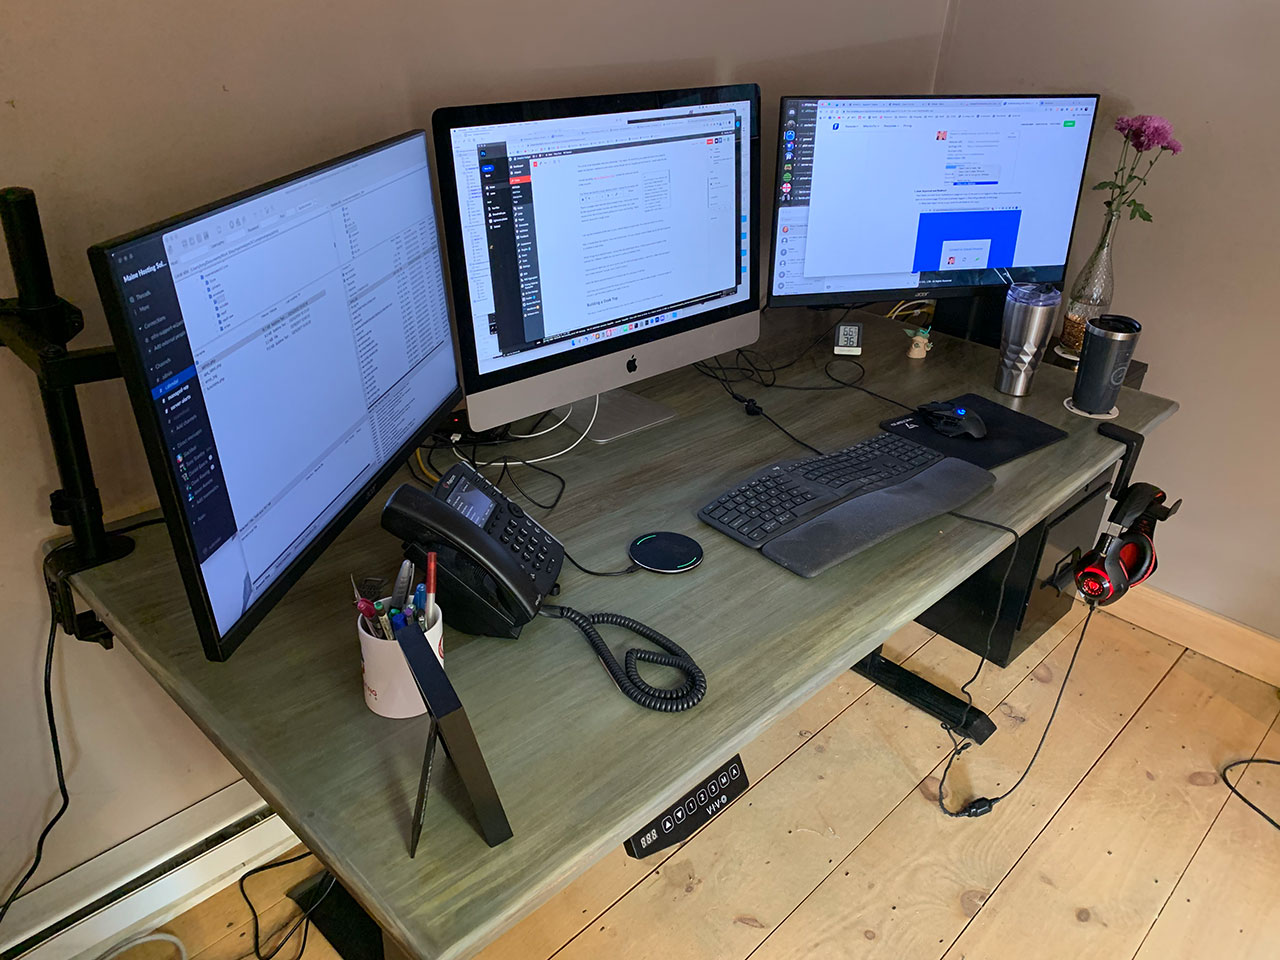
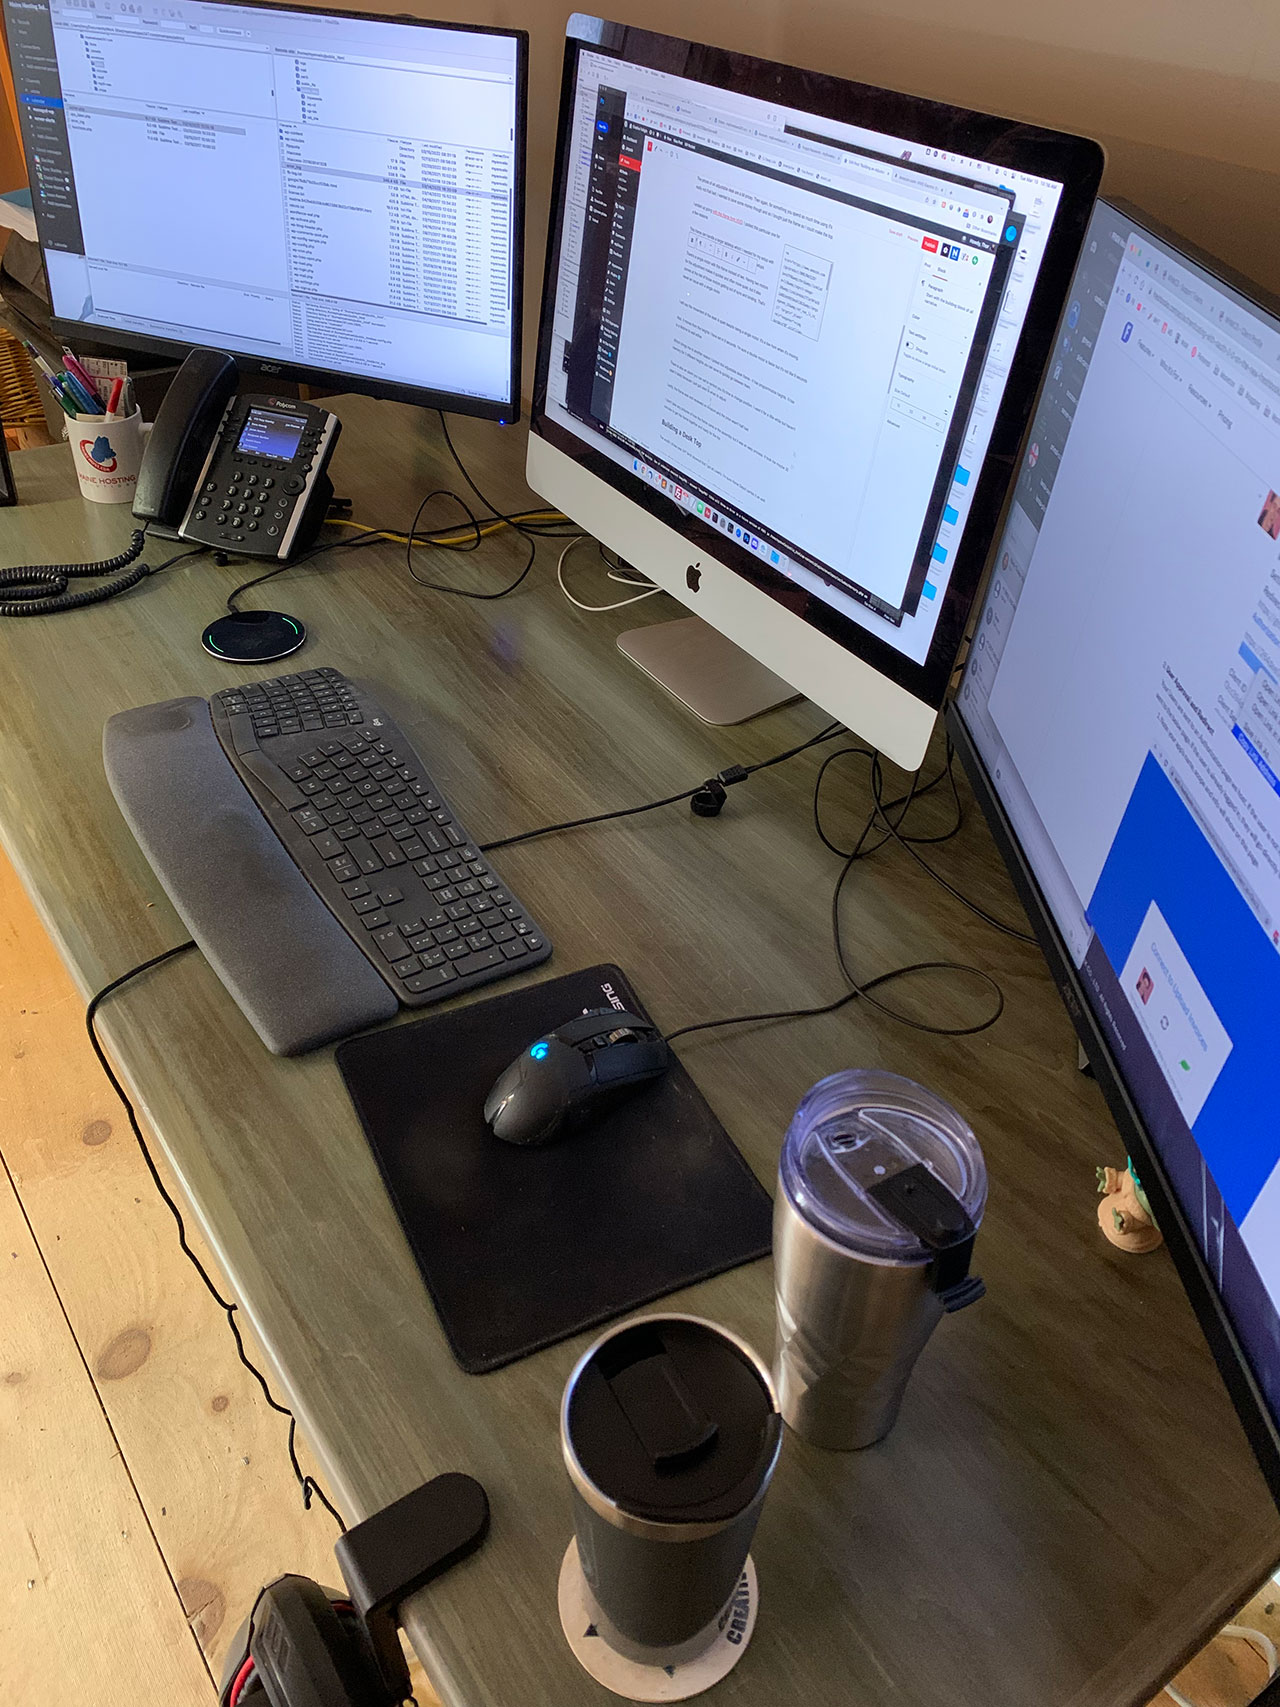
You can better see the effect of the warm poly in these shots and how it toned everything down.
The desk is very solid when raised up, which is often a concern with these type of desks. I raise mine up 42″, which you can see in that last shot. The desk itself is capable of going up to 53.7″ and goes down to 28″ giving it a wide range great for people of all heights.
Get Yourself an Adjustable Desk!
At the point of writing this I have been using this desk for a little over a month and it’s been amazing. I haven’t had the issues with my arm and leg since making the switch. Also I find myself getting less tired throughout the day since I’m changing positions once an hour.
I can’t recommend a setup like this enough if you’re like me and behind a desk all day long, then I highly encourage you to get an adjustable standing desk.
Four months later and the desk is still going strong! I adjust it multiple times a day, 7 days a week, and I’ve had no issues with the motor or otherwise.