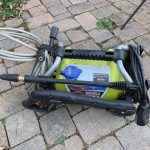
Years ago I got a Wagner paint sprayer for Christmas and it has been a godsend. I wanted one for a set of coffee tables I needed to paint and clear coat at the time.
Since, I’ve used my Wagner countless times for various projects and every time I’ve been impressed.
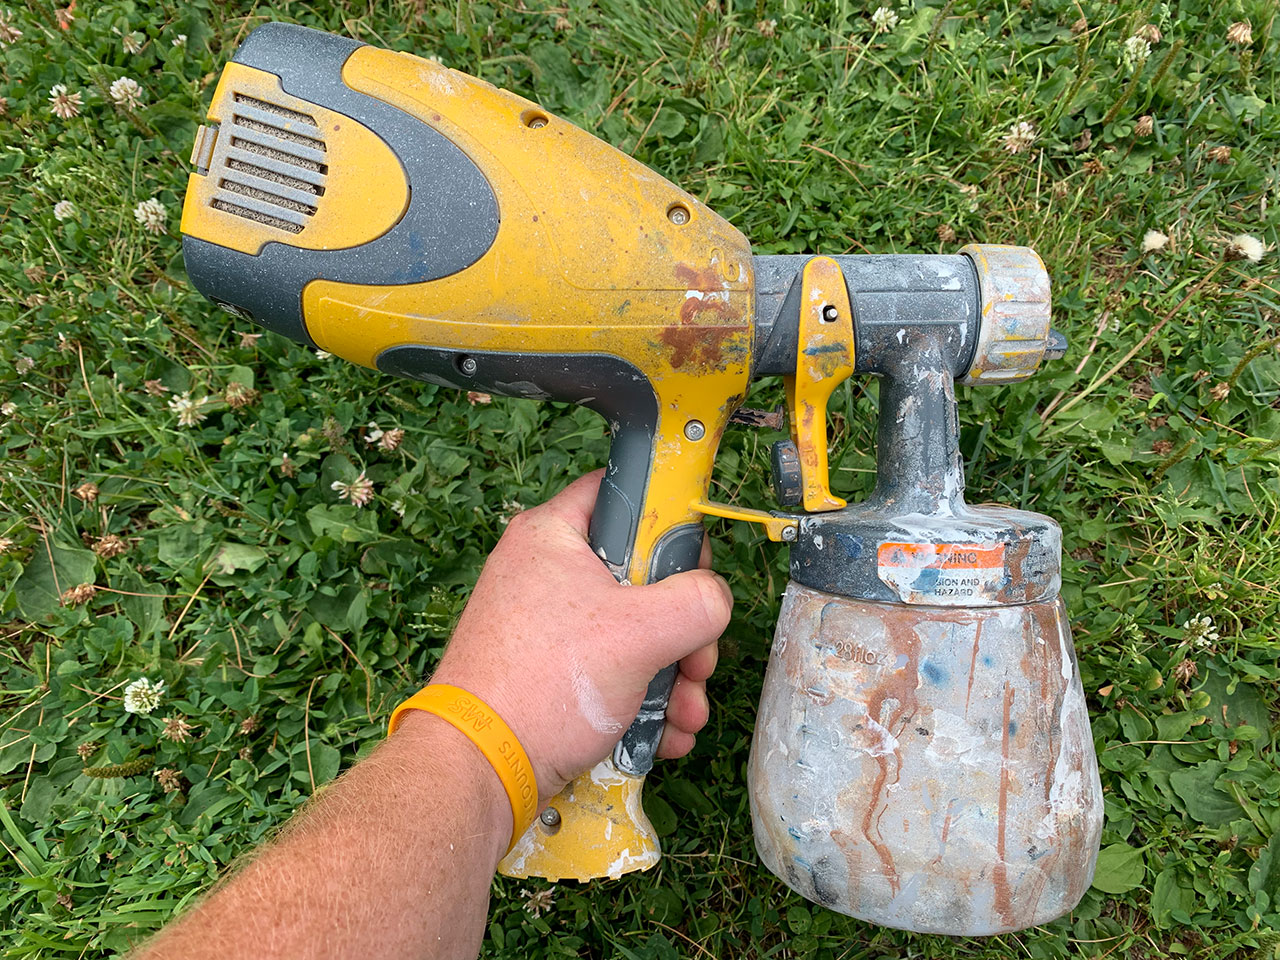
I’m going to cover the basic use of a HVLP Wagner paint sprayer for beginners and give some tips for better results.
Buying a Wagner Paint Sprayer
My sprayer came from Home Depot and you can commonly find Wagner paint sprayers at places like that and local hardware stores.
Of course you can also buy one off Amazon if you don’t feel like heading to the store.
The one I got is an older model, but the Wagner Spraytech Double Duty is the current equivalent. That particular one is for staining and sealing. However, I have used it a lot for spraying latex paint (almost exclusively) and have never had an issue.
That being said, you can buy a sprayer head for finer detail work and it will fit on the Double Duty. I’ve done furniture with latex paint without that as I said, however, I’ll likely pick one up to give it a try.
HVLP
Most any handheld home improvement Wagner sprayer is going to be an HVLP sprayer. This is important to note.
HVLP stands for High Volume Low Pressure. These sprayers work by using a high volume of air to move the paint but it’s done at a low pressure. This creates a softer spray.
Using the Wagner Paint Sprayer
There is honestly not a lot to these sprayers, which is why they’re so great. They are easy to use and clean up.
Each sprayer is a bit different in terms of what they’re intended for but the basic operation is the same.
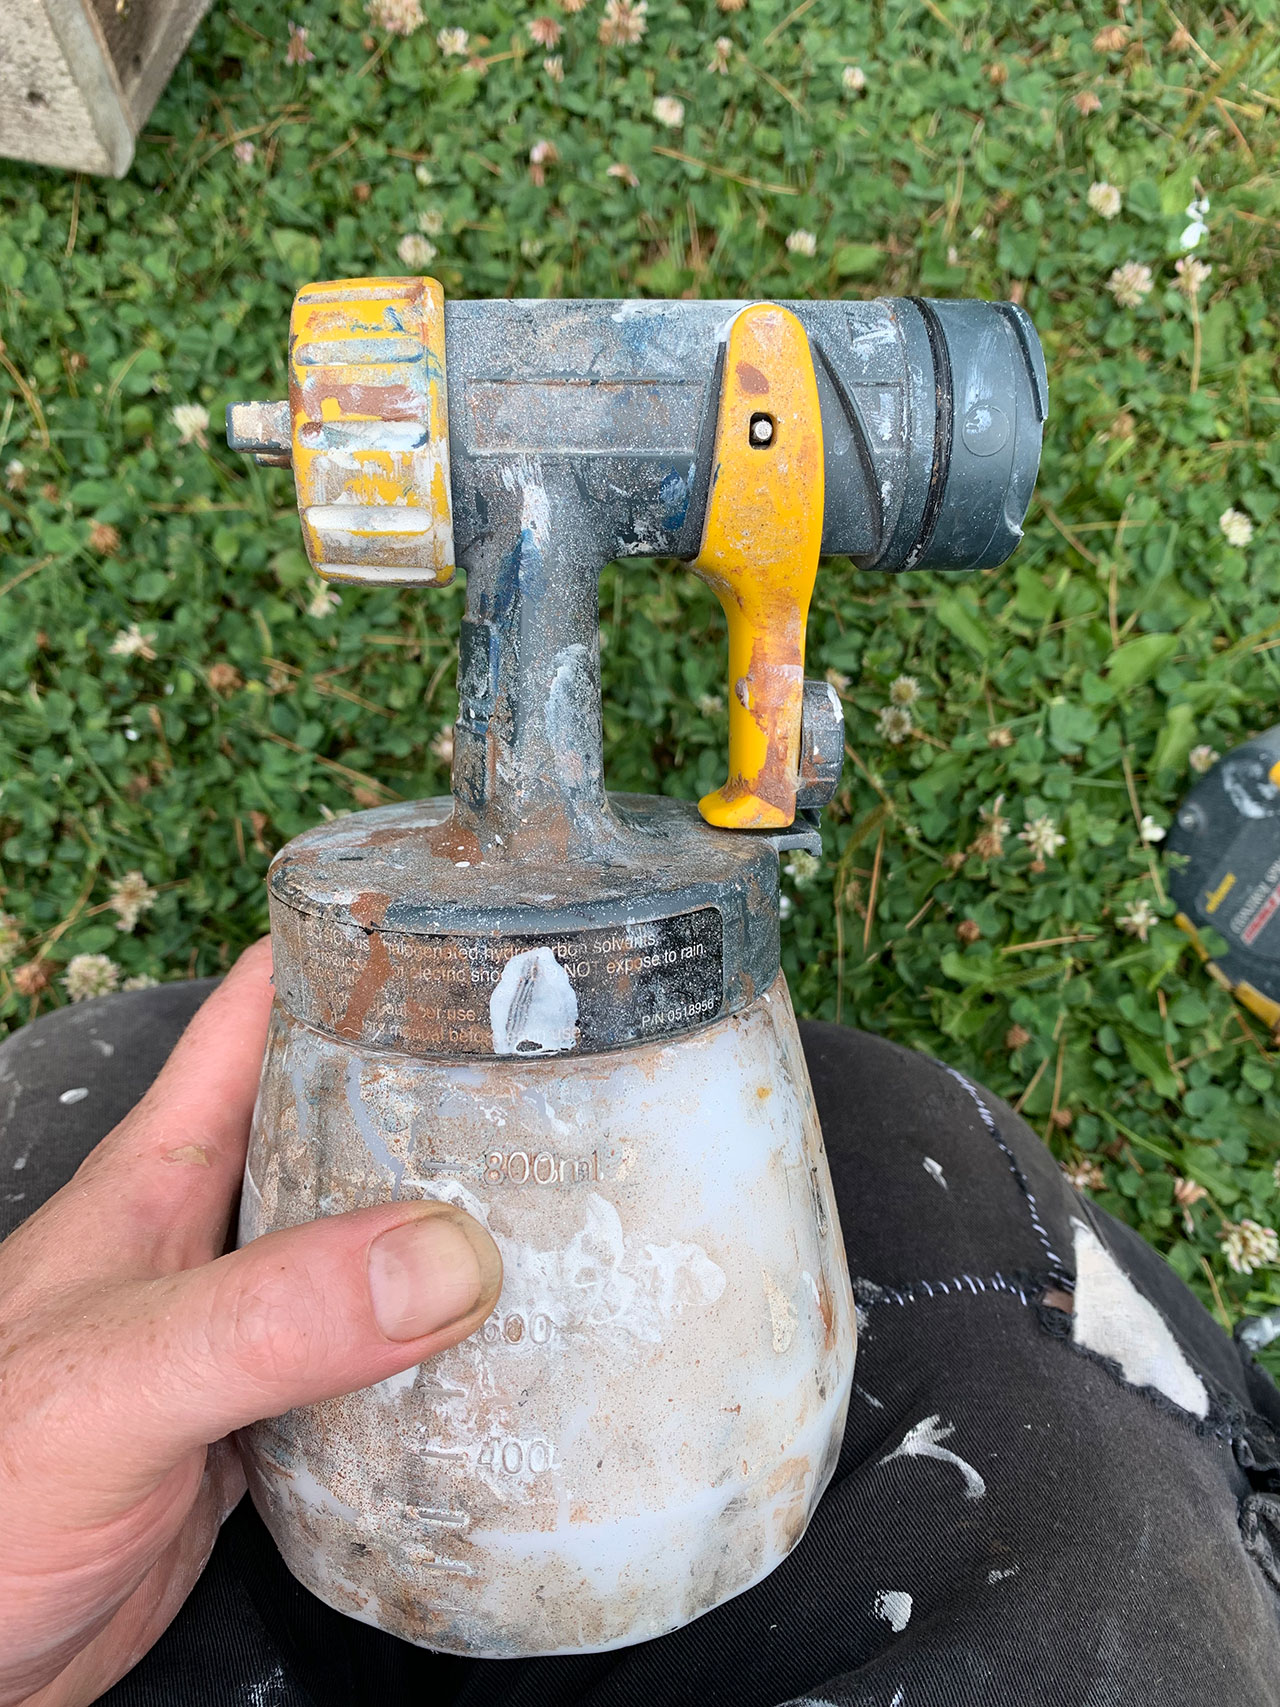
Filling up the Sprayer with Paint, Stain, or Sealer
You’ll want to fill up the paint cup with the paint, stain, or sealer you’re using.
Latex Paint
If you’re using a latex paint, then you’re going to want to thin it out. If you try and spray latex without thinning it won’t work.
Because latex paint is water based you can use water to thin the paint out at a ratio of about 1 part water to 2-3 parts paint. The recommended amount of 20-30% thinning for HVLP sprayers.
You don’t have to be super precise with this. I never measure when I’m thinning out my latex paints. You’re aiming for a milk-like consistency. Add water, mix it around, and see how the consistency looks.
If you’re unsure if you’ve thinned it enough you can try spraying it. If the paint doesn’t come out at all, then it’s too thick.
You can go too thin too. You’ll know you’ve gone too thin when the paint just won’t stick and runs down. In that case you just need to add some more paint to the cup and shake it around.
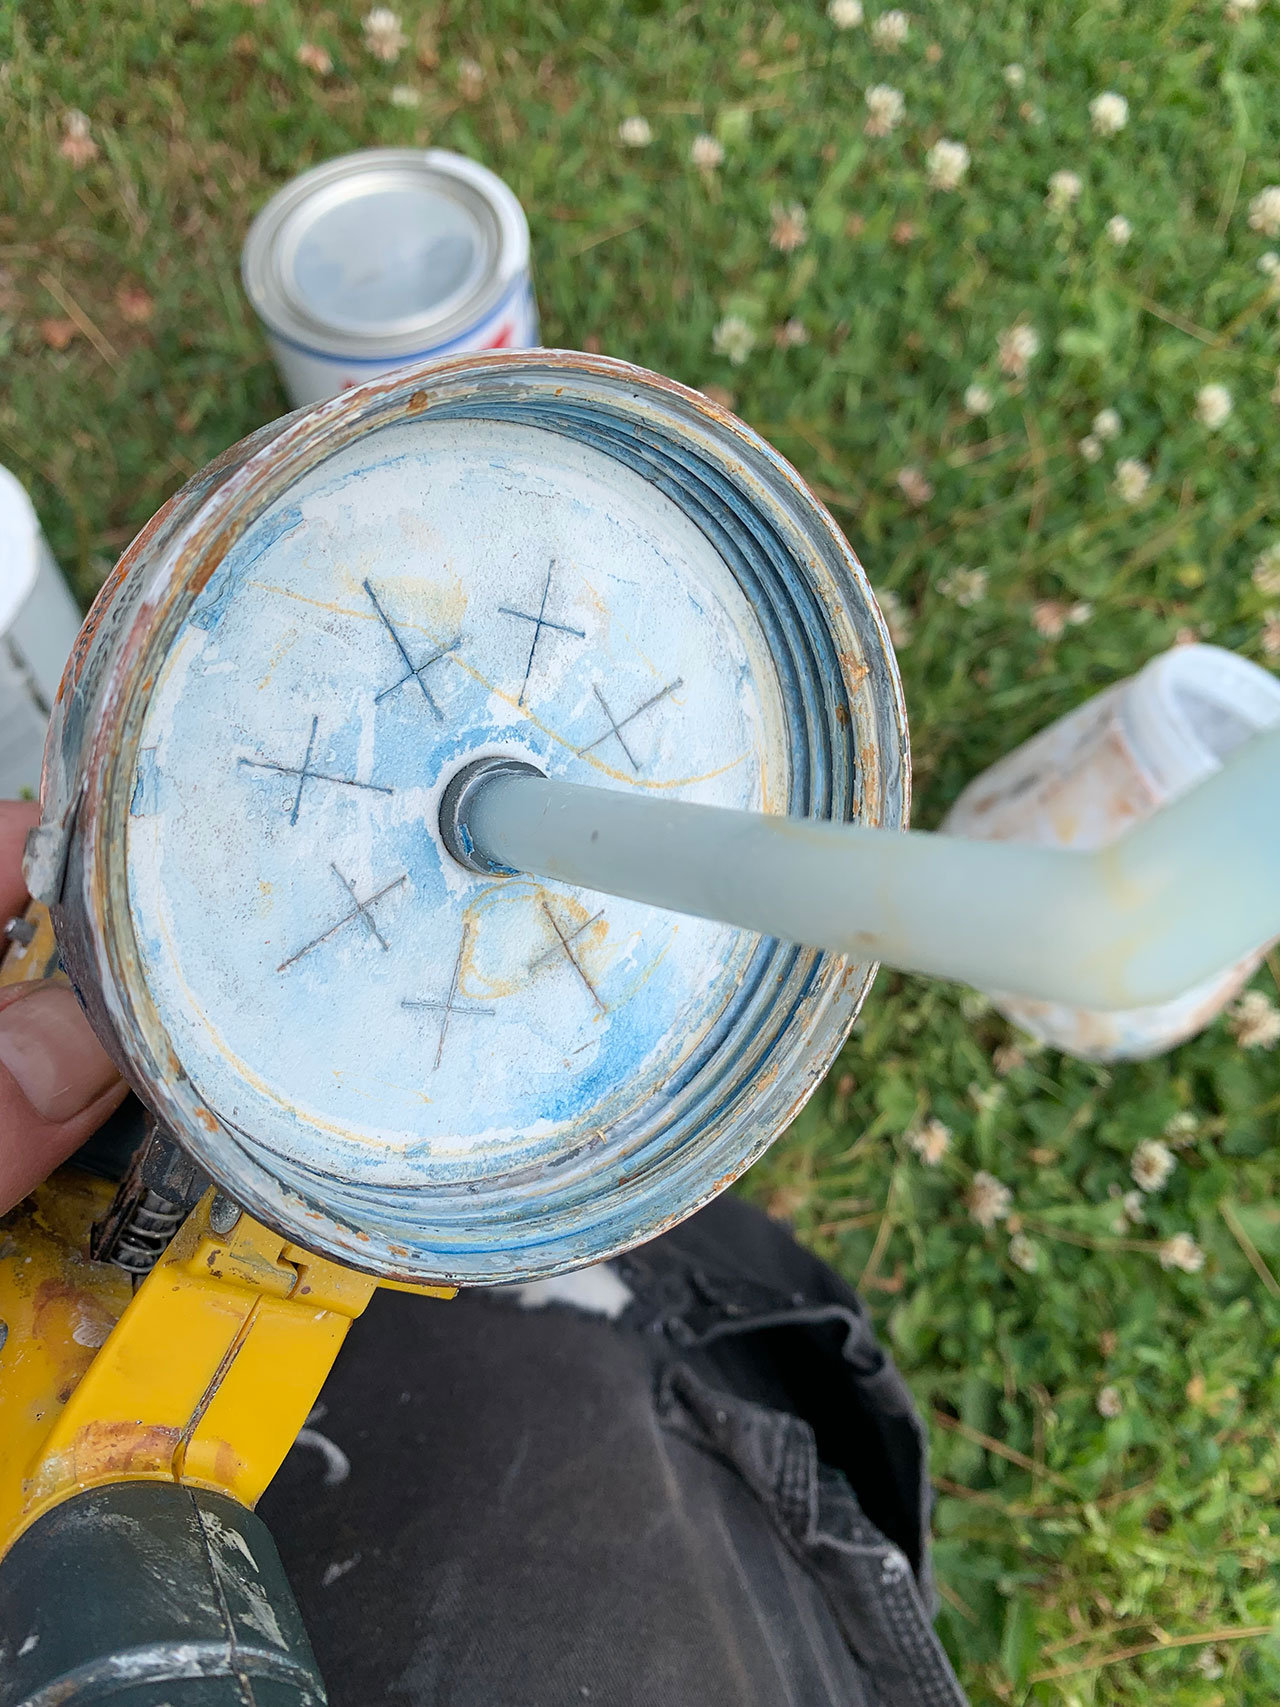
Mixing
I will mix water into my paint cup, attach it to the sprayer head that I’ve already detached, and then shake it. Make sure the sprayer head is removed from the sprayer so you aren’t shaking the entire thing.

Stains and Sealers
Now, most stains or sealers (polyurethane, lacquer, varnish, etc) will not require thinning down. There are some exceptions though. Again, try spraying it and see what you get then adjust from there.
Not all stains or sealers are water based though. Check the can for thinning directions. Some stains and sealers will require mineral spirits or paint thinner for thinning. Make note of this because it’s going to come into play with cleaning your Wagner sprayer later too.
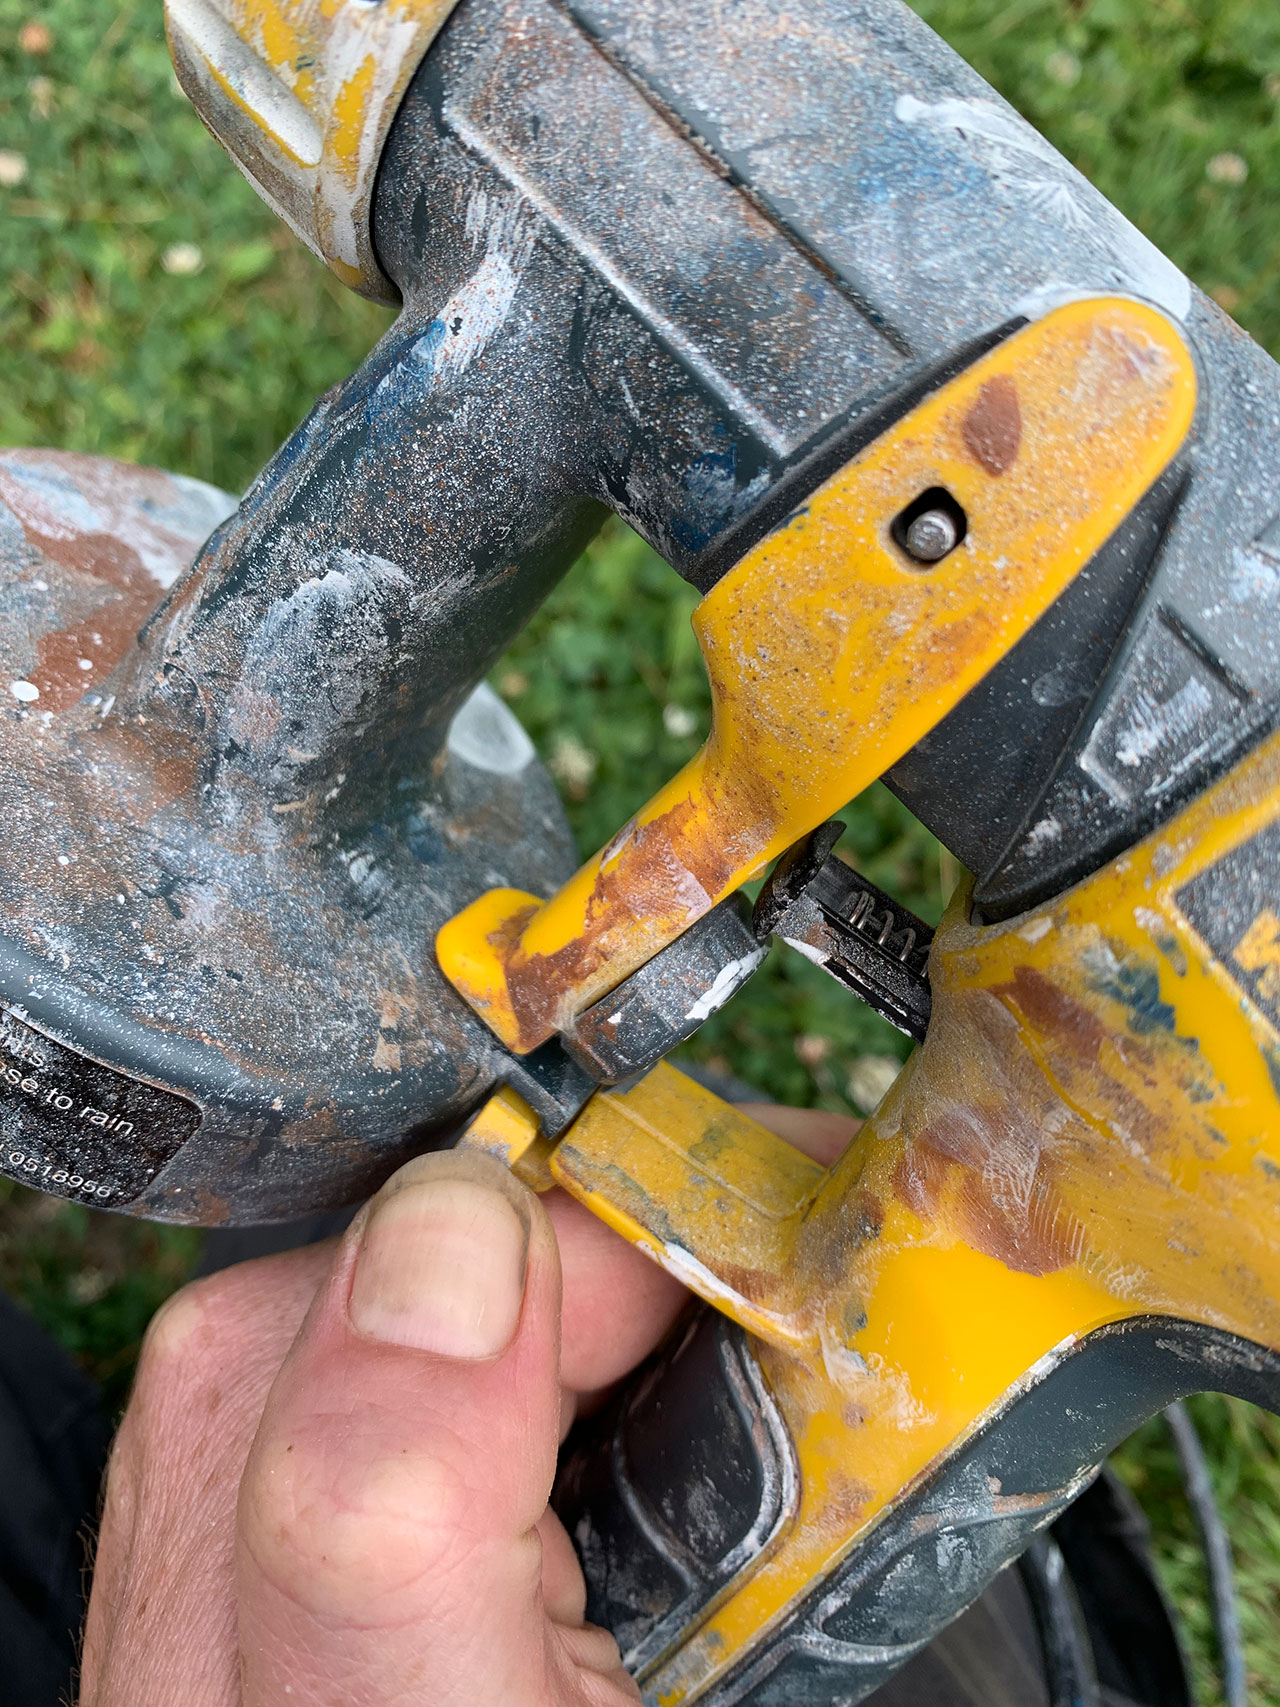
Check Your Connections
If there’s any air leakage, then your Wagner sprayer won’t spray. There’s a few connections you need to make sure are tight.
The one that’s easy to neglect checking (done this enough) and that’s where the paint cup attaches to. Inside that paint cup top (not sure what to call it) is a piece of styrofoam (at least in my model). That styrofoam needs to be seated firmly against the top and not raised on the edges any.
When the paint cup is screwed into that piece the styrofoam creates an airtight seal. Make sure that’s seated right and you’re good.
The next is of course making sure the paint cup is screwed on tightly. You don’t want to go so tight you’ll never get it off again. Tighten it until it’s snug and turn it a hair more.
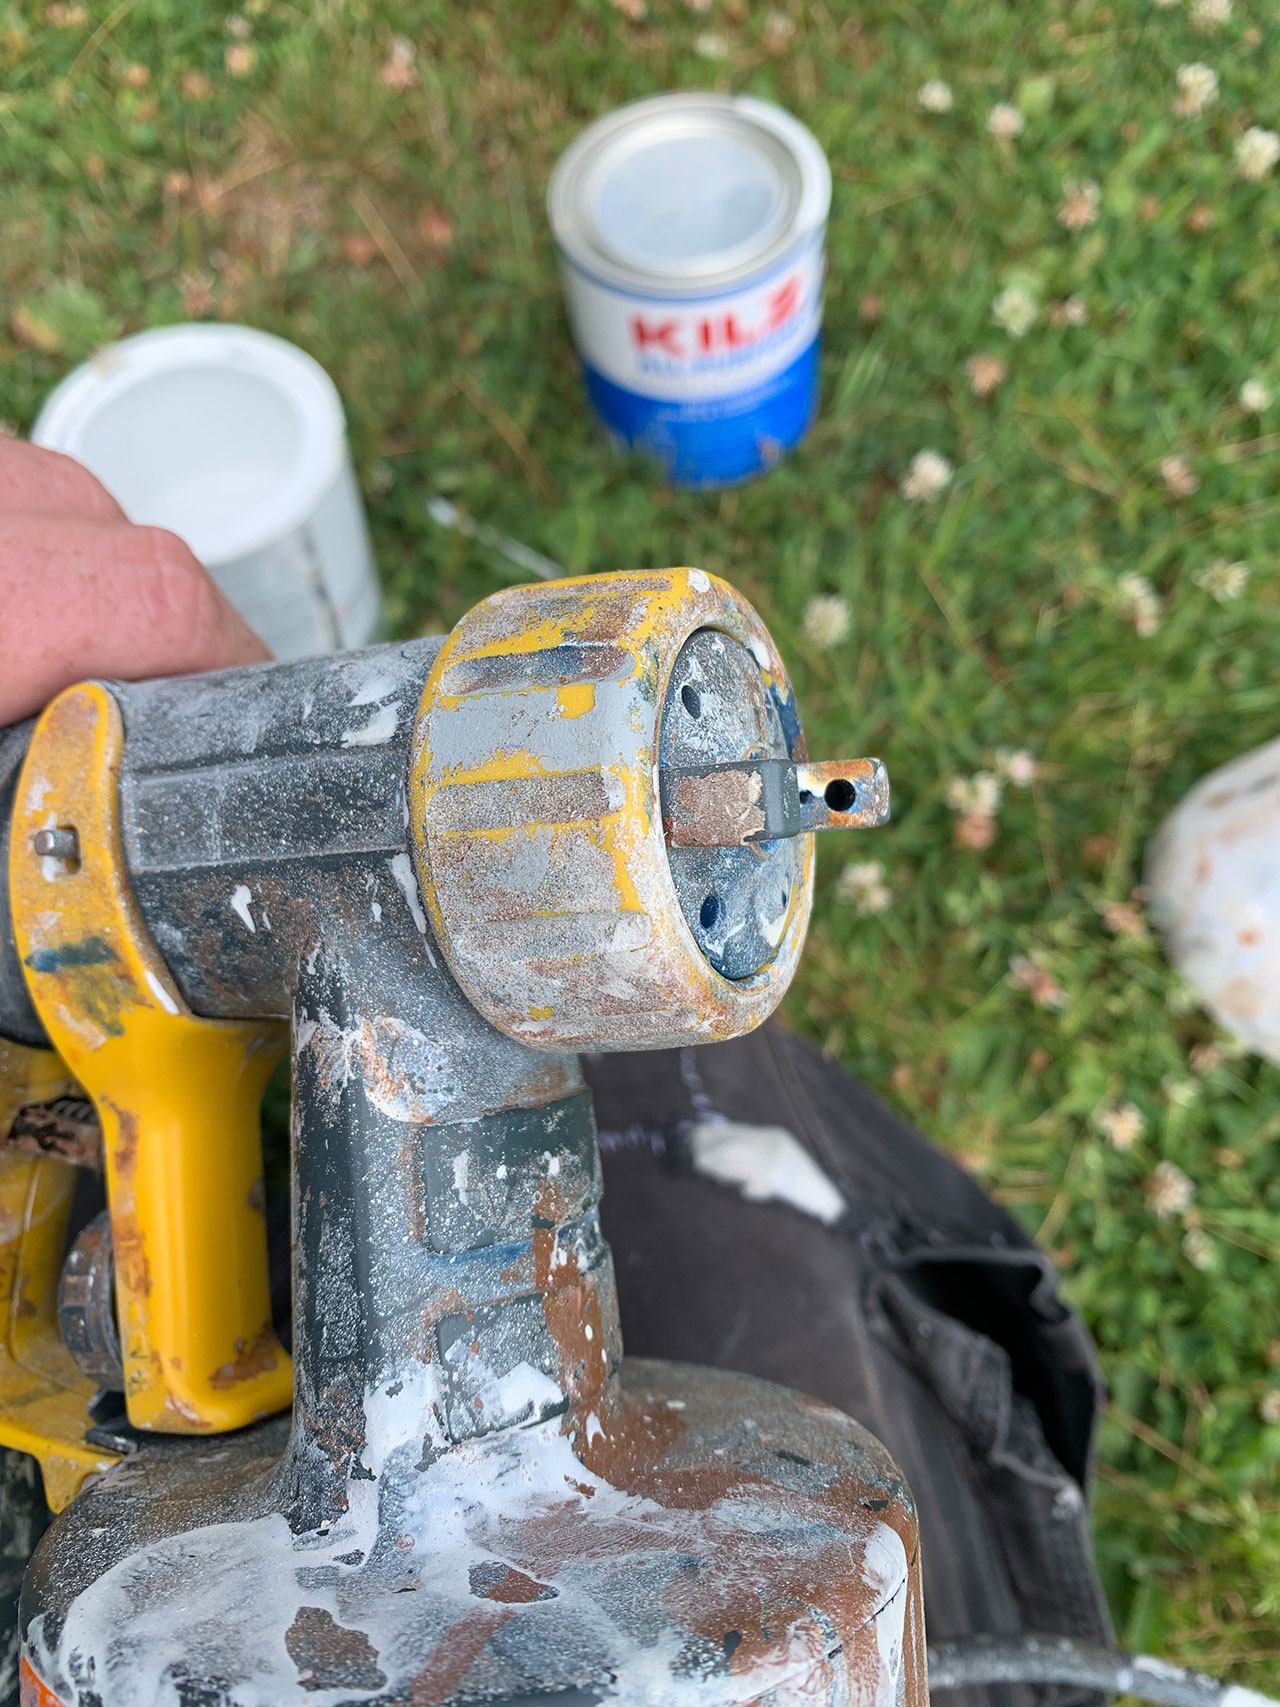
Lastly, make sure the spray nozzle is tight. There’s a screw ring around the paint nozzle. This one doesn’t need to be quite as tight as the paint cup, especially since you may need to adjust its position. Snug this one up and you’re ready.
Spraying with Your Wagner
Spraying with the Wagner is relatively simple but there’s a few tricks to ensure you get a nice smooth finish.
Spray Direction
Most Wagner paint sprayers will have an adjustable nozzle. There’s usually 3 ways to spray but some may only have 2.
To adjust the direction of the spray you will want to losen the ring around the nozzle a little. You can then turn the nozzle tip.

Distance
You want to be about 12-16″ from the object you’re spraying. If you’re too close, then the paint (or whatever you’re spraying) will go on too thick and it will run down the object. Being too far away means you won’t get much paint on the object and you’ll use more paint to get an even coat.
The distance is variable depending on the thickness of what you’re spraying.
My tip is to start out further back than you may need, see how it’s going on, and adjust your distance as needed.
Speed
A very important tip is to keep the Wagner sprayer moving. Do not stop moving while the paint is spraying. If you stop, then paint will pool up in that area and run down ruining your finish.
You want to keep the sprayer moving at a nice consistent speed back and forth. It will take a few tries to find the right speed to make sure paint is going on well and evenly. If you go too fast then the paint won’t have time to build up and stick.
Stop & Start
In the same vein as the movement of the Wagner paint sprayer is starting and stopping the paint. You want to start the sprayer off the object and then move it over the object while paint is coming out.

If you you’re Wagner paint sprayer has a two-stage trigger like mine does, then pull the trigger lightly until you hear air. This first stage doesn’t shoot out paint (only air) and doing this will clear the nozzle of any paint that may be in it. Then pull the trigger all the way to get paint and start moving onto the object.
Also, you want to stop the sprayer off the object. So, start spraying off the object, move over the object in a straight line, and then move off the object to stop.
Doing this prevents the paint from pooling up. If you start and stop on the object, then those areas can get some paint pooling and run.
Another tip with this is you do not have to keep starting and stopping the sprayer with each pass you make. Instead, make your pass, go past the object, and while you’re still spraying bring it back over for another pass, making sure each time you end off the object.
Doing this and keeping the sprayer going makes for very quick work.

Clean Results
If you follow those steps and have properly thin paint (if you need to thin it) you’ll get a perfectly smooth finish every time.
Also, resist the urge to get a perfect coat in one attempt. If you’re thinning your paint, then you’re going to get a lighter coat when sprayed; it’s expected. You’re going to get better results doing two thin coats than you are trying to get one solid coat.
Sometimes you can get it done in a single coat depending on the material and the paint itself but don’t force it.
My approach is to do two passes on whatever I’m working on. The first pass is very thin and misty. Once I’ve made my first pass over that area I go back and make a second pass to build on that. This gives an even finish that’s not too thick.
Cleanup with Your Wagner Sprayer
It’s very important you clean up your Wagner paint sprayer right after you’ve finished using it. Letting it sit for any length of time will cause the paint to dry and potentially clog the sprayer.
Water Based Products
If you used a water based paint/product, then clean up is a matter of just using water. I use a garden hose for this.
First thing you’ll want to do is remove the paint cup and pour the excess paint back into the can. I have a separate can for this so I’m not pouring thinned paint into a can with un-thinned paint.
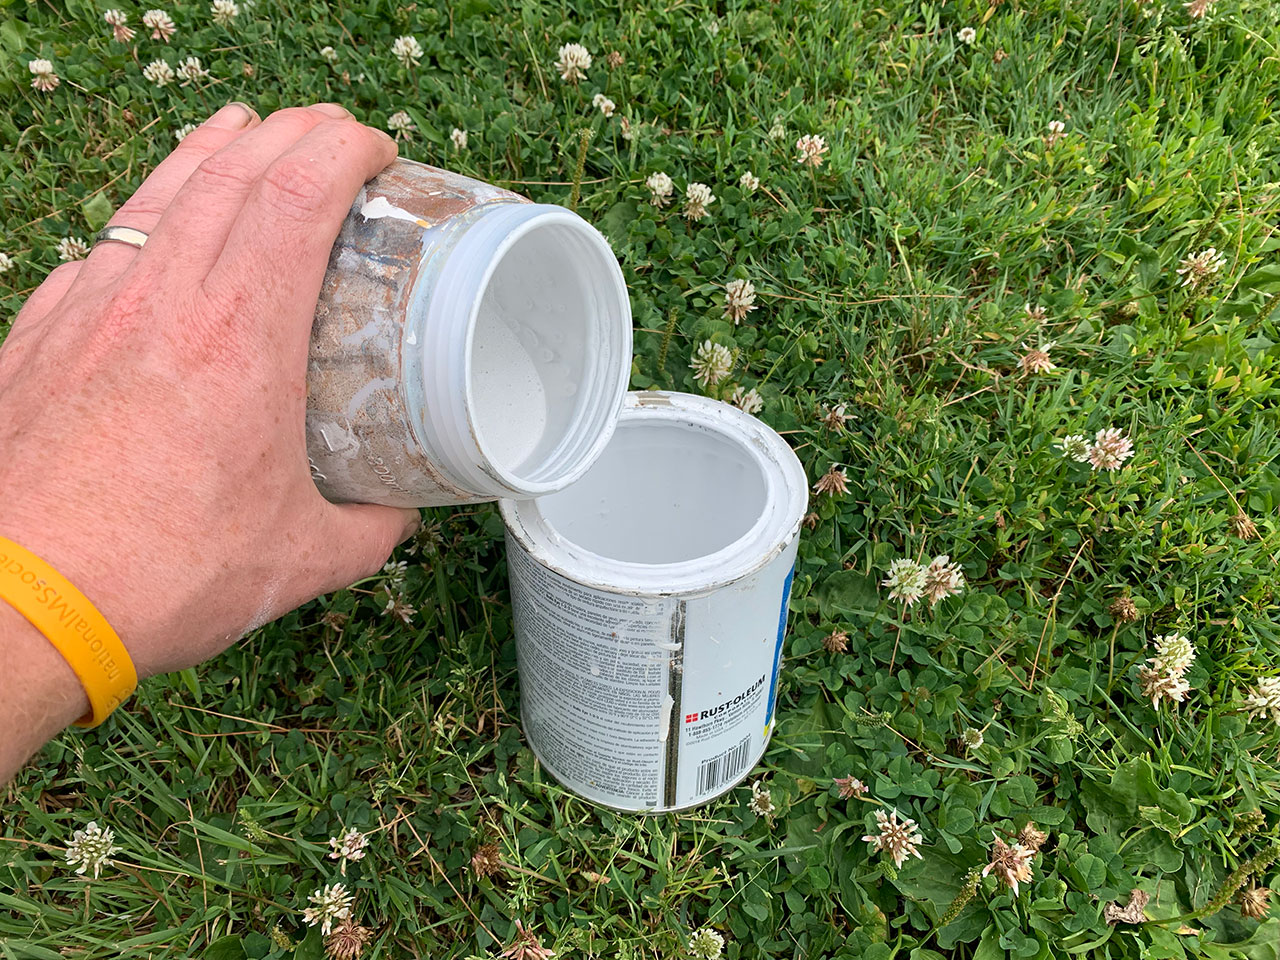
Using whatever water source you have (garden hose is great!) clean the inside and lip of the paint cup.
Next you want to disassemble the nozzle. First though, as shown above for shaking paint, remove the sprayer head from the rest of the sprayer.
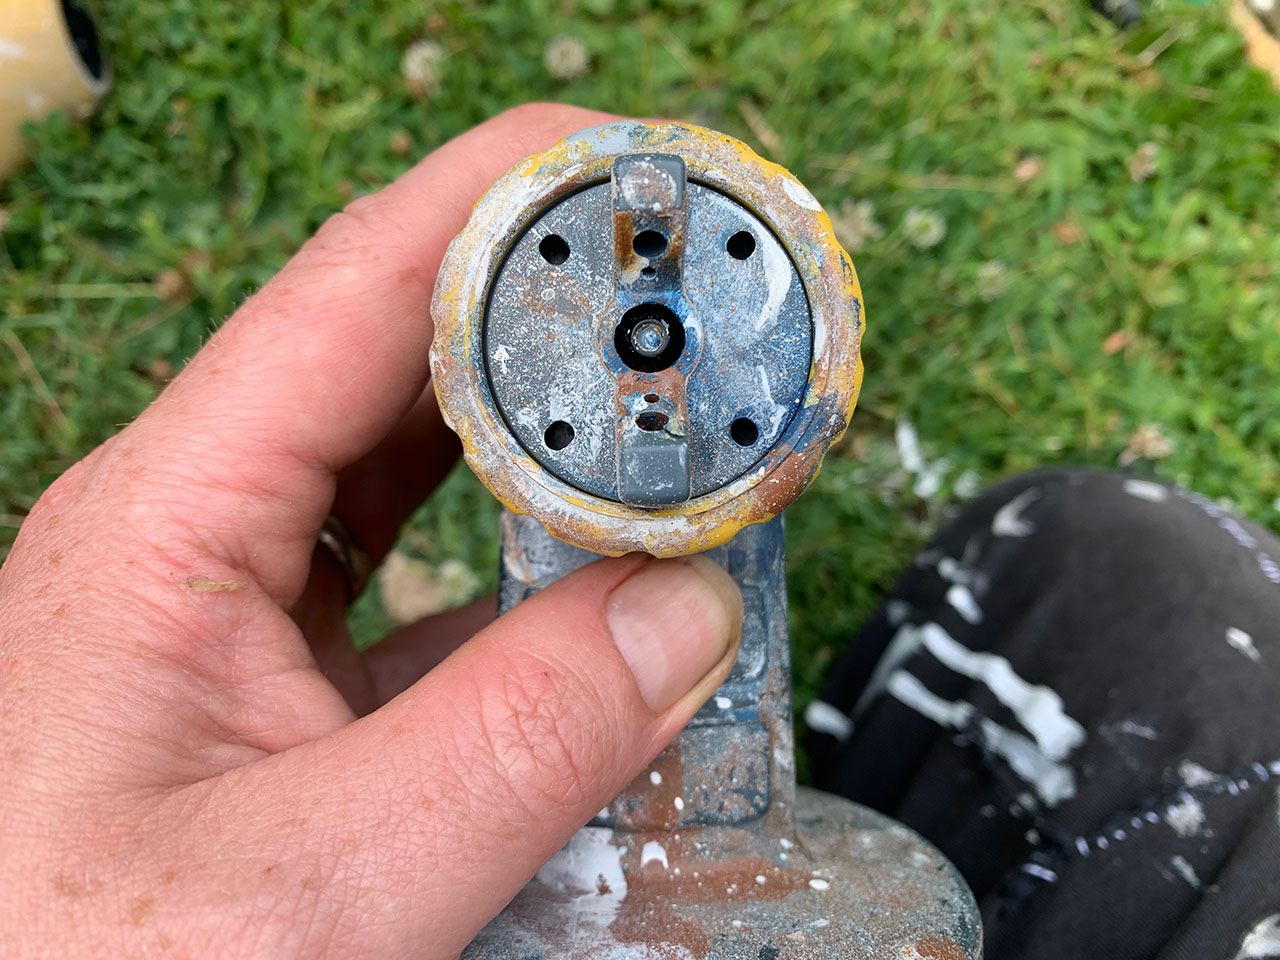
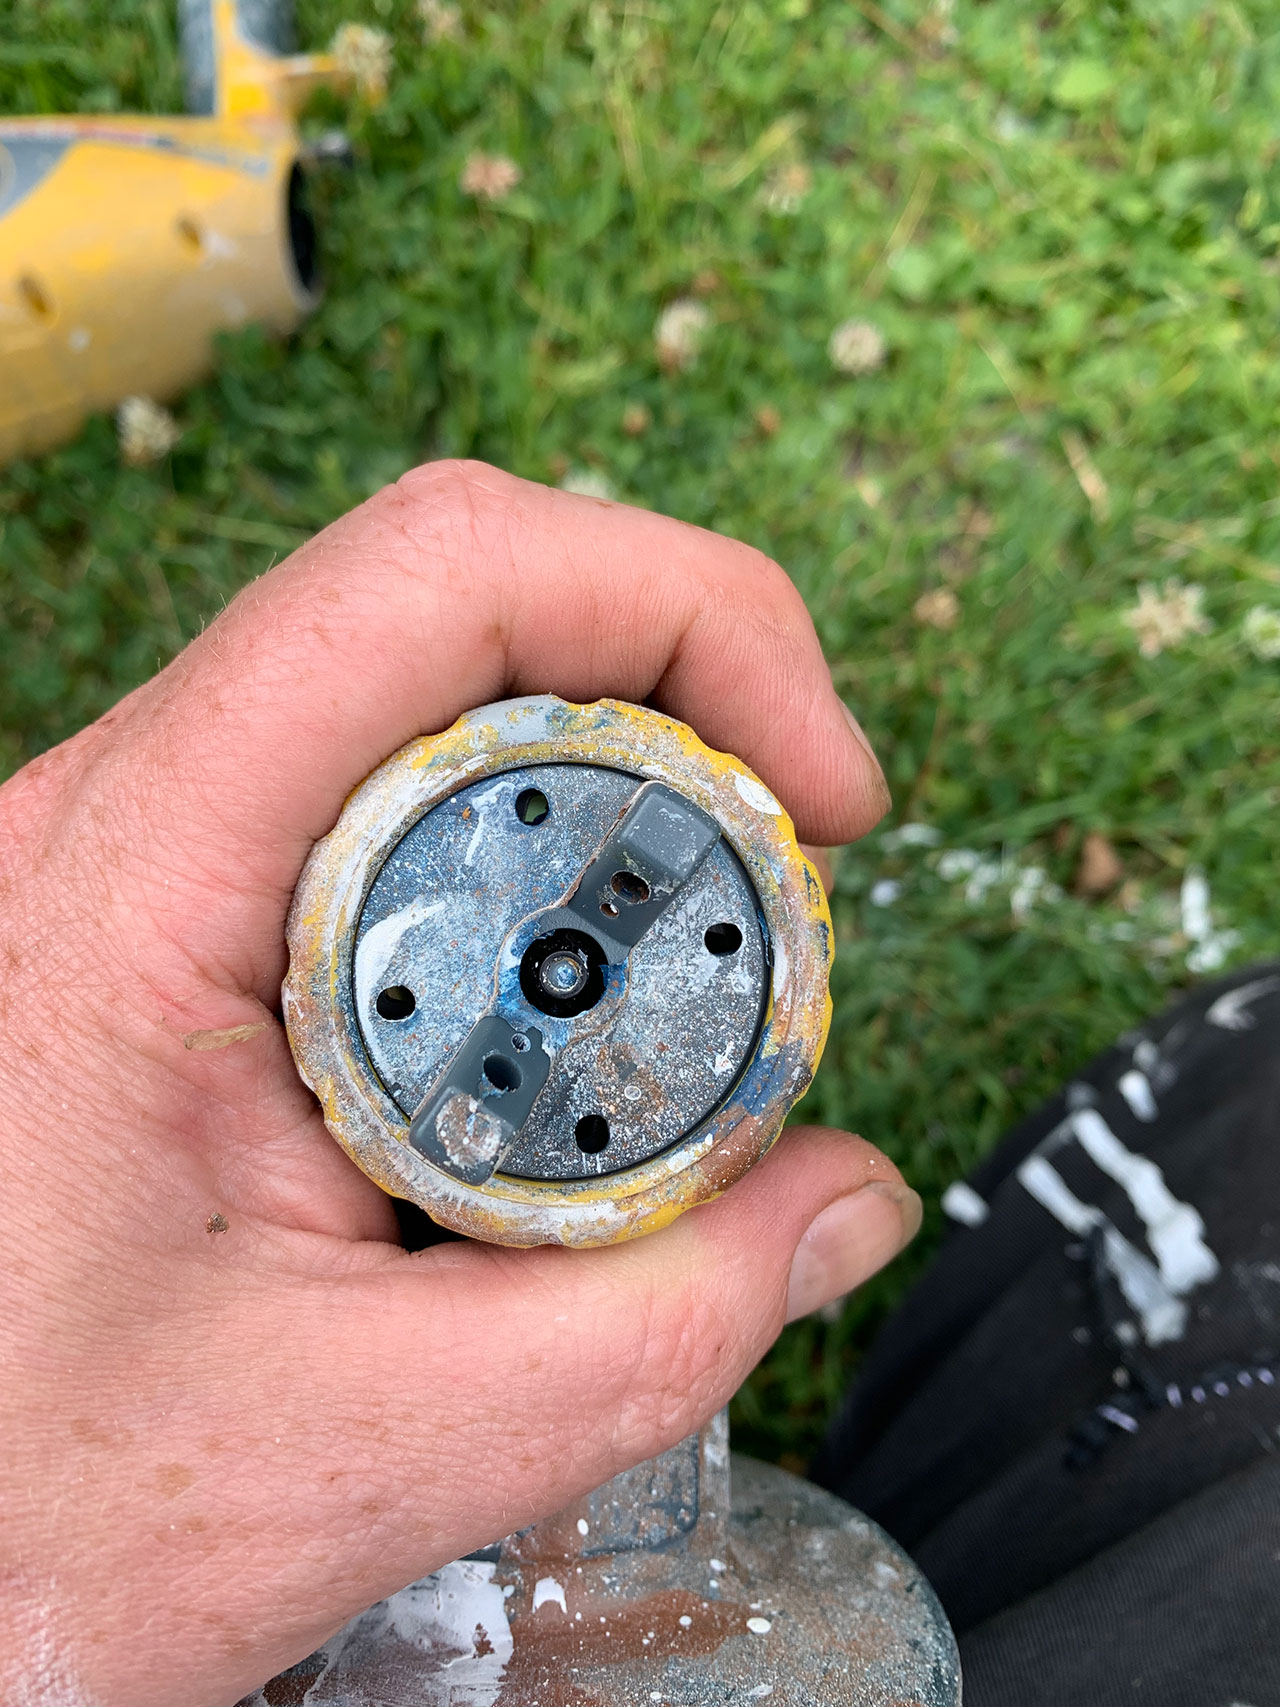
Unscrew the ring around the nozzle. You then want to pull off the adjustable tip.
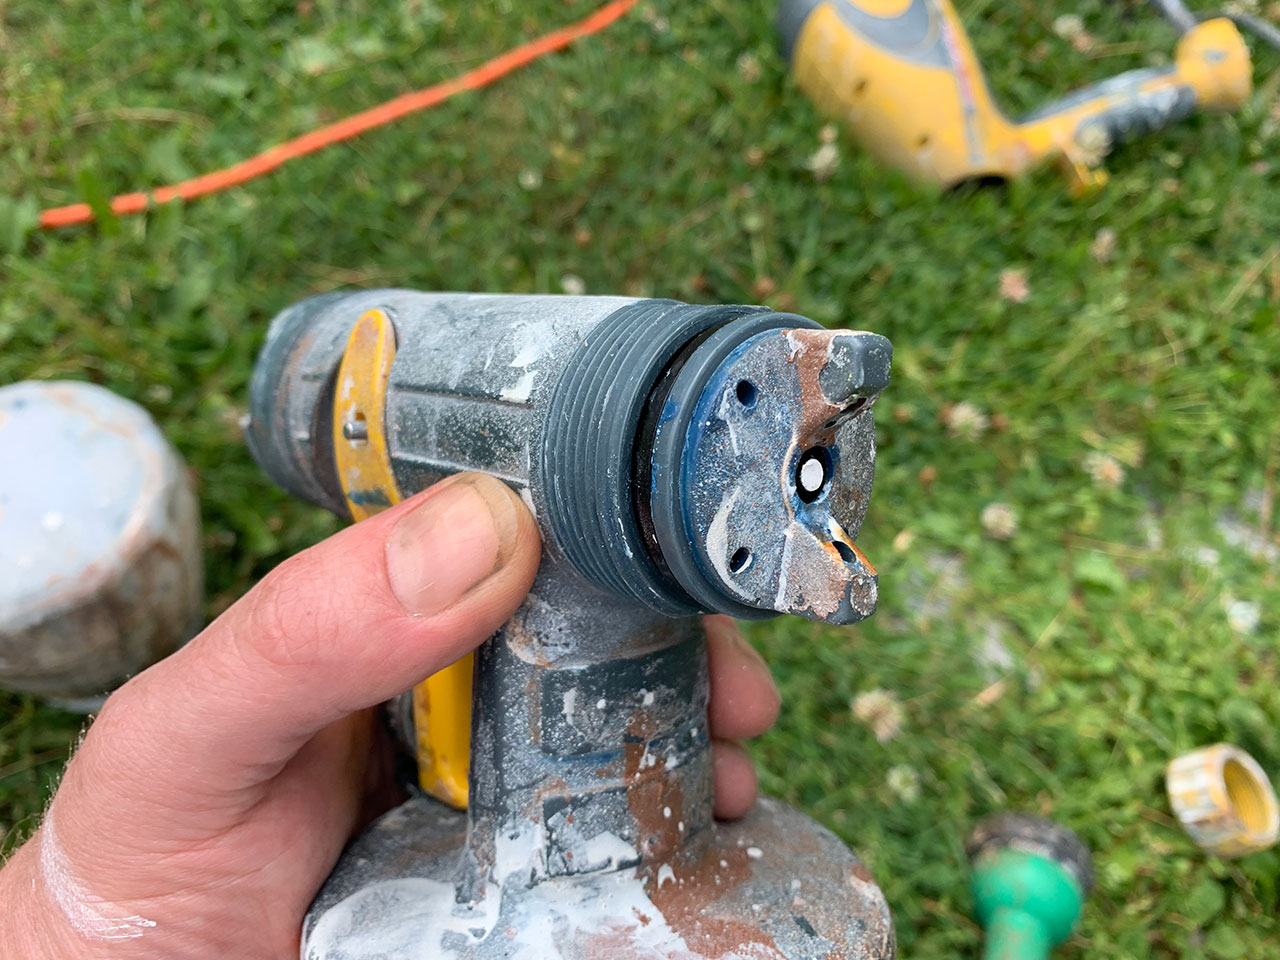
That reveals a cover that goes over the spray needle. Remove that as well.
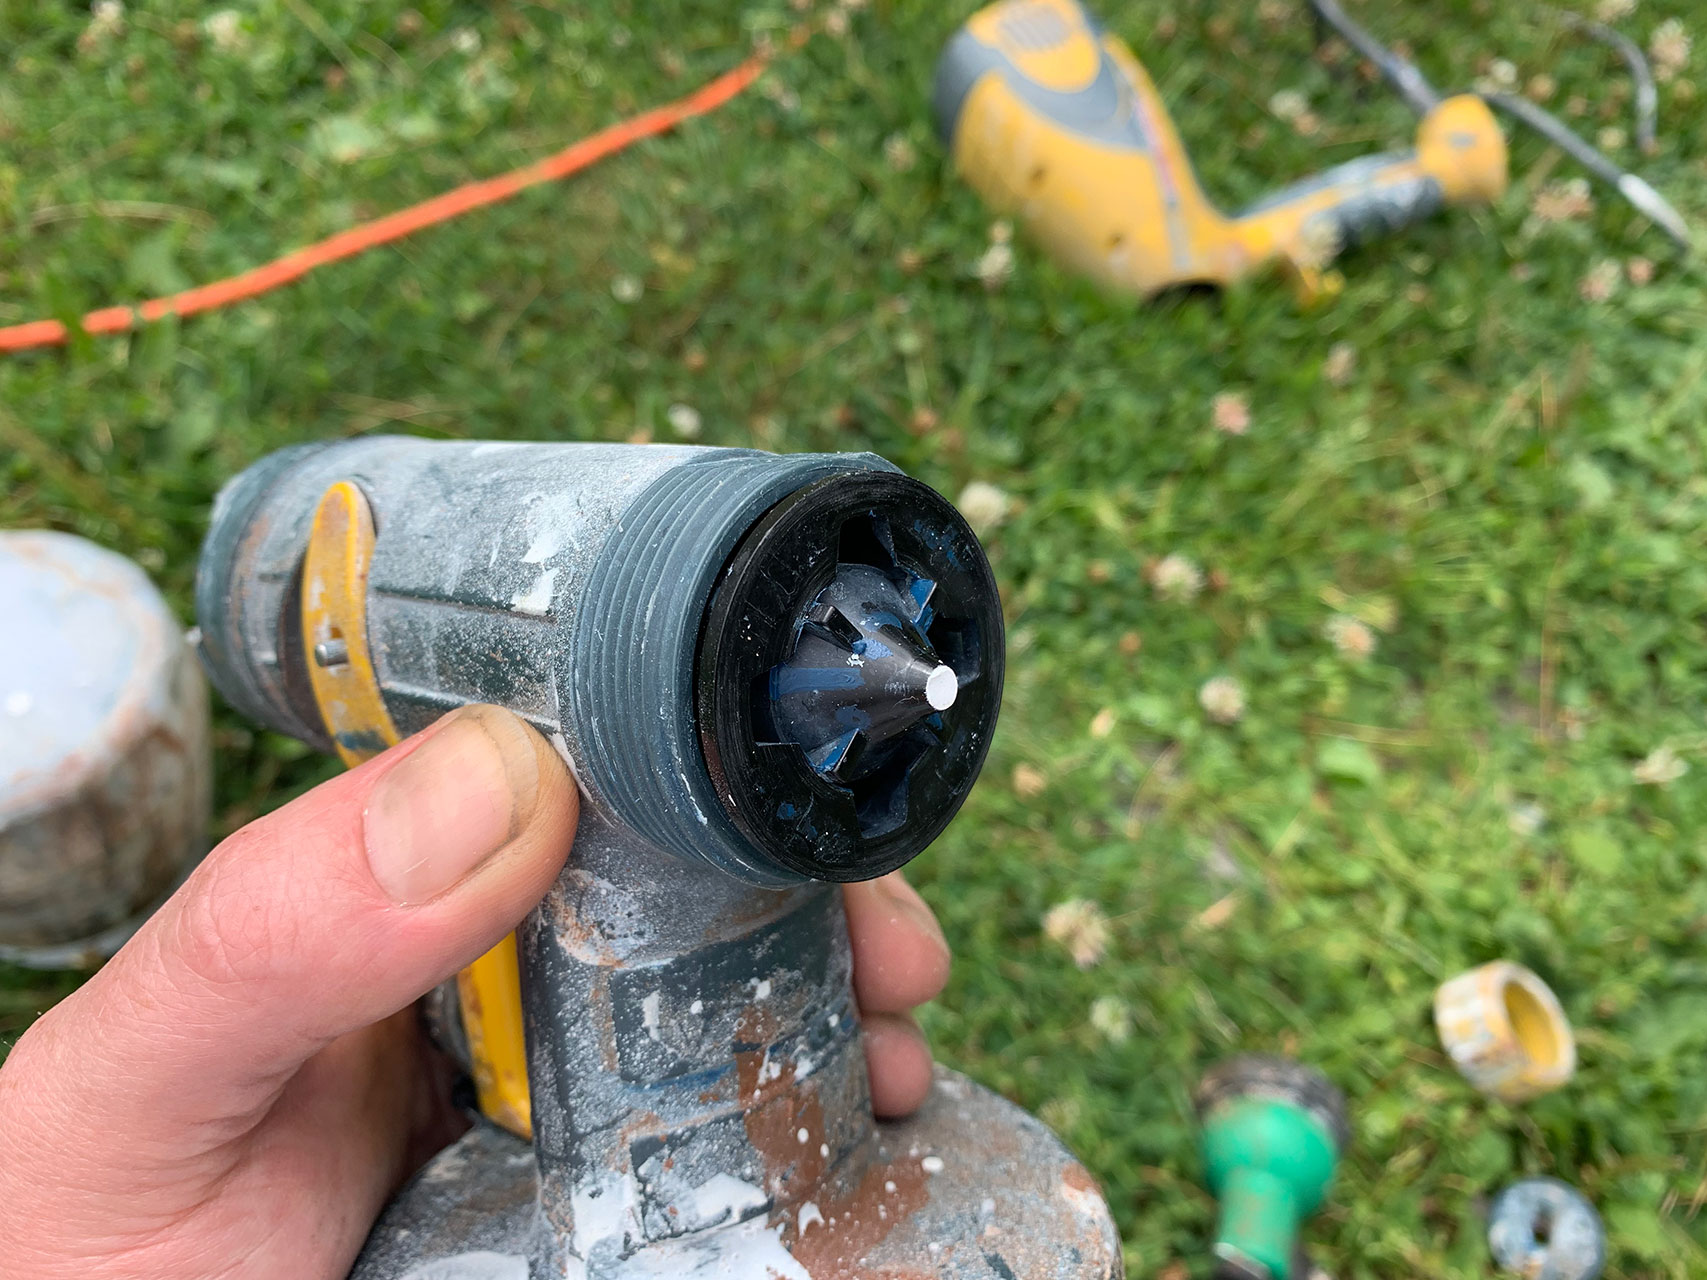
All of those items get cleaned.
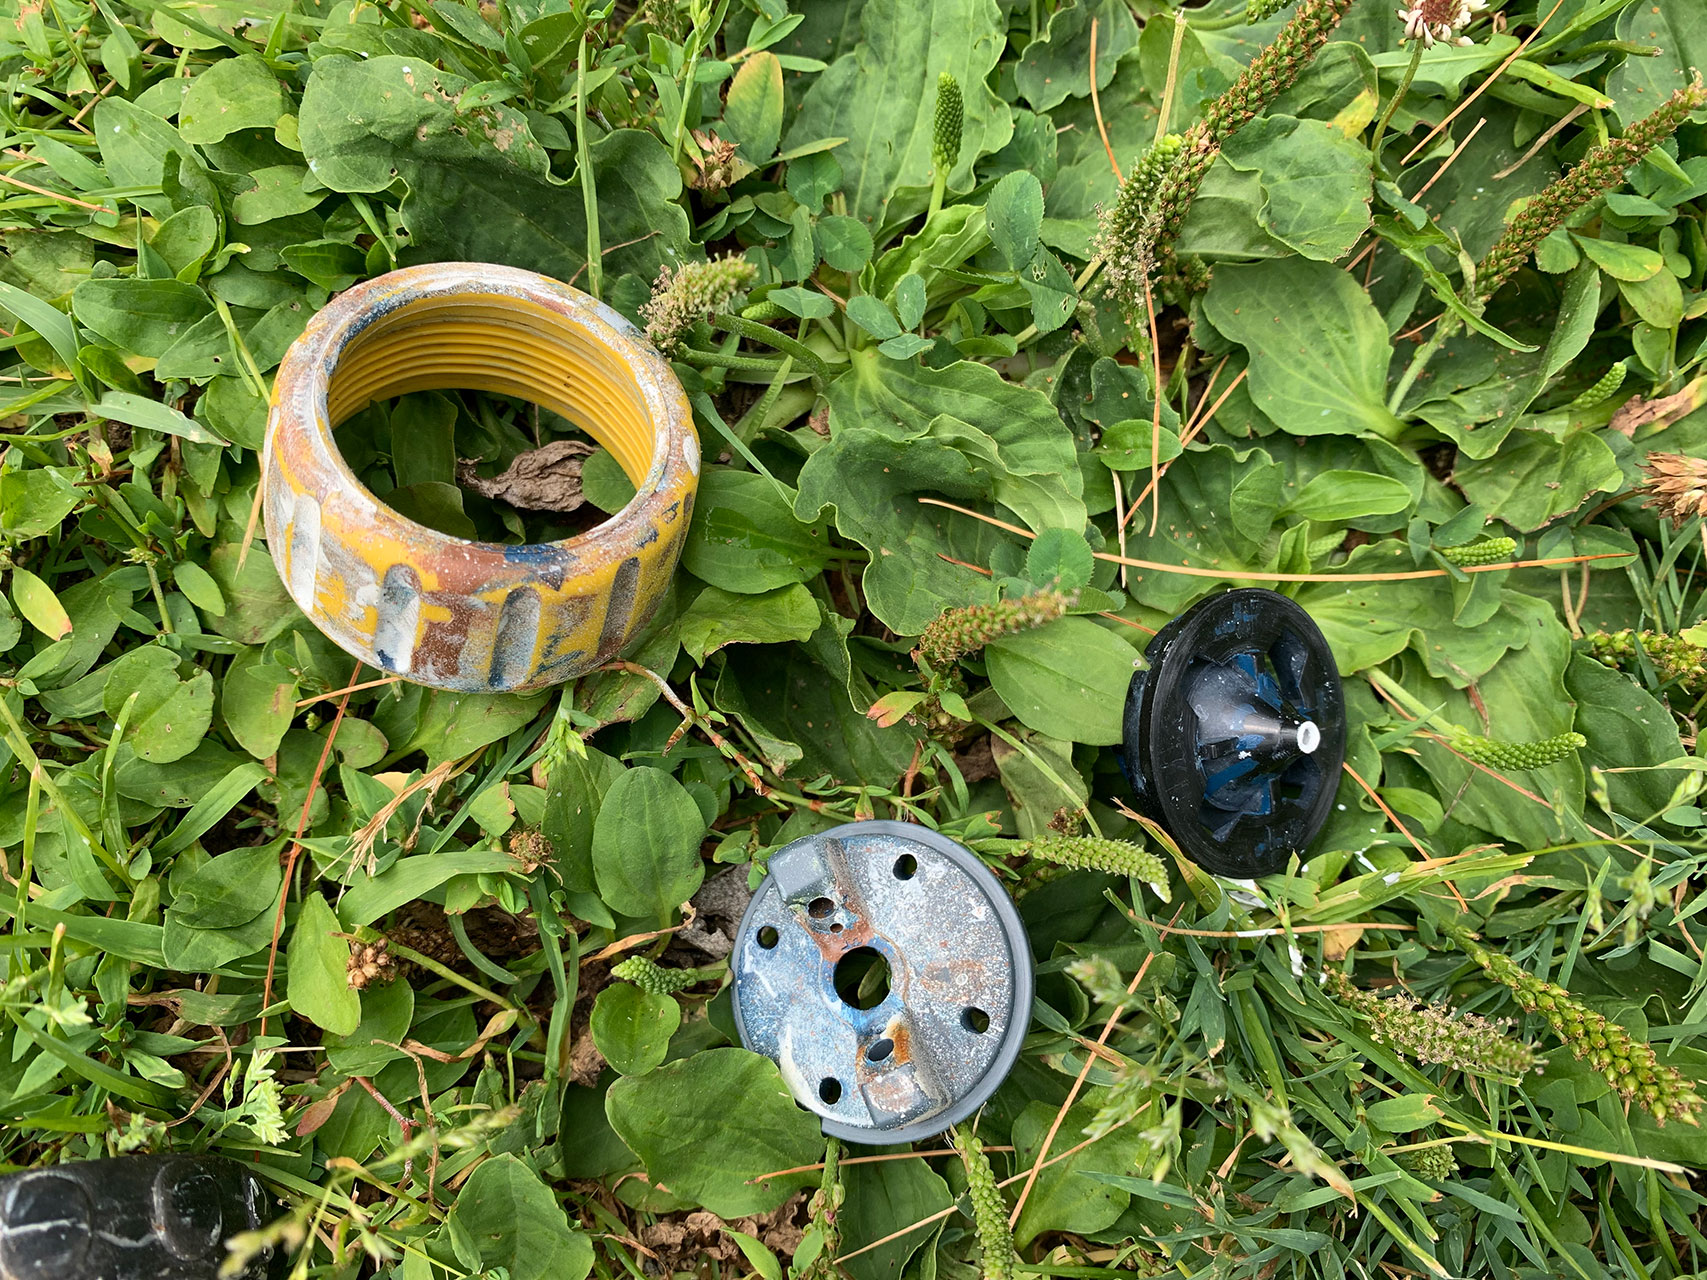
The final step is cleaning the tube that sucks up the paint and the needle. For this I use the garden hose and spray into the end of the paint tube. That will flush water out through the needle to clean everything inside.
Oh, also get that styrofoam area where the paint cup screws in too.

Then I spray into the needle to clean it off and force water back through the tube the other way.

Set everything aside to dry and you’re done.
Non-Water Based Products
All the same applies if you’ve used a paint or product that’s not water based. However, you’ll need to use paint thinner or mineral spirits to do the cleanup. If you’re not sure just check the paint can for cleanup directions.
Personally, I always used a water based product with the sprayer. I’m lazy and want an easy cleanup every time. Cleaning a sprayer with paint thinner or mineral spirits will take longer and require more work than just blasting things with a garden hose.
Conclusion
A pretty simple product in the Wagner paint sprayer that is well worth the money.
As you can see it’s easy to use and take care of.
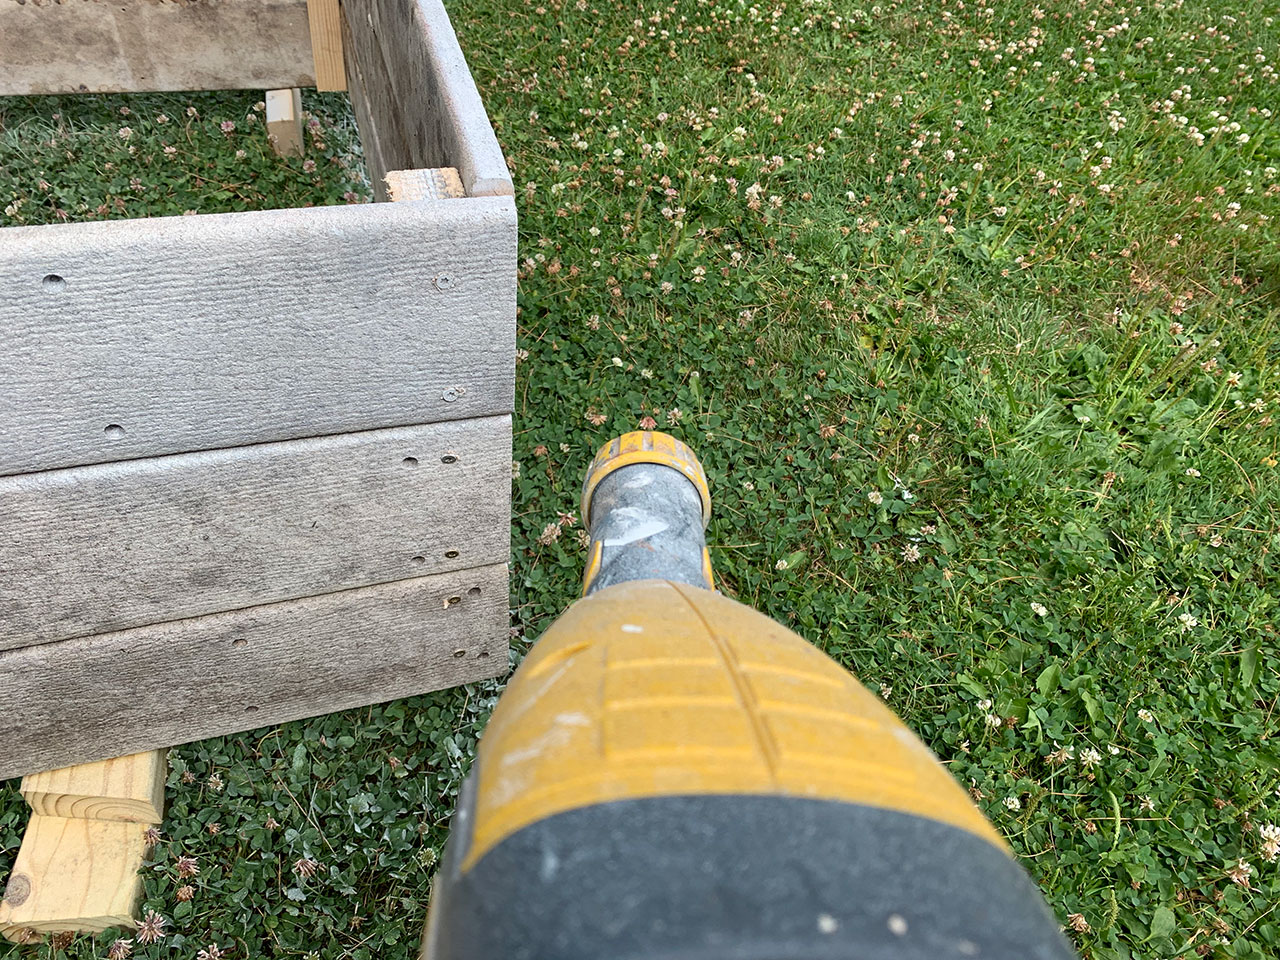
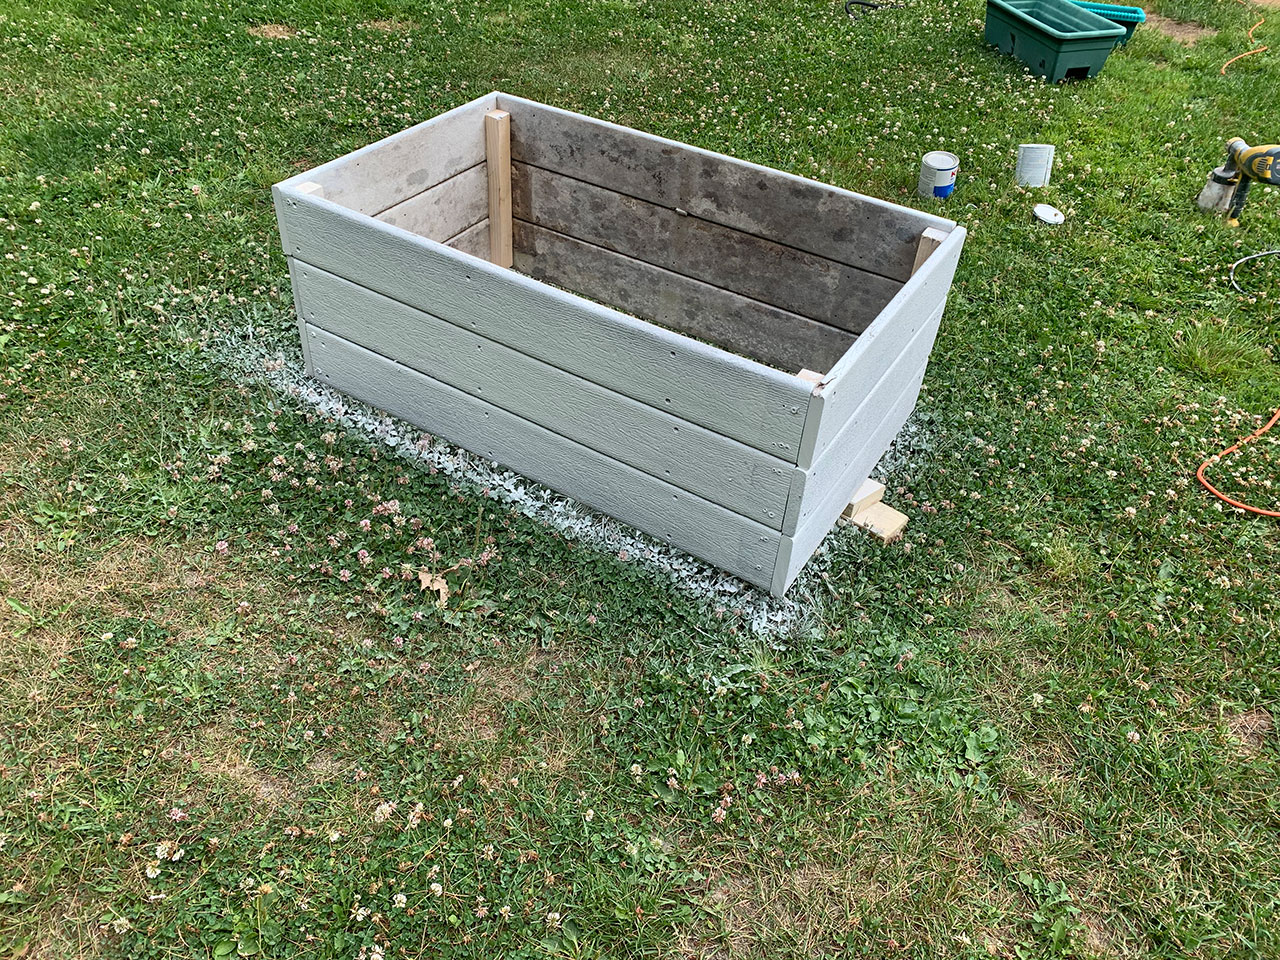
I can’t recommend getting one of these sprayers enough. As an example, the raised garden bed I was spraying in this tutorial was completed in about 2 minutes for all four sides. The setup takes about a minute and cleanup another 2 minutes. So, in 5 minutes I got setup, painted, and cleaned everything up.
By comparison, had I used a roller it would have taken probably 10-15 minutes to get everything. I’d also have needed a brush to get between the boards since they’re rounded edges.
Cleanup would have been around 5 minutes to ensure the brush is clean and the roller too so I could reuse it.
A minimal investment in getting a Wagner paint sprayer that did this job in 5 minutes (start to finish) vs a traditional approach that would have taken 15-20 minutes. You do the math 😉
Thank you for the detailed review, I purchased a new one and this article helped me a lot