Like any sane person, I like pizza. My wife loves pizza – maybe an unhealthy amount, but that’s neither here nor there!
Anyway, I saw a video on YouTube for making your own brick oven for pizza and I knew I had to try it. I have the space for it, though not much space is actually required. I also got lucky and got most of my materials for free from a friend so there was no reason to not give this a shot!
Check out how I built my outdoor brick oven for pizza with materials costing less than $50 and learn to build your own.
Brick Oven Pizza Materials
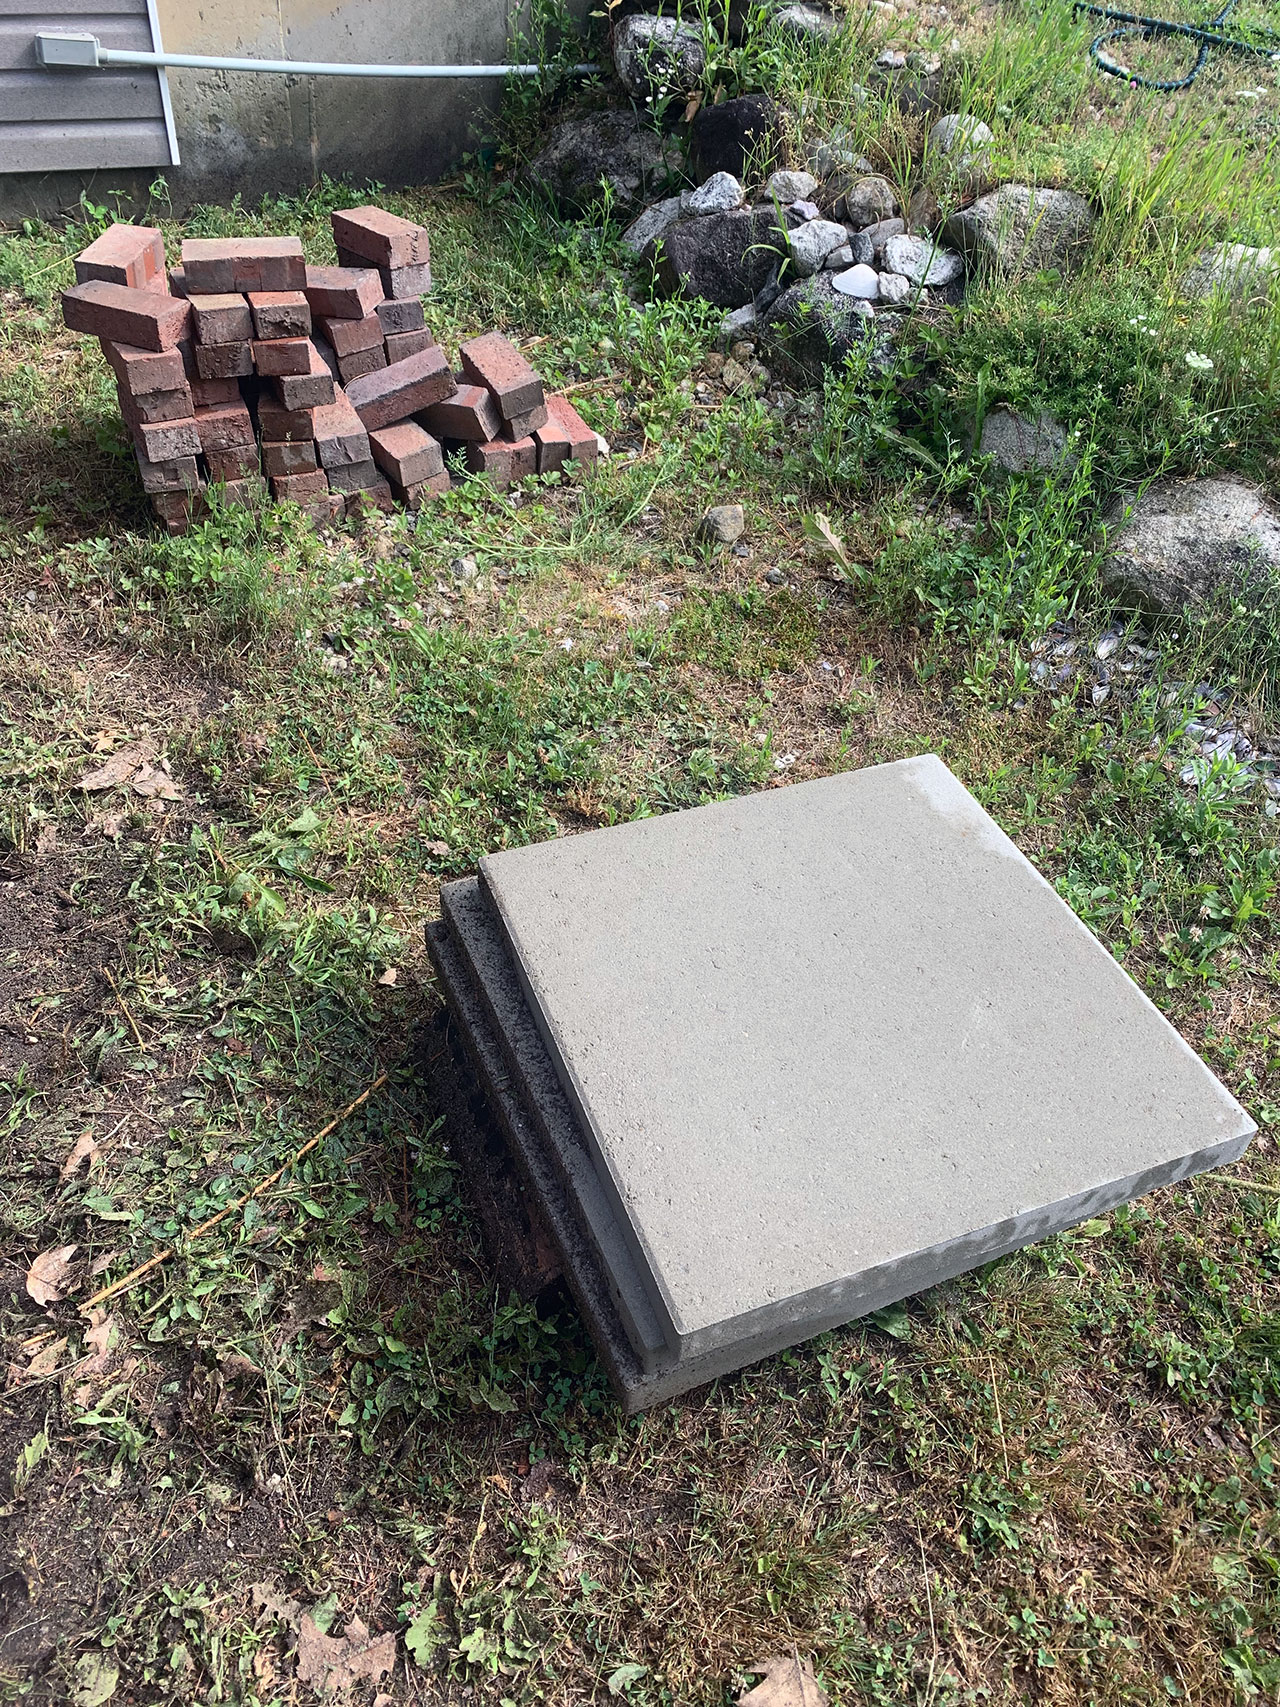
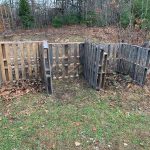
There’s only two materials needed: bricks and large pavers.
The bricks are to create the form of the brick oven pizza and the pavers are for the horizontal areas; namely the pizza “rack” and the top of the oven.
I got an extra paver for the bottom where the wood will be. This paver isn’t required but since I’m putting this on a stone patio I didn’t want to scorch it. You could just clear the grass in the area it’s going, or if you’re going on dirt then you’re all set anyway.
- 56 Bricks
- 2 Large Pavers (I used 24″)
- 1 Extra Large Paver (Optional)
The bricks are going for around 60 cents each at the big box supply stores like Lowe’s or Home Depot. The pavers ran me about $8 each for the 24″ size. You could also use smaller pavers for a smaller brick oven too, which also requires less bricks and in turn is cheaper to build.
I opted for the 24″ pavers so I could cook a 16″ pizza. The bricks are 3.5″ wide, so two rows on each side cuts down the width on the inside to 17″. The depth in this instance will be 20.5″ so all good there.
With that knowledge, if you wanted to just do 12″ pizzas, then you could get away with pavers that are 20″ and that gets you a 13″ inside measurement.
That’s all you need. You could totally make this more professional and use mortar for everything, and even cut the bricks to length, but we’re going for easy. Plus, without the mortar you can take this apart to move or store.
Building a Brick Oven
This is a really simple process; honestly. It’s like adult legos really!
Prep Work
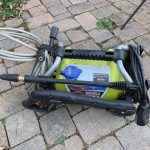
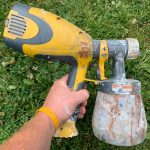
Since I got the bricks from a friend I wanted to pressure wash them. They had been stored outside for about 10 years and needed a cleaning.
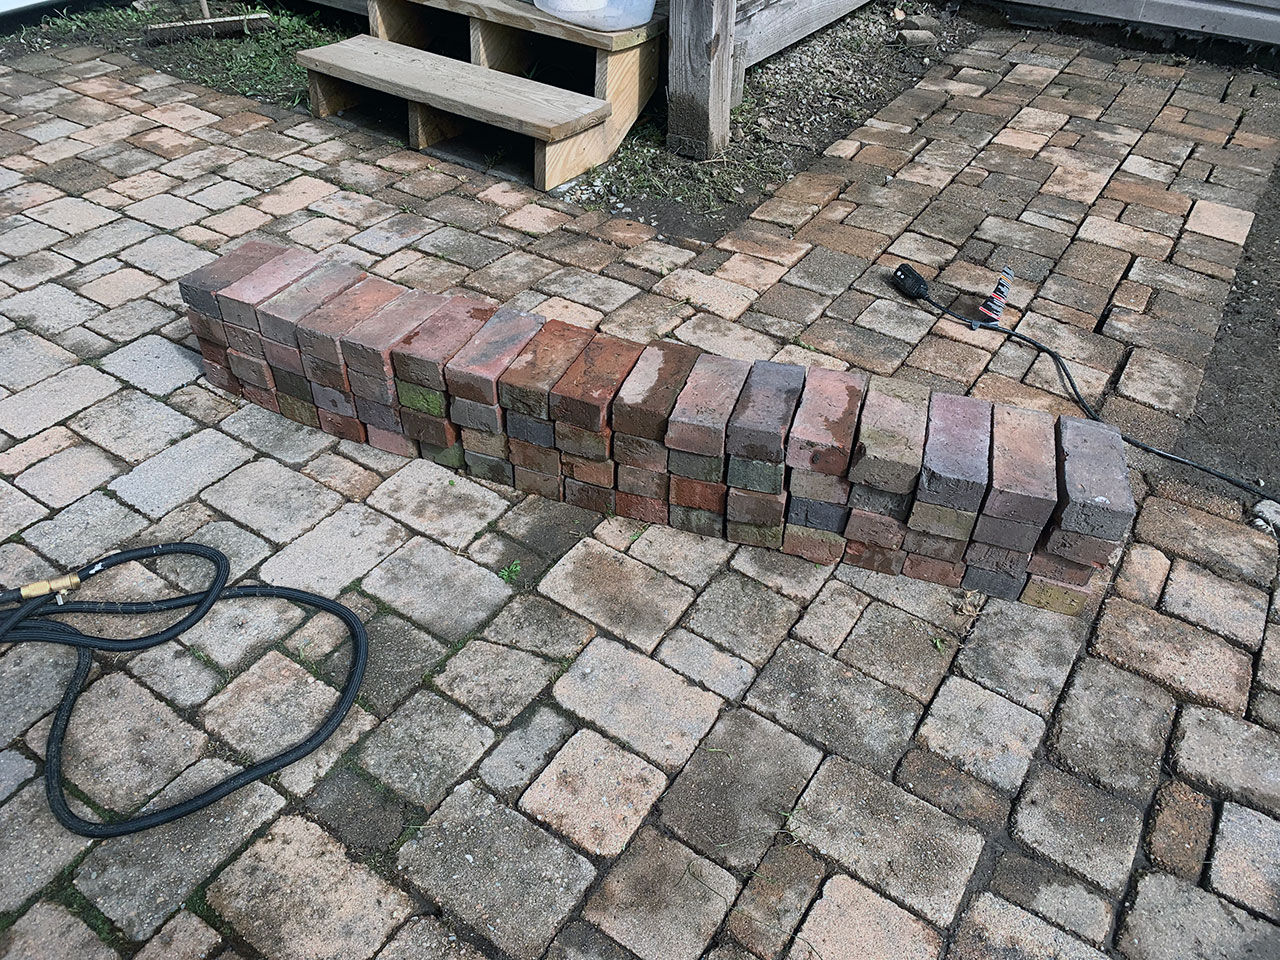
I setup all the bricks and pressure washed all sides of them. If you’re buying new bricks this step isn’t needed, but for those of you with some bricks laying around, or otherwise acquired for free, it’s not a bad thing to do first.
I picked up a Ryobi 1900 PSI pressure washer last year and this thing has been great. It’s worth checking out if you’re in the market.
I’ve used that bad boy for cleaning that stone patio you see (hence all the wetness in that shot), my dump trailer, the ramp for my barn – you name it.

It’s been flawless and I highly recommend it.
I also have a guide on using a pressure washer as well and you can see more results.
Construction
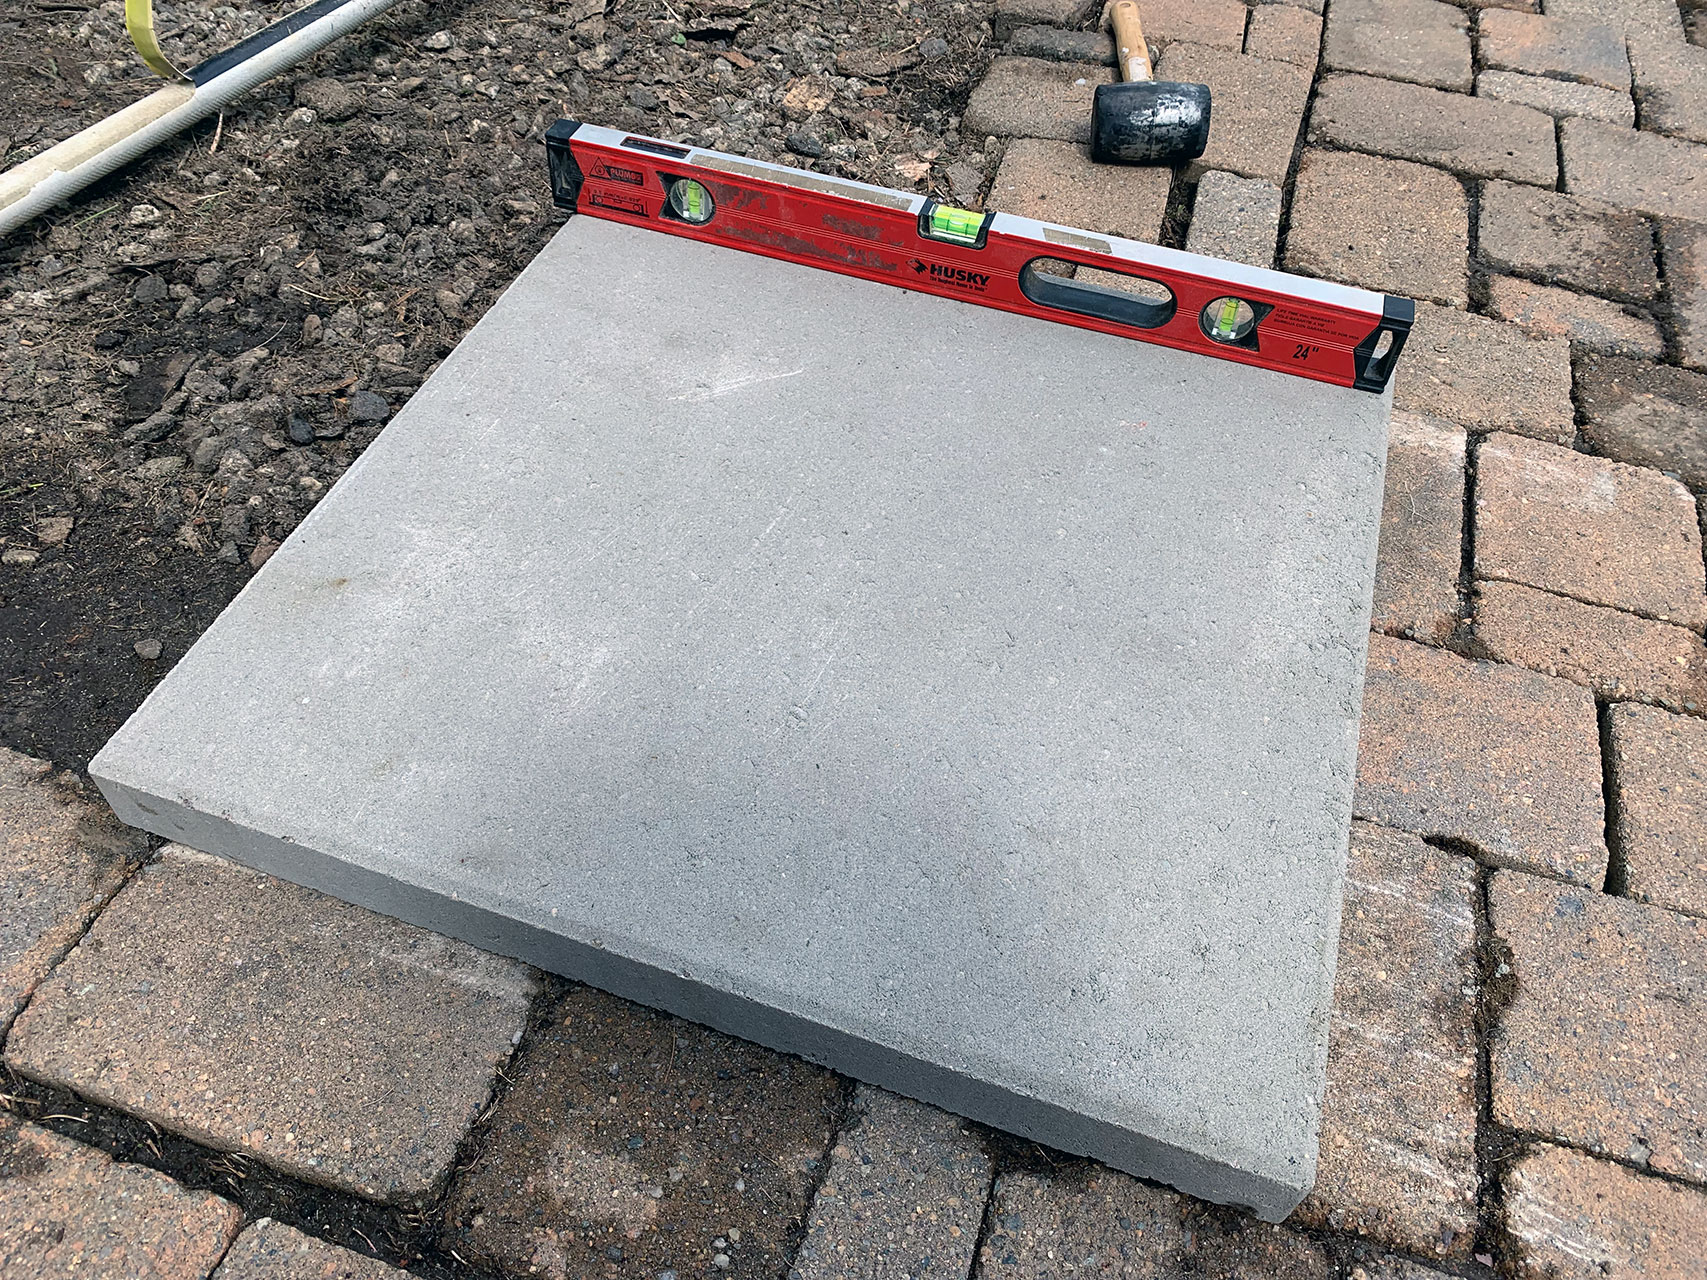
In my case I started by laying down the 24″ paver to build off of. Again, this step is optional if you’re good with burning the wood right on the ground under this.
I made sure the first paver was level so everything going on it would be level. If you’re going straight on the ground, then you’ll want to do the same thing by making sure that area is level.
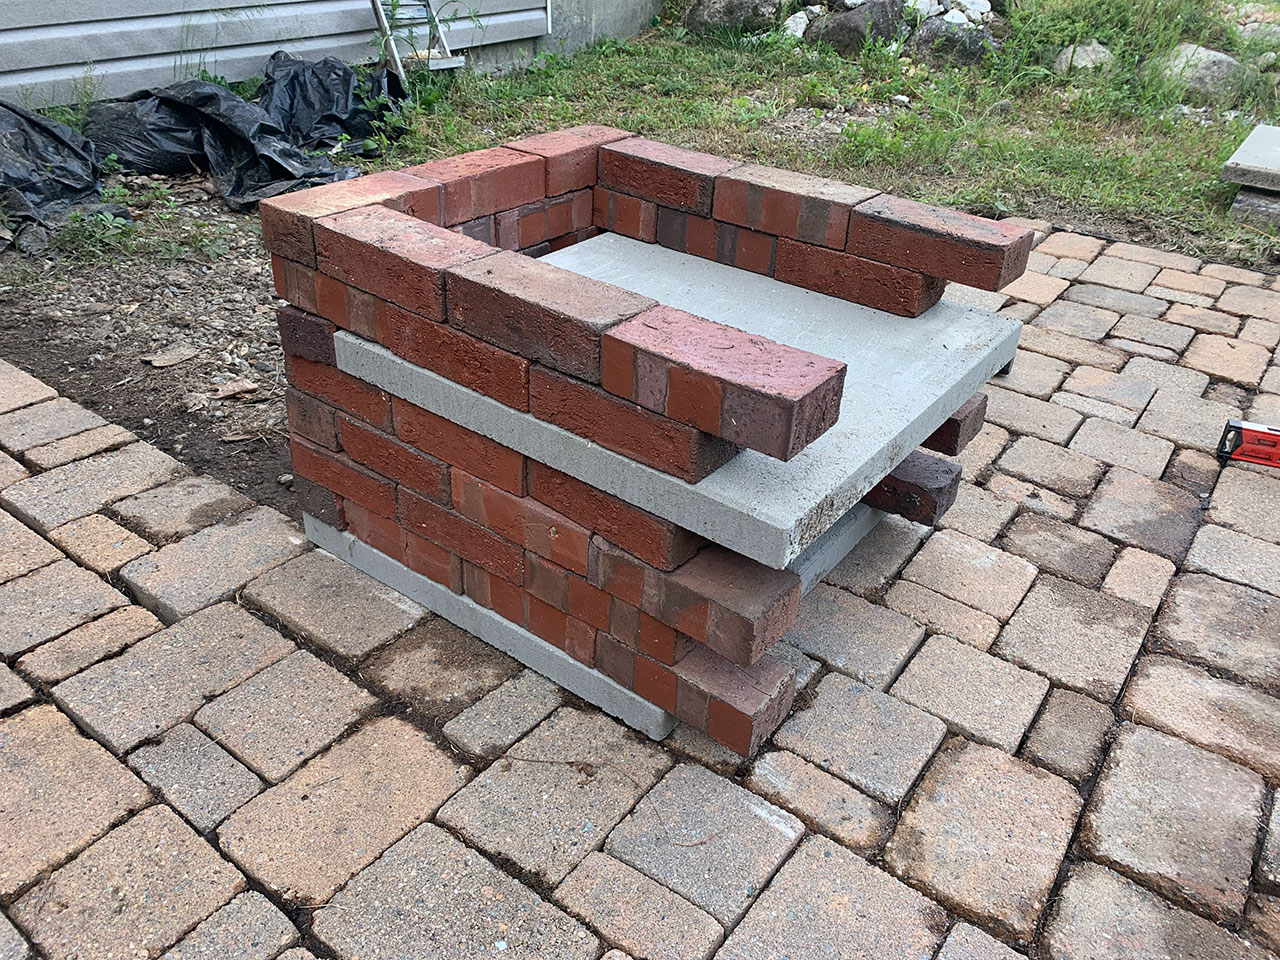
I started the first row like this.
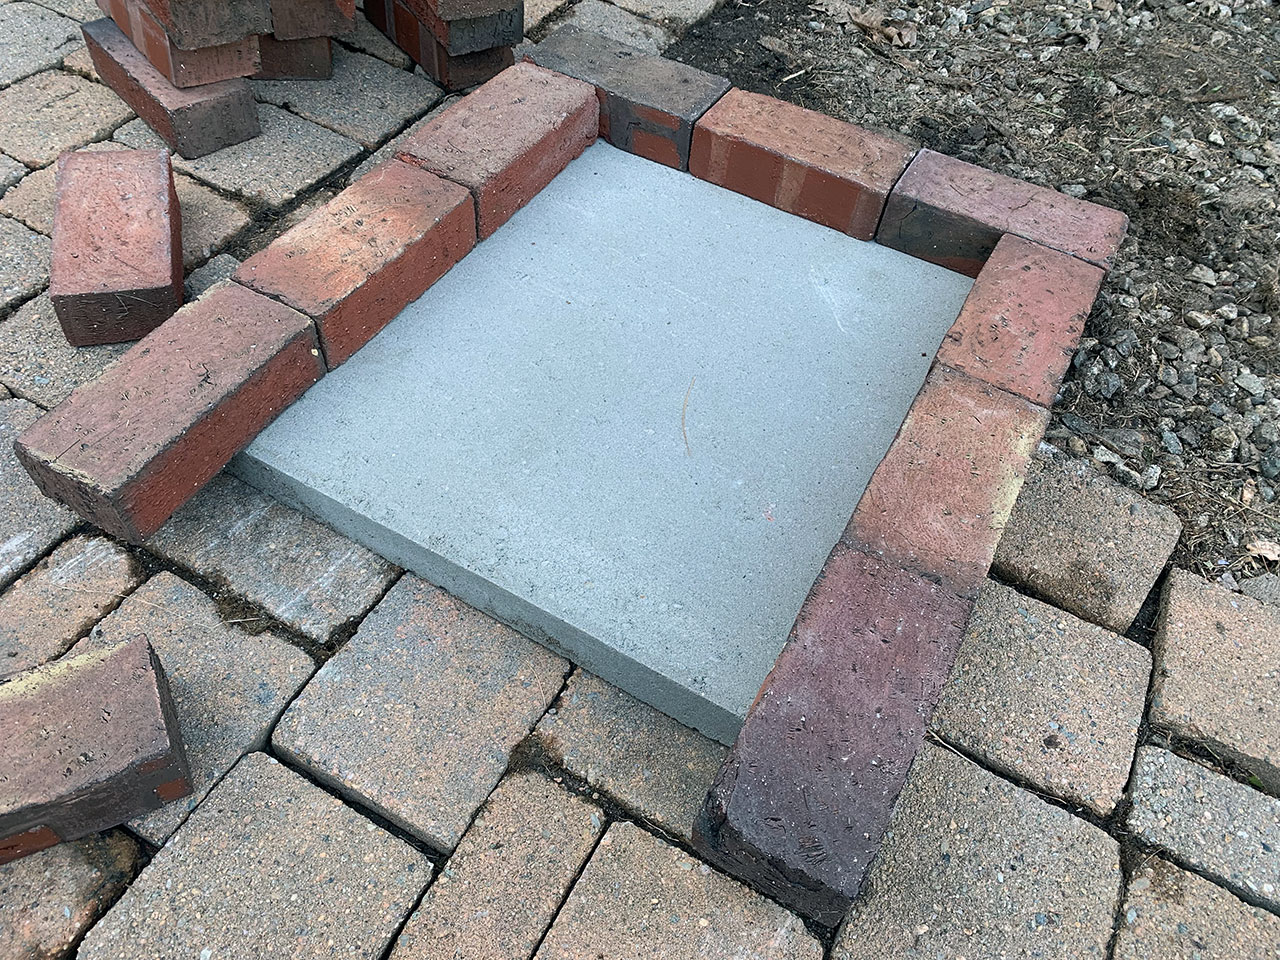
I started with an offset course of bricks because when it comes time to put on the oven paver I wanted the bricks to be balanced out. You’ll see below.
From there it’s just a matter of alternating the next layer so the seems don’t line up. This gives you more structural integrity, especially since it’s not being mortared together.
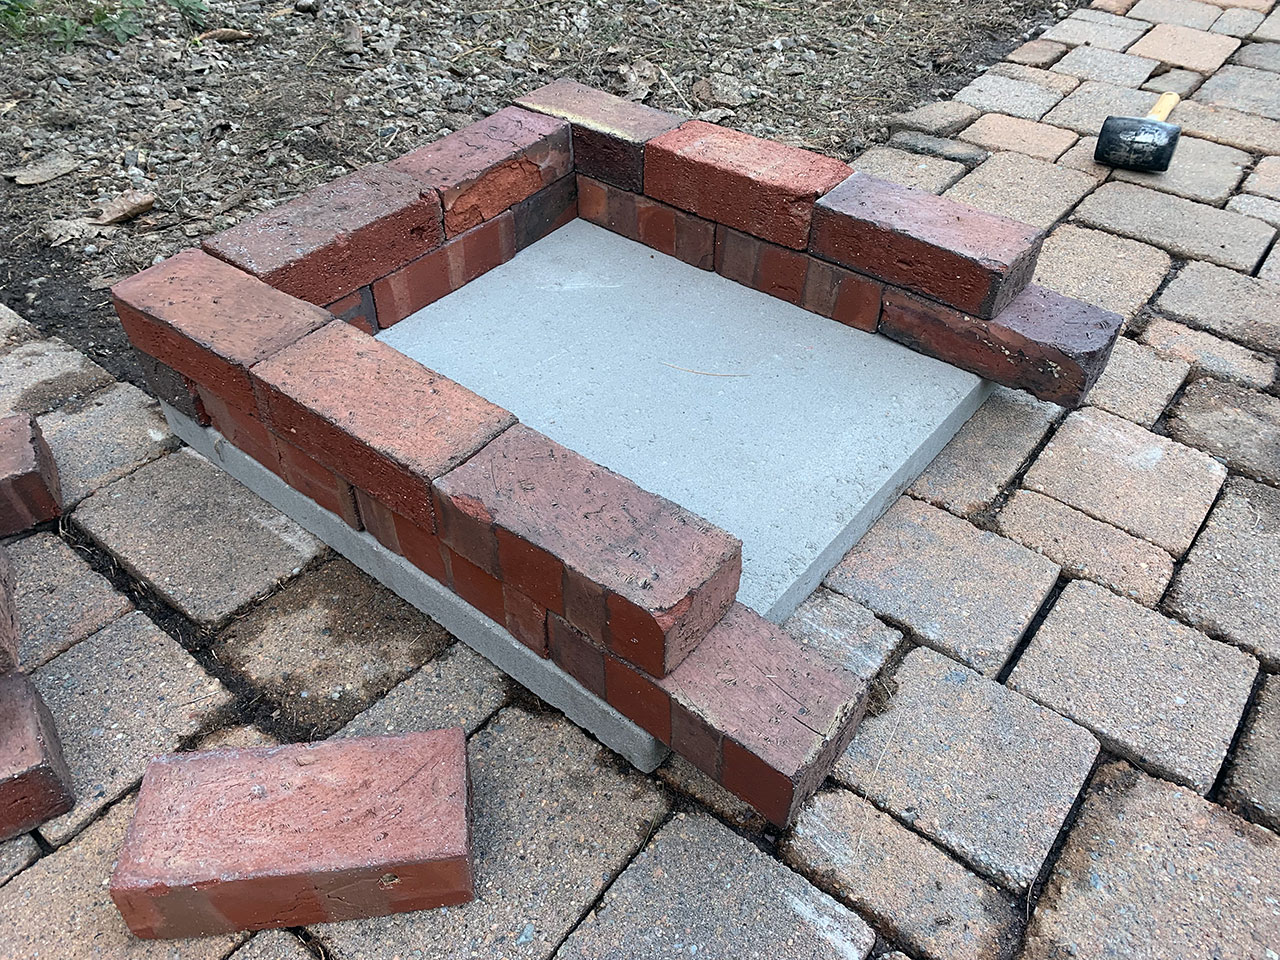
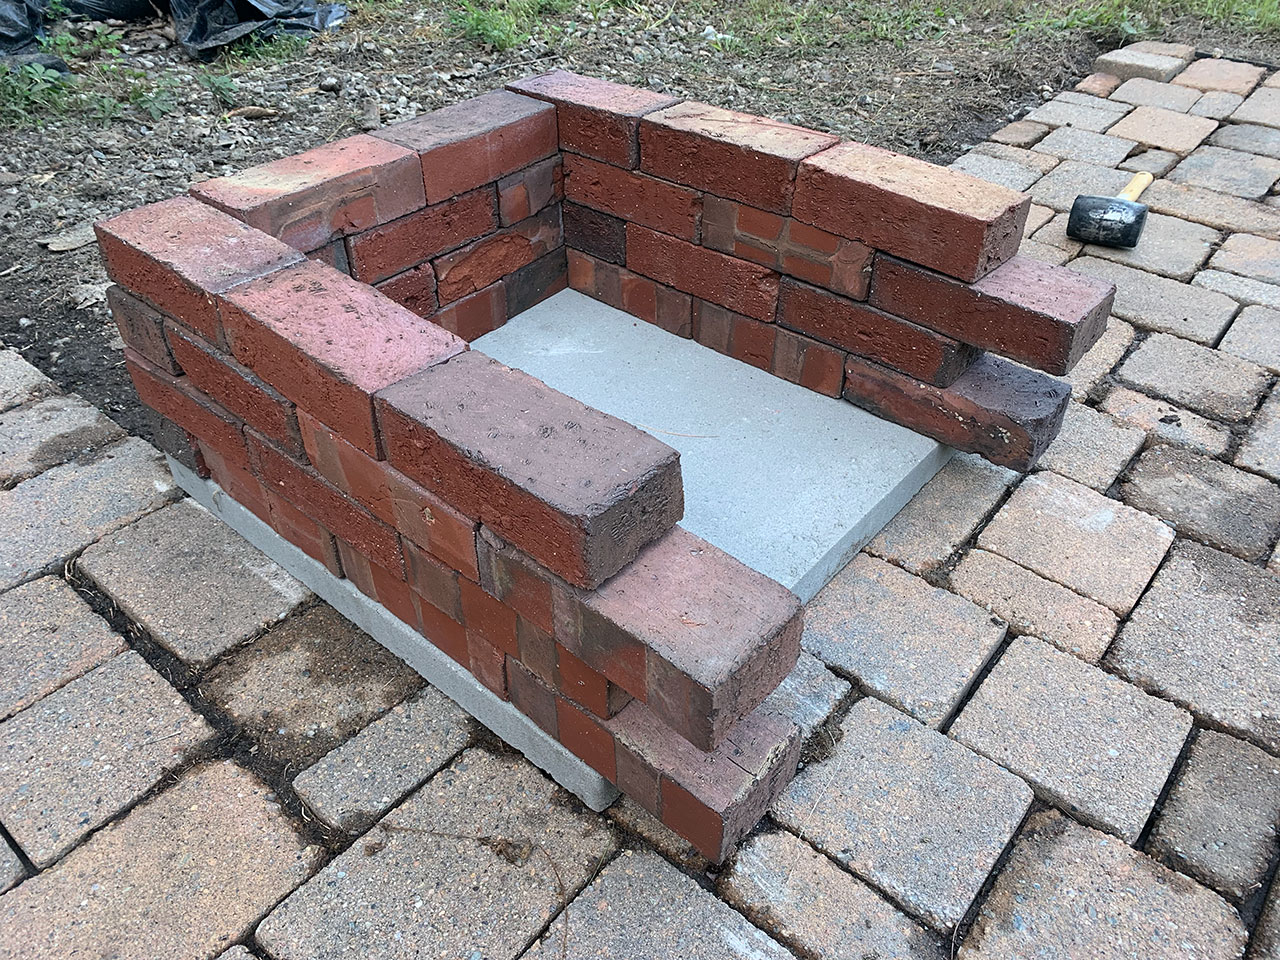
I decided to go 4 tall to give ample space for the fire.
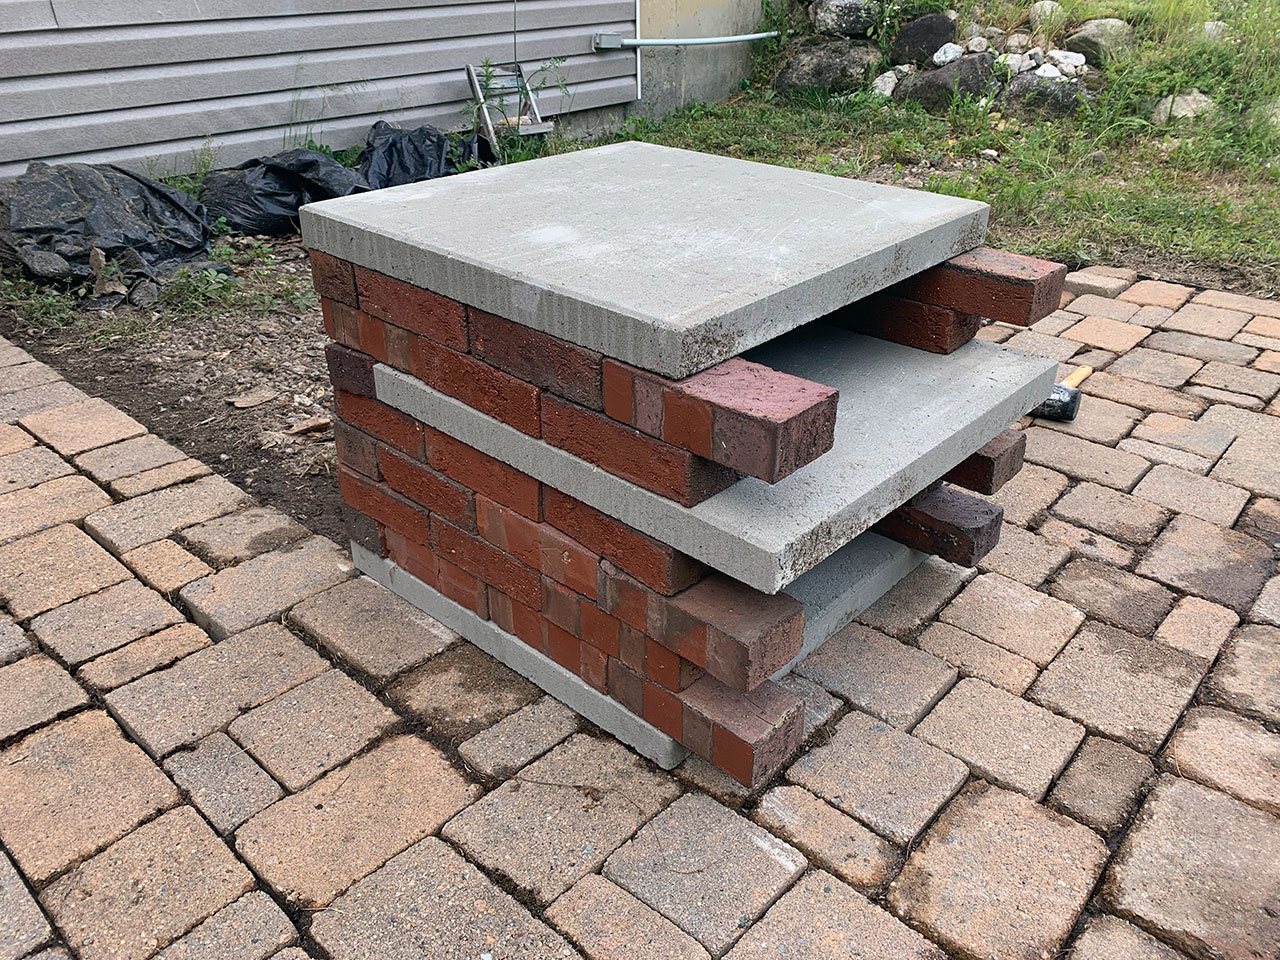
It was time for the paver that the pizza will go on. The big thing here is moving it forward to leave a gap at the back. That gap is where the heat will flow up from the fire chamber and create convection to cook the pizza. I left a gap of about 1.5″.
The other thing to note is the bricks that go behind this rack paver. Because of that vent gap you have to adjust the bricks behind it.
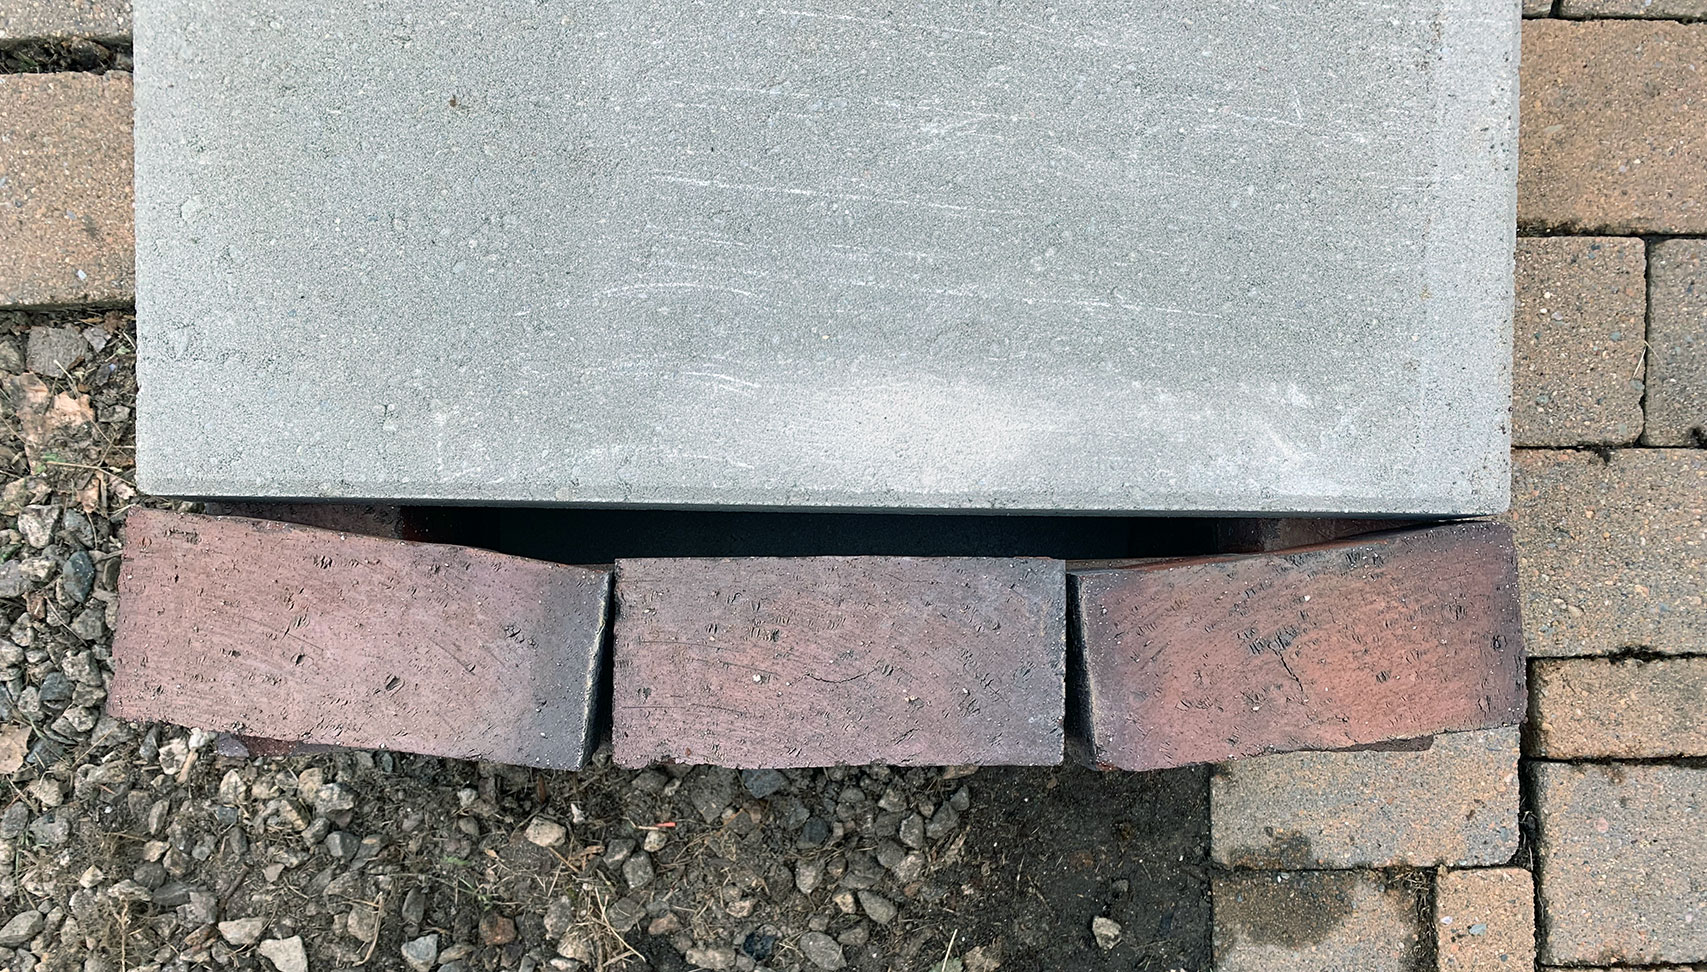
This row behind the paver has the corners pushed forward to meet it and are at an angle. That’s so there’s no big gaps on the sides from that paver being pushed forward for the vent.
I’ll be honest and say I’ll probably change this venting design later, but for now it works and it will work for you as well.
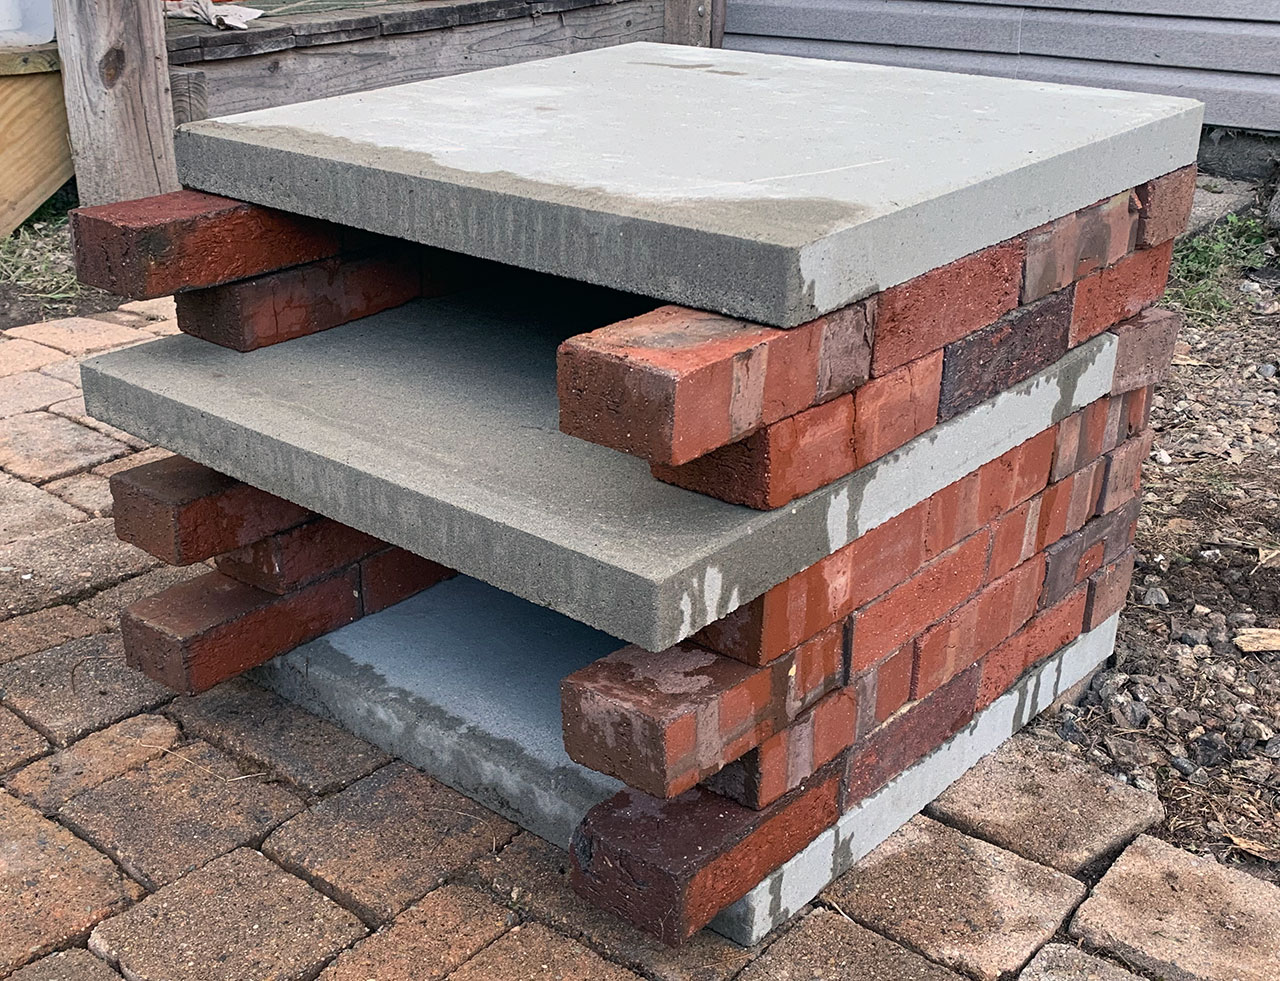
Now back to a normal row of bricks alternating for two layers.
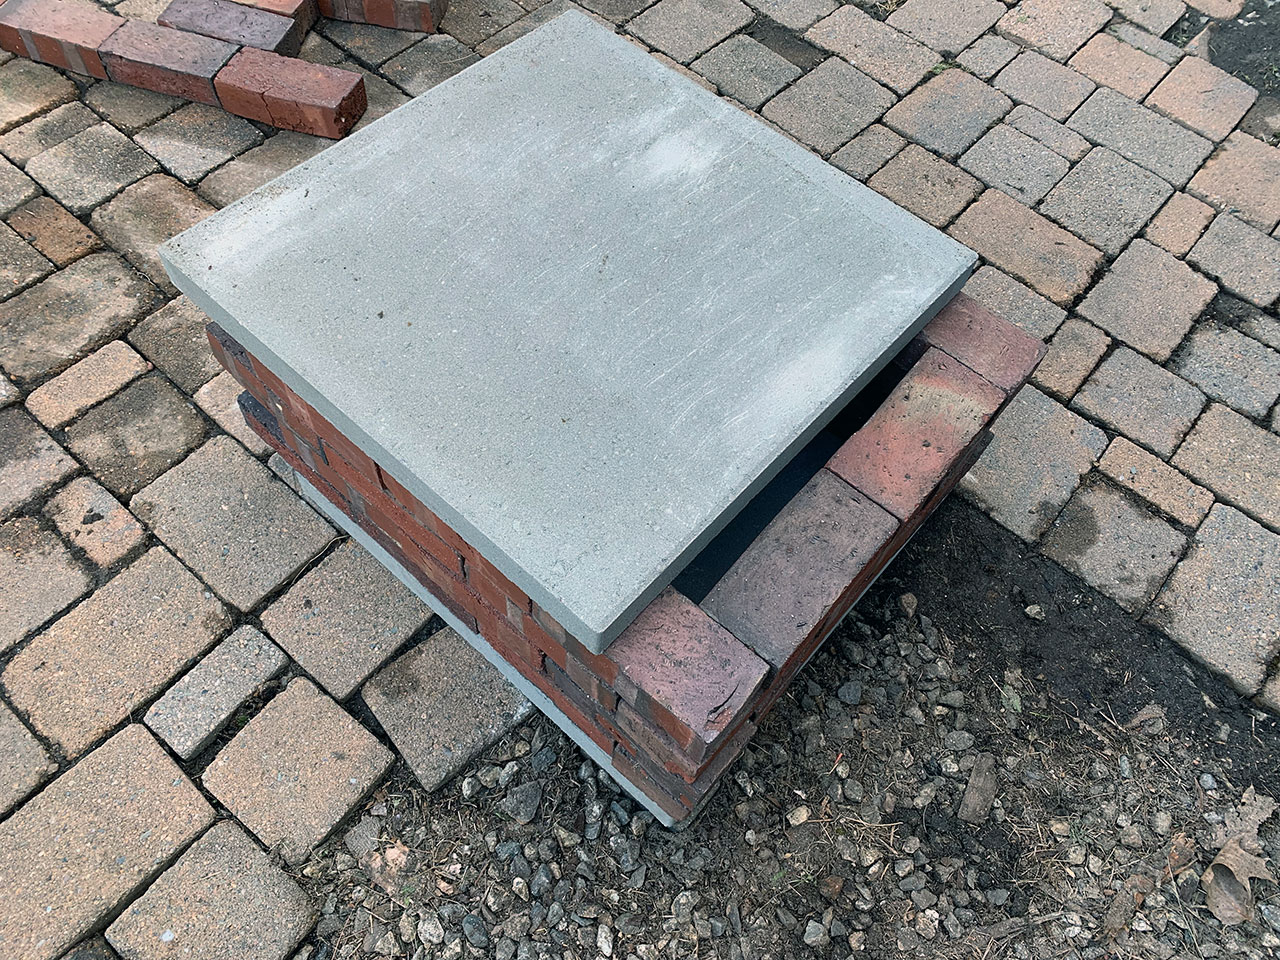
Then add the top and done.

Tools of the Trade
I did some research and 625’ish degrees Fahrenheit is the temperature you’re aiming for with brick oven pizza.
To measure that easily you can get an infrared thermometer for pretty cheap. This is the one I picked up as it was very well reviewed on Amazon. So far it’s worked great.

The other item you’ll want is a pizza peel for getting the pizza into the oven, moving it if needed, and taking it out. The one I went with was this one; also from Amazon. It’s honestly a bit pricier than I was hoping for but finding a 16″ pizza peel wasn’t easy.
You definitely want a pizza peel though. I tried doing this with a long grill spatula since I couldn’t wait to try out the pizza oven but it didn’t go so well. The pizza peel keeps you far from the heat and it’s of course designed for just this type of thing.
Pizza Time!
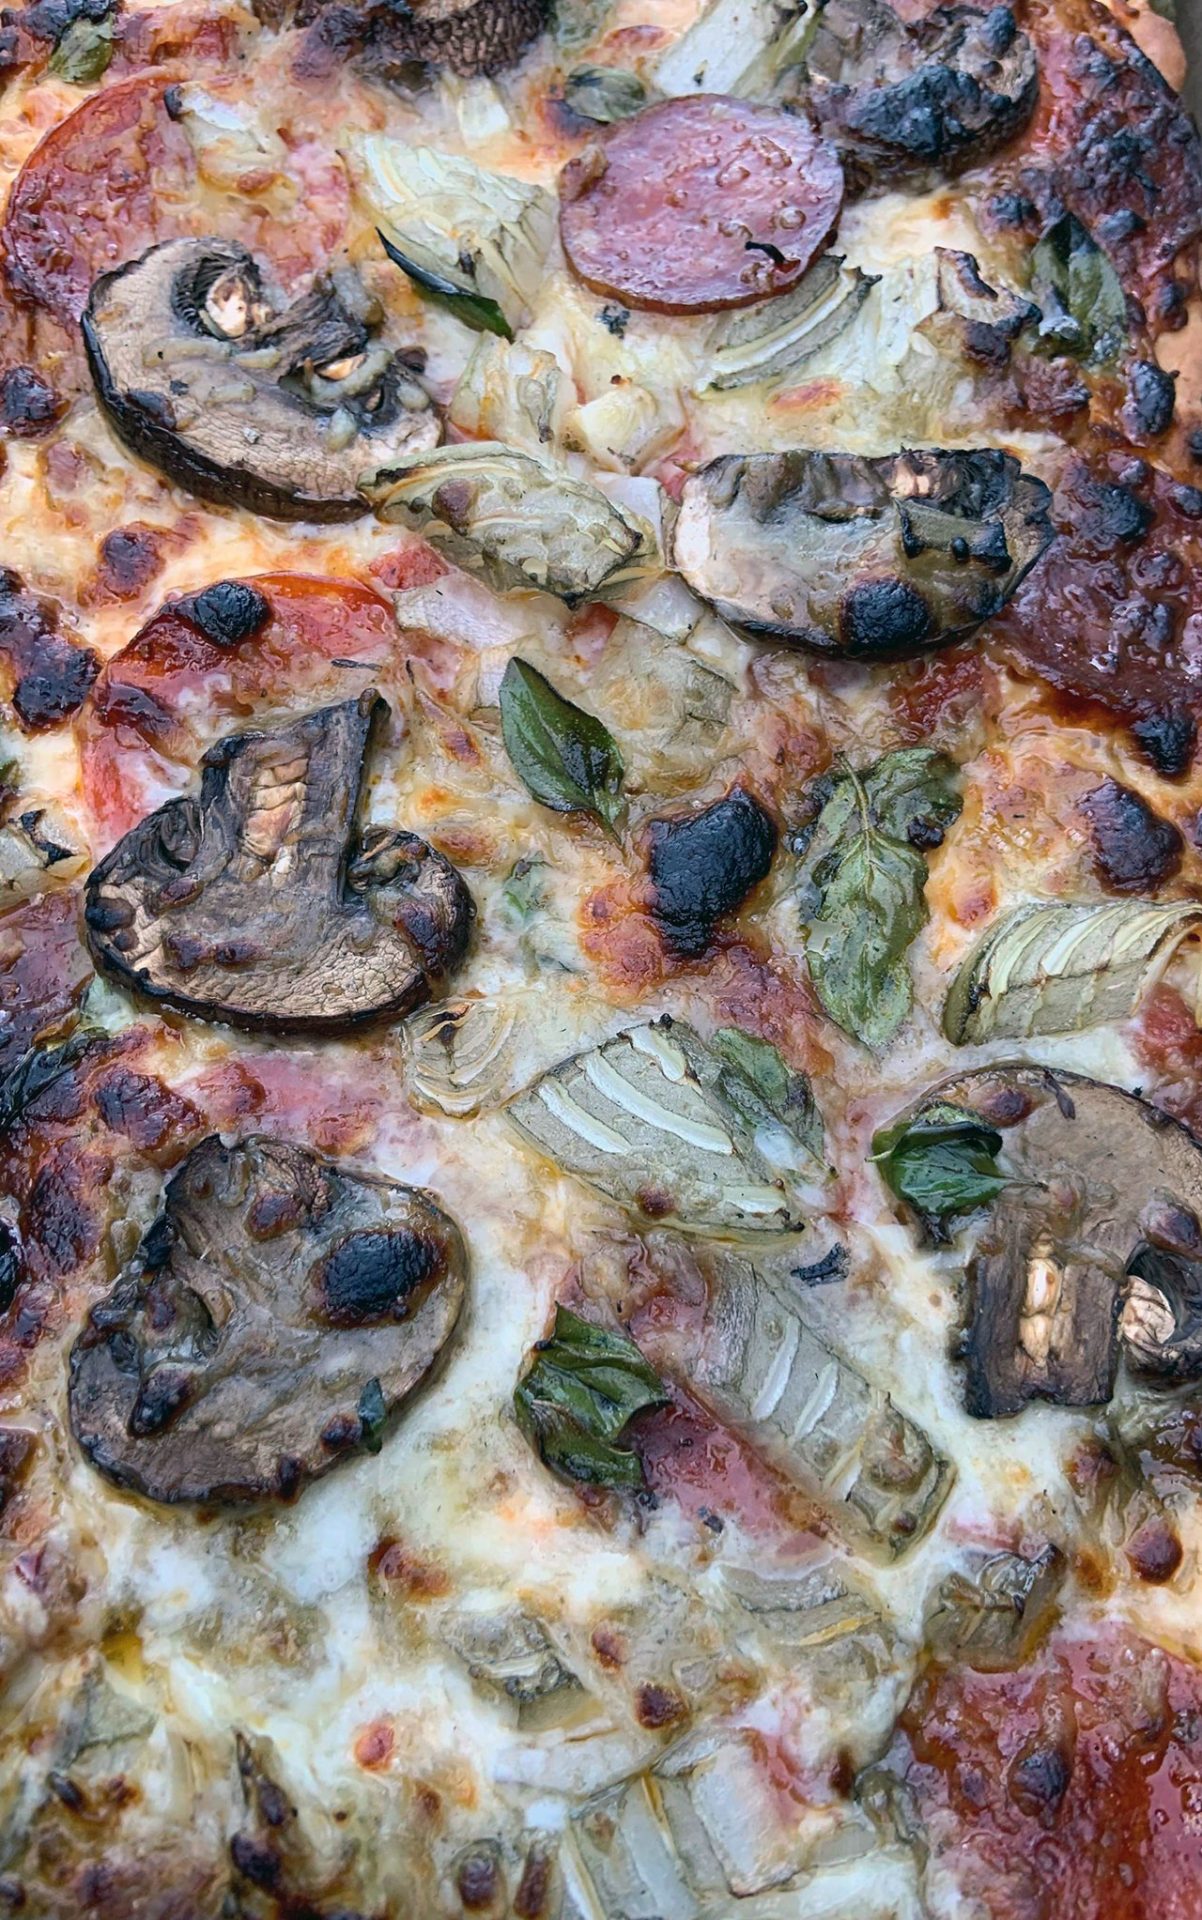
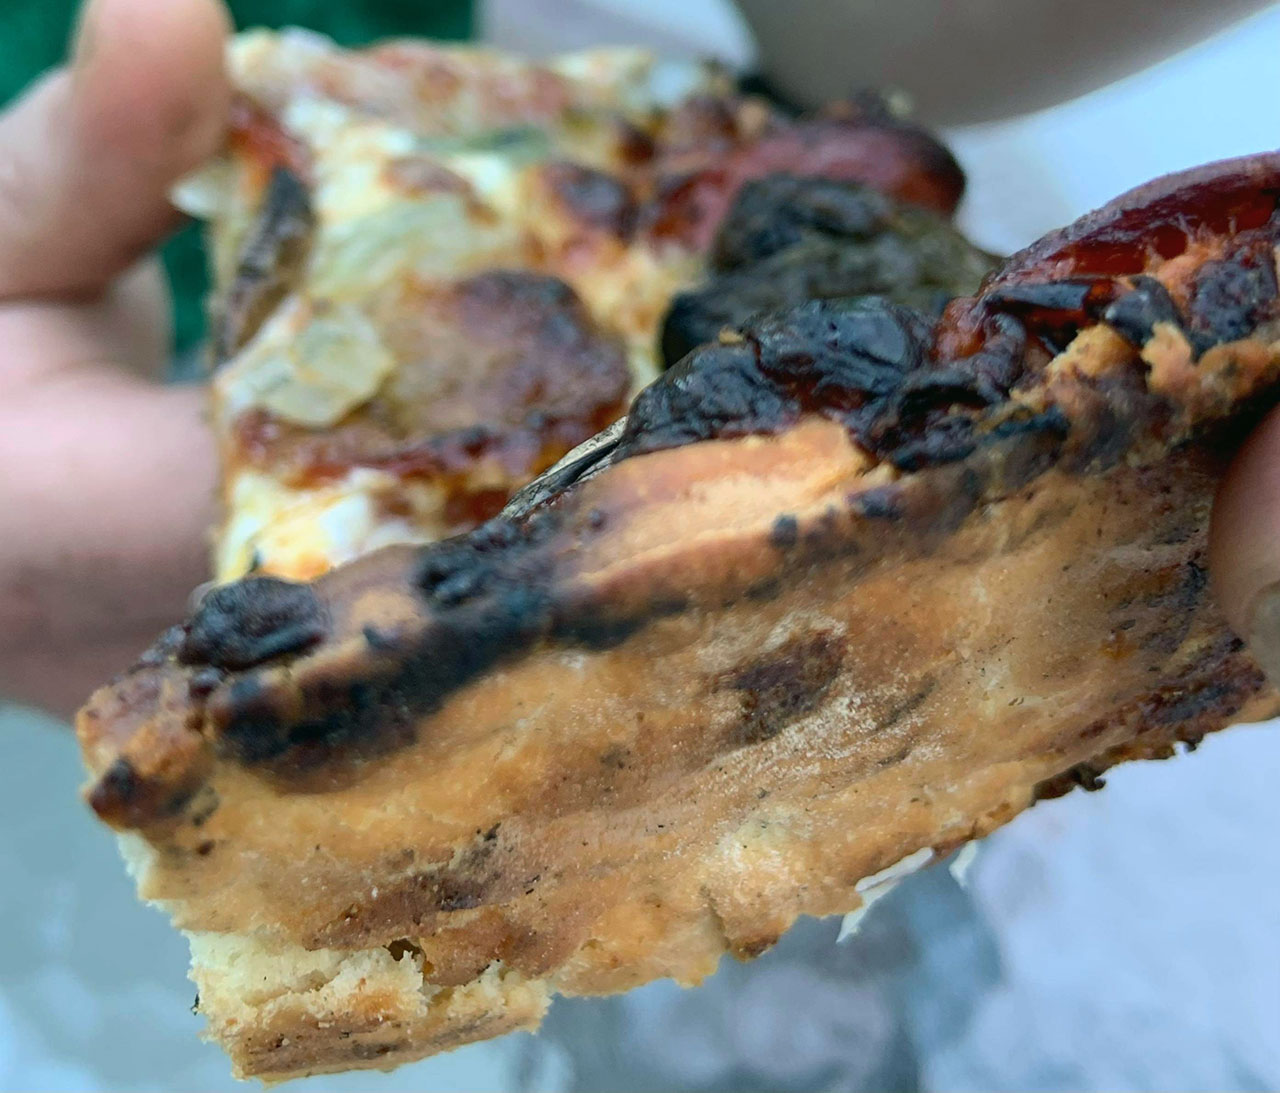
It was time to try out the first pizzas. We (my wife and I) decided to try out some flatbread pizzas. Since I didn’t have a pizza peel we figured it would be easier to manage with the long spatula I was using.
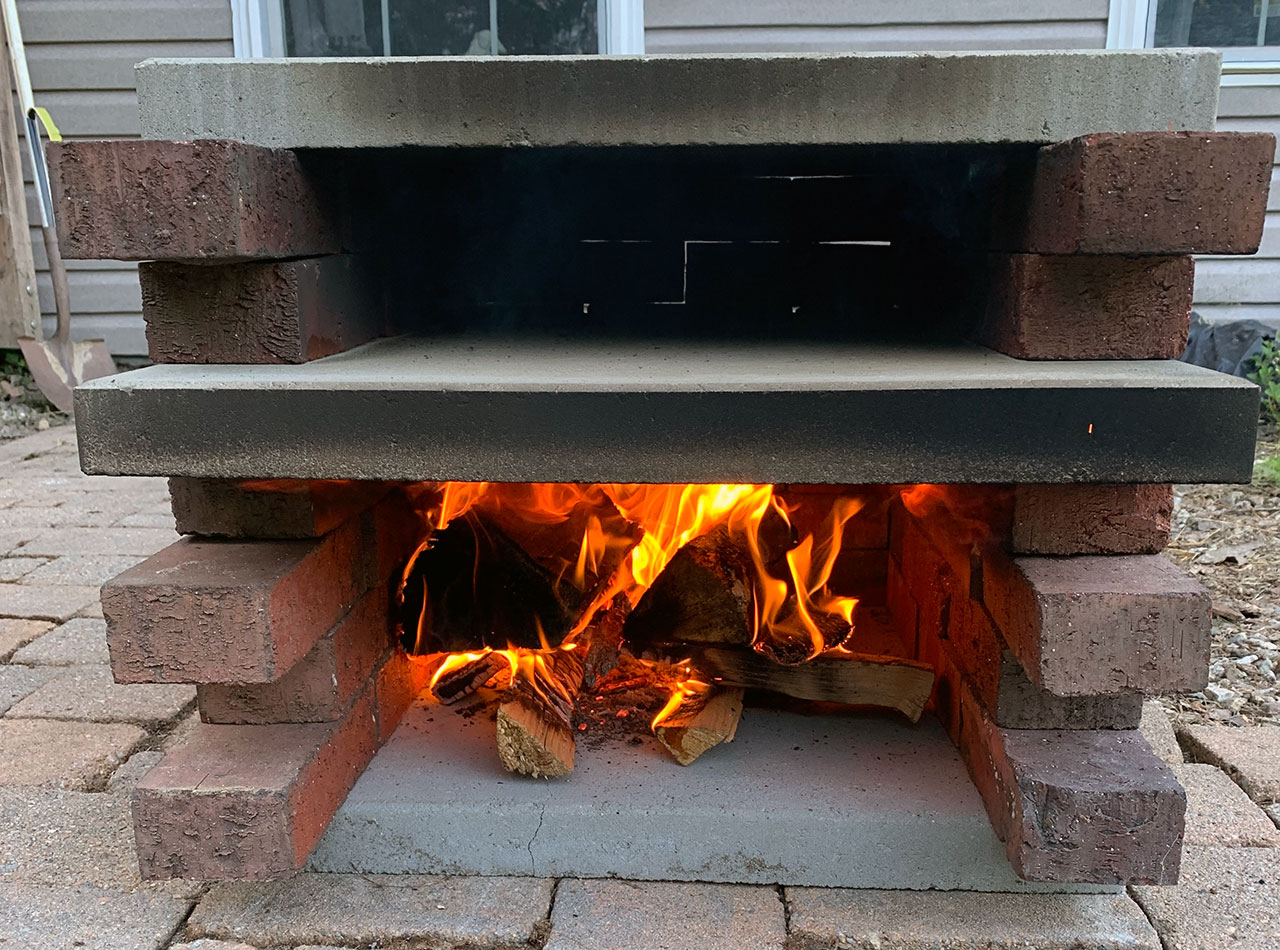
And the results were great!
Conclusion
For under $50 we now have a brick oven for pizza that works great.
I’ve already come up with some ideas and adjustments as well.
First, I plan to put some cinder blocks under that ground paver I used to raise the brick oven up. It was a bit annoying getting on my knees to work the fire.
Second, I do plan (as noted above) to rework that vent in the back. I’ve got some ideas but I’ll have to try them out before I commit to saying anything here.
Also, this goes without saying, but the oven would be much more heat efficient if it were mortared. That way there’s no gaps for heat to escape out. This is something I’ll consider for next year when I have more time, but for now this works great, it’s cheap, and requires no skills with masonry (which I do not have yet).

Couldn’t slide pizza off the pizza peel to get it in the oven….a mess…
Next time put semolina flour down before you stretch it or if doing flatbreads put semolina on the peel directly. The coarser texture from the larger grains work like sand and it should slide off easily.
Pingback: How to Build Outdoor Brick Pizza Oven?
Will the top paver crack and break sending delicious pizza tumbling down into a hellish inferno?
I did have the bottom paver crack on me, thankfully not the top one. I know some designs they won’t use a bottom paver but I didn’t want to ruin the ground. I’m assuming that’s why they omit the bottom paver. That being said, the bottom one cracking concerned me the same as you. I ended up taking it a part to move it and never got around to setting it back up.
Use a course cornmeal on the peal and the oven floor.
Be careful with Pavers as depending on their manufacturing method, they can contain several chemicals and leech into food when heated at.high.temperatures. unless they are ‘designed.to be heated’ and of a food grade, you might be putting yourself and others in danger
I didn’t realize that. Thank you for the heads up.